
A relay is commonly used to interface a low-current circuit to a higher-current circuit. As such, it’s very useful in controlling appliances and other mains-powered devices using microcontrollers. In this Arduino relay tutorial, I will show you how to use a relay with microcontrollers.
An Intro to Relays
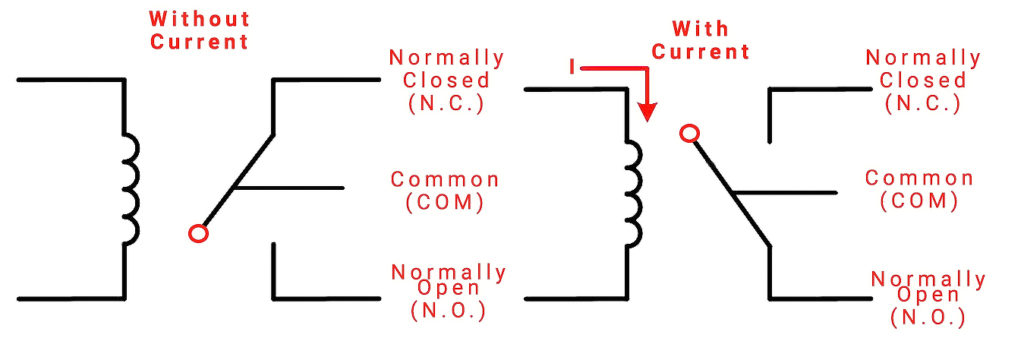
Basically, a relay is an electromagnetic switch. The input side is a coil while the output side is a switch magnetically connected to the coil. When current flows through the coil, the switch toggles:
A basic circuit for attaching a load to a relay is shown:
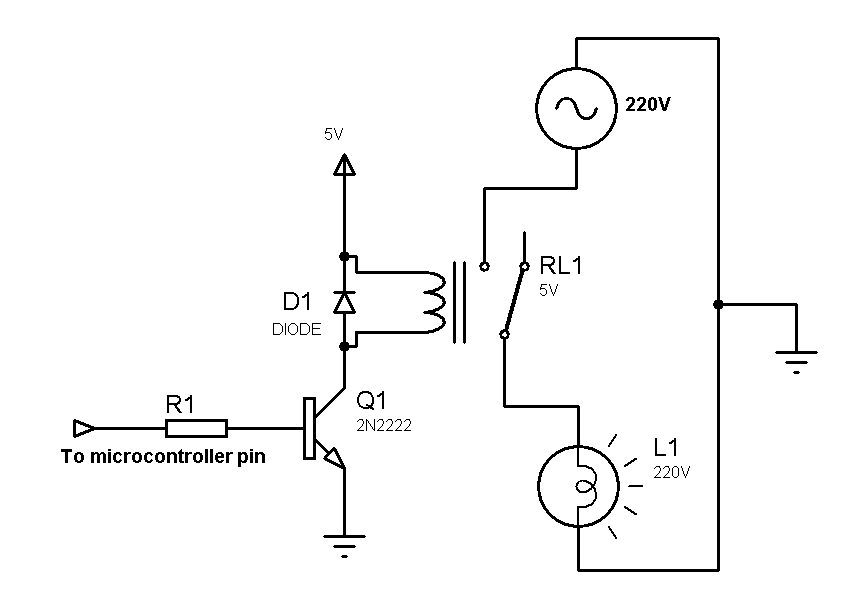
In the schematic above, a pulse applied to the base of the transistor allows current to flow from the +5V source to the relay coil, thus toggling the switch. The 220V source is now connected to the lamp and the lamp turns on.
The diode is called a flyback diode which help suppress the sudden voltage spike on the relay coil when the current is removed from the circuit.
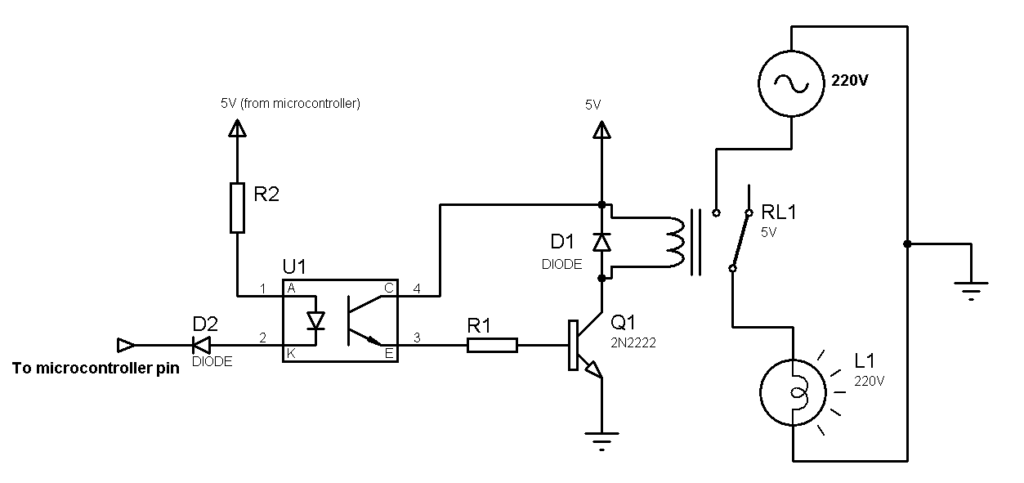
Another version of the schematic is to add an optocoupler, effectively isolating the microcontroller from the high current that may come from the relay circuit:
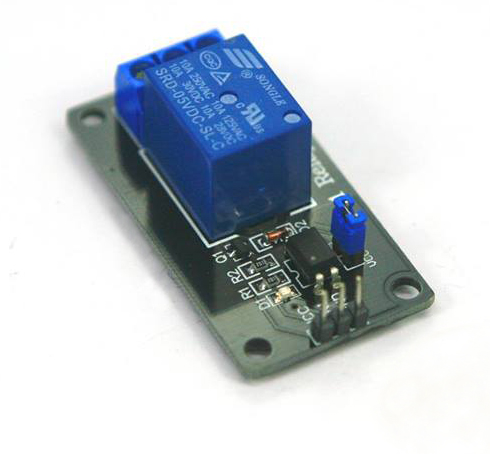
Arduino Relay Modules
In the past, I used to build a circuit just like the above. The popularity of Arduinos gave way to the rise of modules like this one:
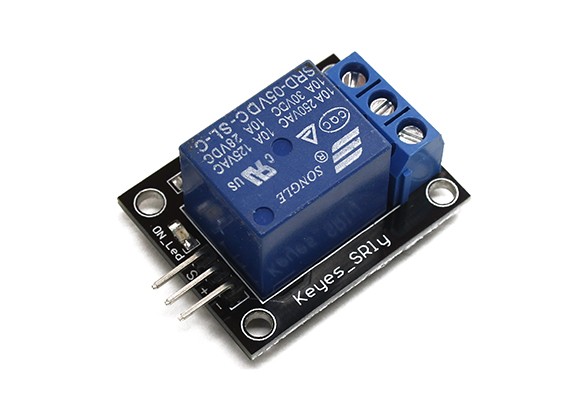
The module’s three pins are VCC, IN and GND. All you need is apply power via the VCC and GND and give it a pulse at IN to turn on the relay.
Here is a wiring diagram you can use:
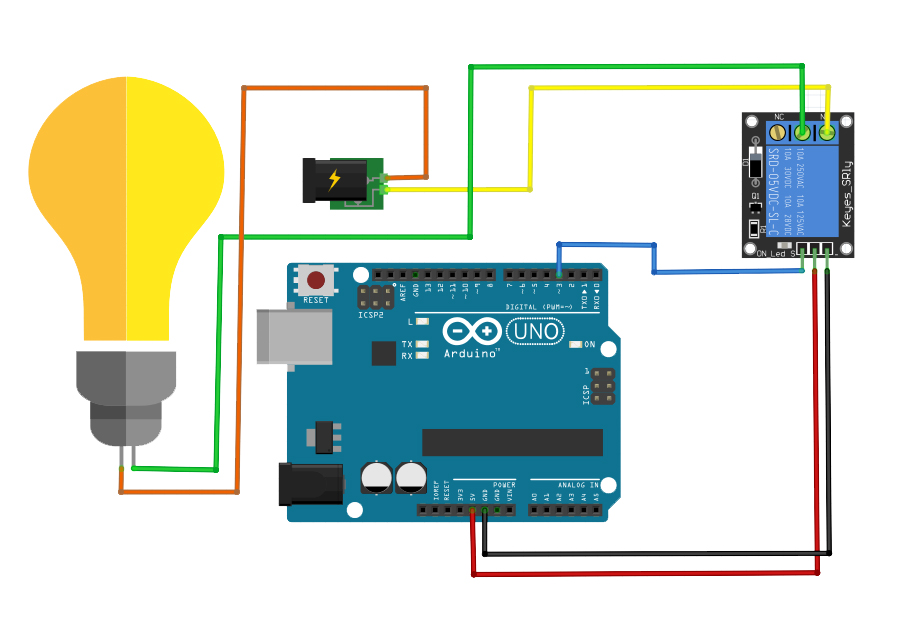
Here, the IN pin of the module is attached to D3 of the Arduino UNO. Setting D3 therefore turns on the relay and turns on the lamp. You can use this sketch for the diagram above:
int IN_PIN = 3;
void setup() {
  pinMode(IN_PIN, OUTPUT);
  digitalWrite(IN_PIN, LOW);
  Serial.begin(9600);
  delay(1000);
  Serial.println("Enter 1 to turn on lamp, 0 to turn off");
}
void loop() {
   while (Serial.available()) {
    char inChar = (char)Serial.read();
    if (inChar == '1') {
      digitalWrite(IN_PIN, HIGH);
      Serial.println("Lamp is On!");
    }else if(inChar == '0'){
      digitalWrite(IN_PIN, LOW);
      Serial.println("Lamp is Off!");
    }else{
      Serial.println("Invalid input!");
    }
  }
}
The sketch turns on or off the lamp via the serial monitor. Send a “1” and the lamp turns on. Send a “0” and the lamp turns off!
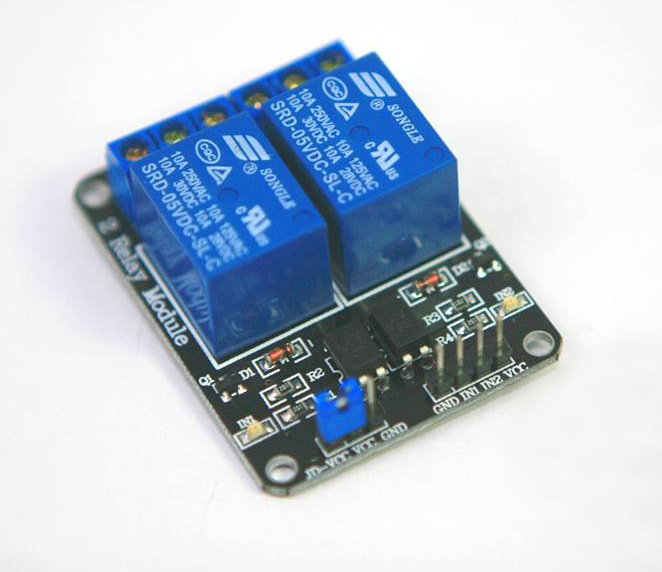
Now what if you want to connect more than one load? There’s a two relay module:
Not enough? How about a four-relay module?

Still not satisfied? How about this one?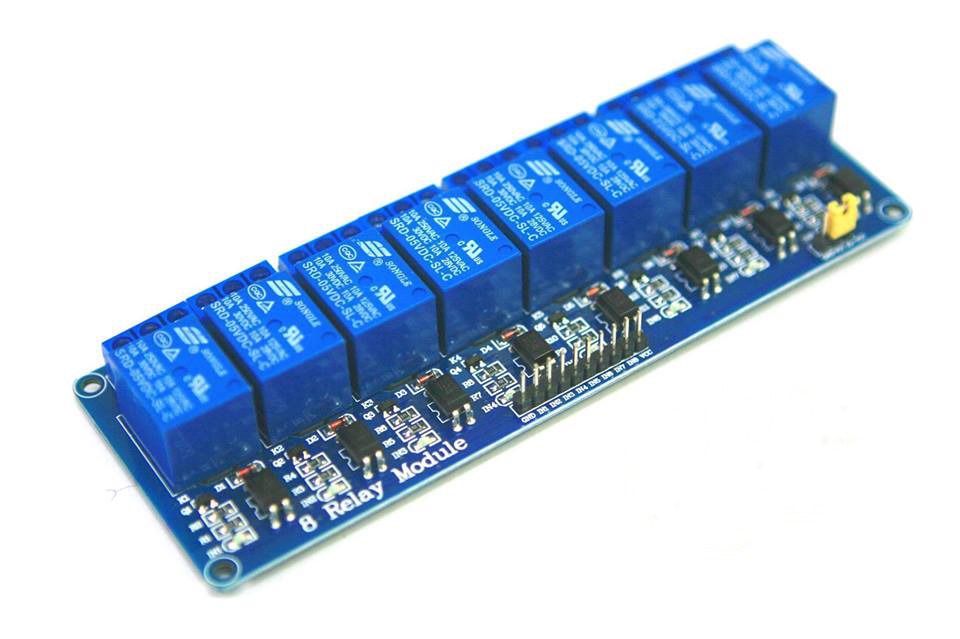
Still need more?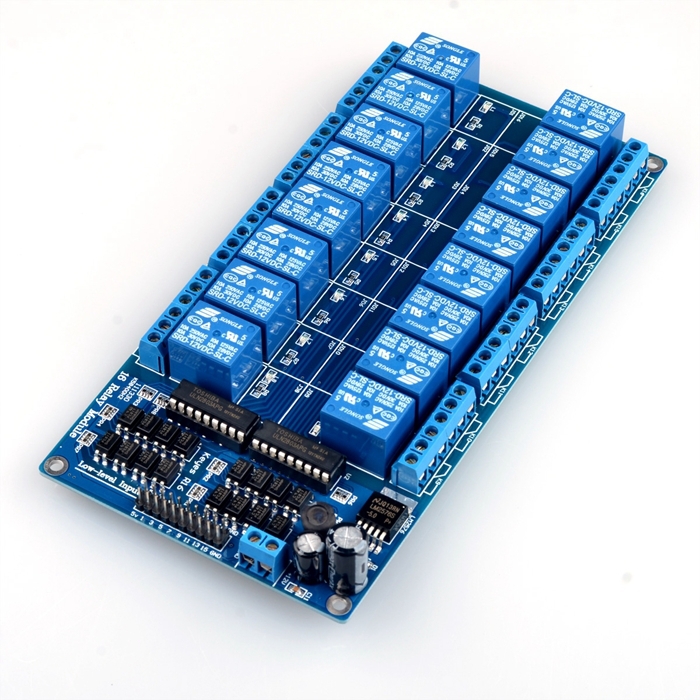
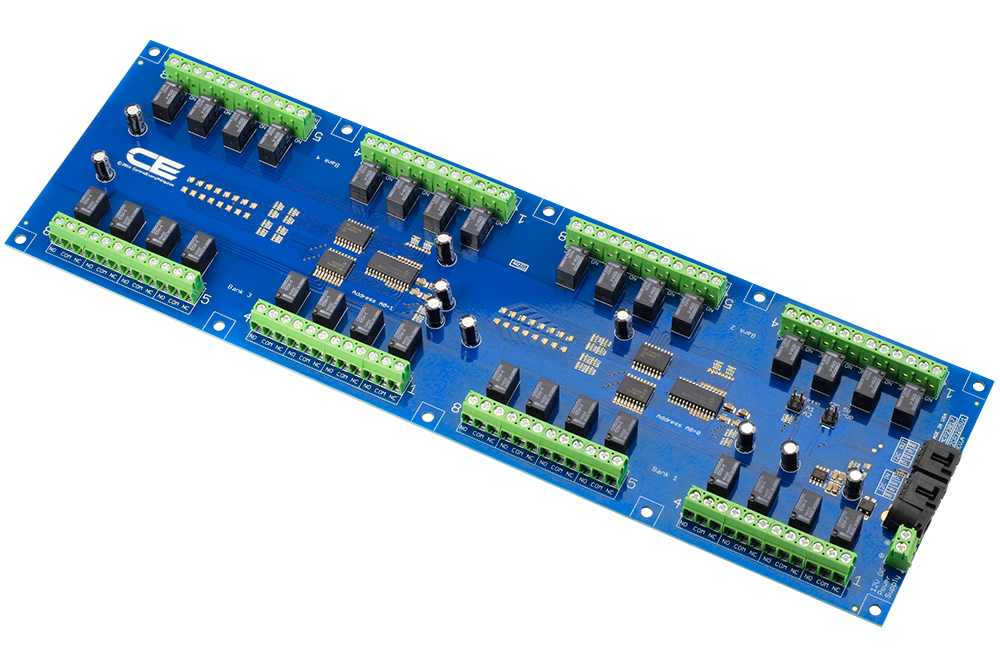
Let's go further!
What project could you build using Arduino relay modules?

