
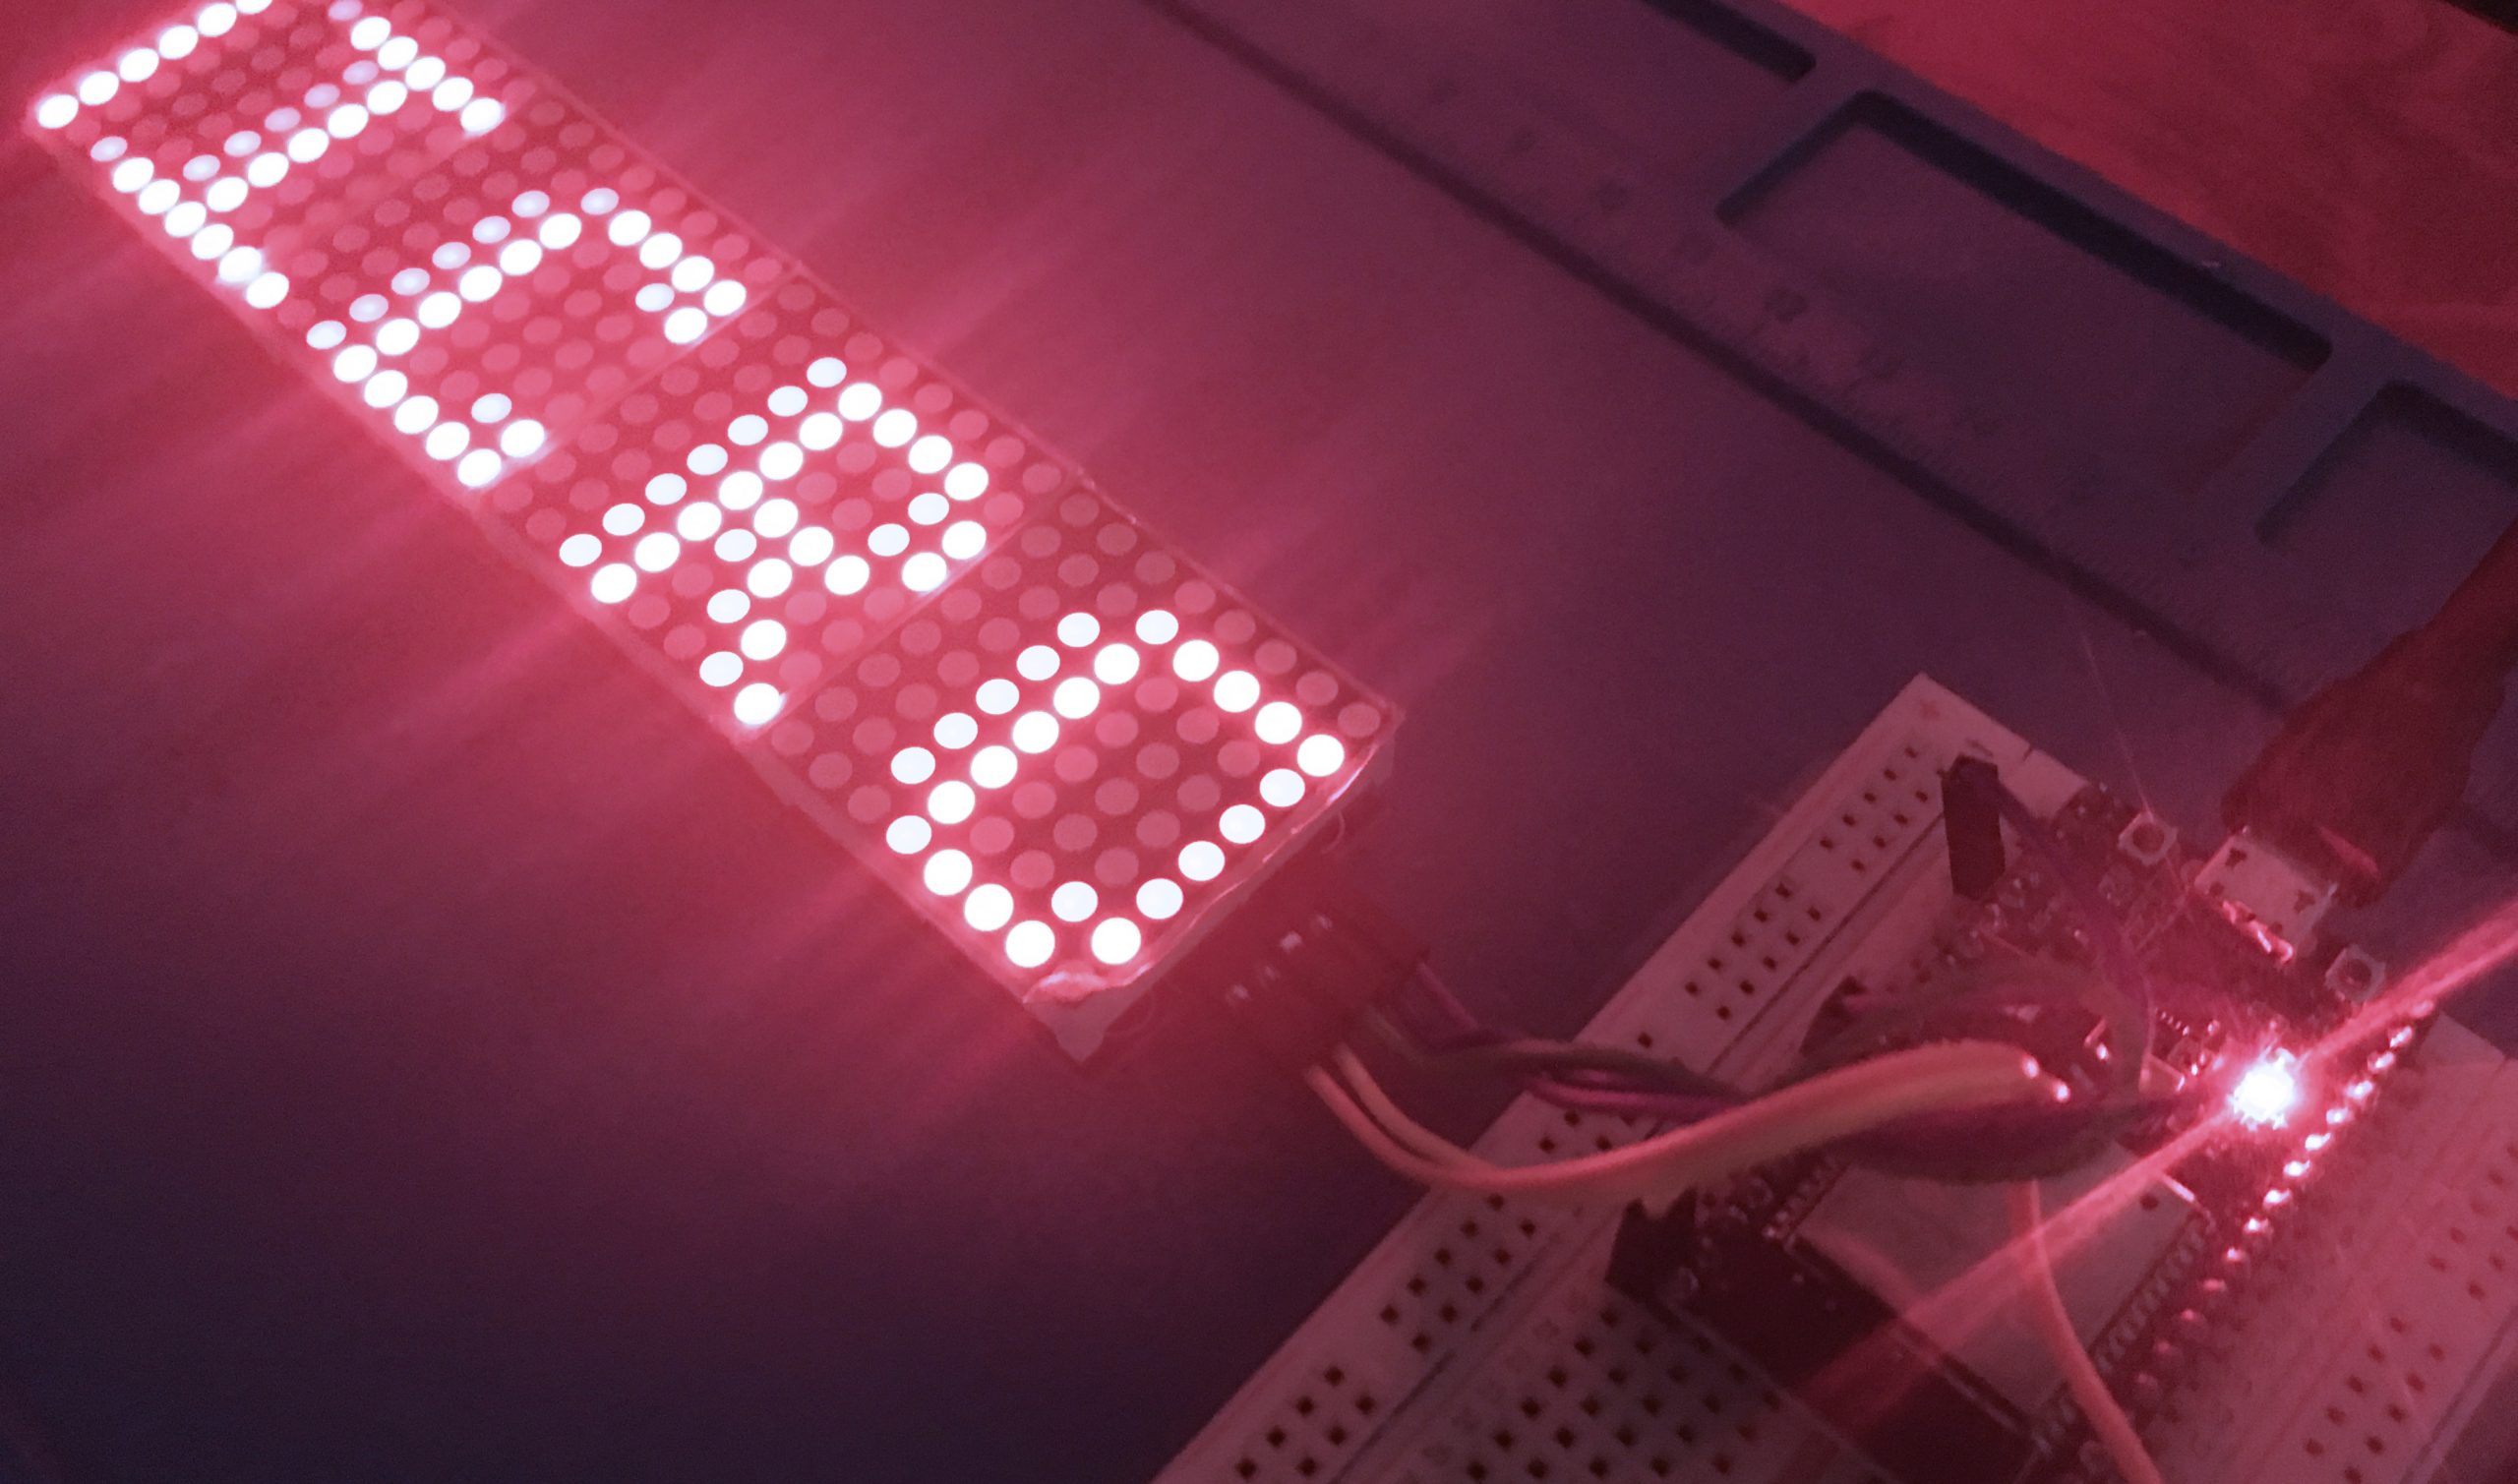
This ESP32-powered project allows you to write messages to a MAX7219 LED matrix display using your smartphone. Scaled up, this can be used as a WiFi message board for schools or signages for businesses.
Materials
- ESP32 (NodeMCU-32S)
- 4 x 8 x 8 LED Dot Matrix with MAX7219
- Breadboard, Connecting Wires, Power Source
The ESP32 microcontroller acts as the web server which the user connects to to send messages. The microcontroller retains the previous message even if turned off.
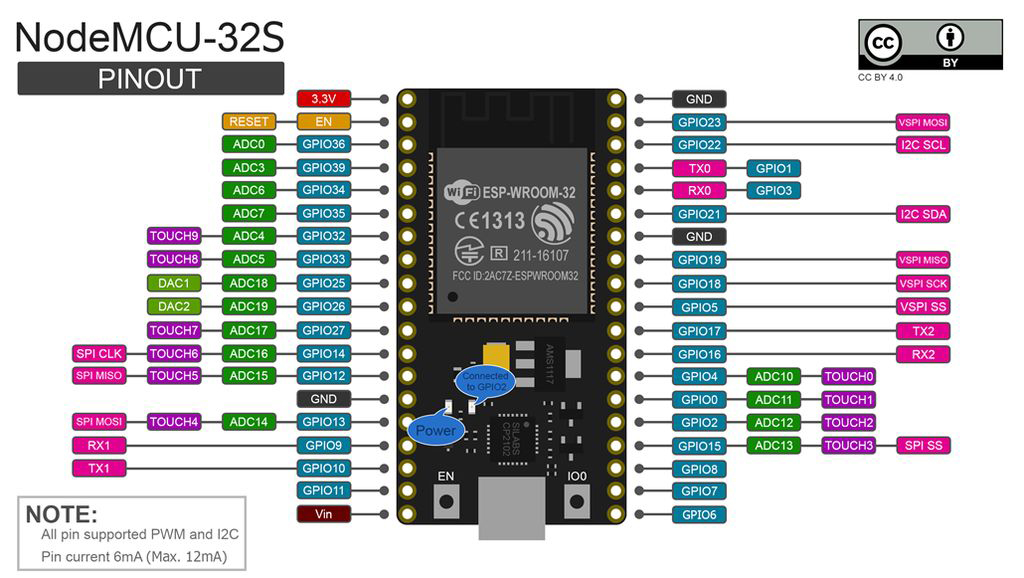
This project uses the Arduino IDE to code the ESP32. There are different ESP32 boards so to be specific, I am using the NodeMCU-32S:
The cascaded dot matrix module in this project contains one MAX7219 IC per matrix which simplifies control:
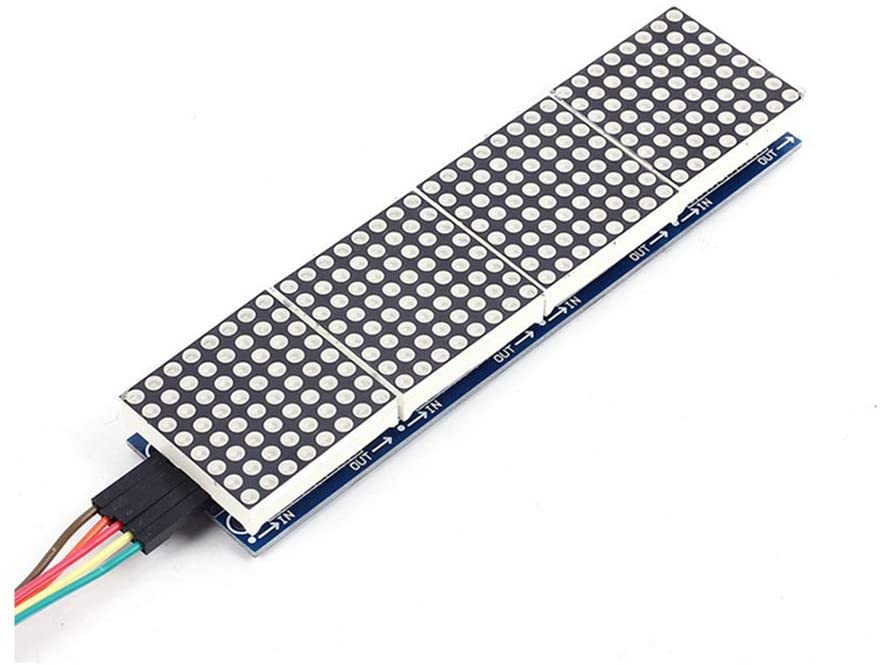
I have previously shown how to use this module with an Arduino UNO. Thankfully, the same library in that article supports ESP32.
ESP32 MAX7219 Wiring Diagram

The MAX7219 communicates to microcontrollers via SPI. The ESP32 has three (usable) SPI ports but somehow, the LEDMatrixDriver library defaults to SPI3. Hence, the SDO and SCK pins are GPIO23 and GPIO18 respectively. However, the CS pin is not the default pin since the library requires you to declare it (GPIO15 in this project).
Web App
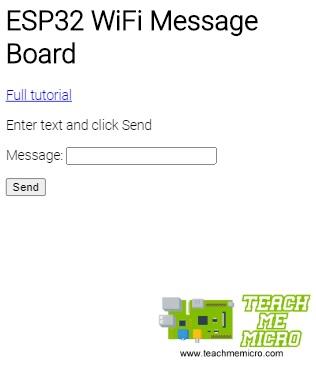
The user enters the message to be displayed on the web app. This app is accessible through a web browser with its address being the ESP32's local IP address. Hence, the ESP32 must connect to the same WiFi as the user.
The app contains a HTML form that sends the message inside the text field when the send button is clicked.
Here’s the HTML of the app:
<head>
  <meta name='viewport' content='width=device-width, initial-scale=1.0'>
  <link href='https://fonts.googleapis.com/css2?family=Roboto:wght@300&display=swap' rel='stylesheet'>
  <style>
    body{
      background-color:white;
      font-family: 'Roboto', sans-serif;
    }
    #tmm-logo{
      margin-top: 100px;
      margin-left: 50%;
      width:50%;
    }
    </style>
</head>
<body>
  <h1>ESP32 WiFi Message Board</h1>
  <p><a href='https://www.teachmemicro.com/esp32-wifi-message-board'>Full tutorial</a></p>
  <p>Enter text and click Send</p>
  <form action='/dataHandler' method='POST'>\r\n
    <label for='message'>Message:</label> <input type='text' name='message' id='message'>  </p>\r\n
    <input type='submit' id='send' value='Send' />\r\n
  </form> \r\n
  <img id='tmm-logo' src='https://i.imgur.com/G80eVhL.png' />
</body>
Unlike my previous projects, this app contains no JavaScript code. Sending the data to the server relies solely on form handling.
ESP32 Code
While the wiring is simple, writing the code for this project is challenging. It involves establishing the web server, handling POST data, reading/writing strings from/to EEPROM and then displaying the message to the LED dot matrix.
The HTML of the web app is stored as a constant ('page') inside a separate “mainpage.h”. This constant executes every time the user (web client) accesses the home page:
server.on("/", []() {
   server.send(200, "text/html", page);
});
Then when the client submits the form with the message, the ESP32 serves the “dataHandler” page:
server.on("/dataHandler",HTTP_POST,dataHandler);
This executes a datahandler() function which reads the message and saves it to EEPROM:
void dataHandler(){
  String msg = server.arg("message");   //message from POST data
  Serial.print("Received: ");          //print to serial terminal
  Serial.println(msg);
  msg.toUpperCase();                  //all incoming string is converted to uppercase since no font for small cases
  message = msg;
  EEPROM.writeString(0,message);      //store received message to EEPROM
  EEPROM.commit();                    //commit the save
  server.sendHeader("Location","/");  //redirect client to home page
  server.send(303);                   //redirect http code
}
The “message” variable is a global string. Inside loop() the message variable is passed through the writeToMatrix() function. This function sends the string message to the MAX7219 to be displayed on the LED matrix.
void loop() {
  server.handleClient();              //make the ESP32 respond to web clients
  int len = message.length();         //get message length
  if(len > 100) return;               //limit messages to 100 characters
  writeToMatrix(message,len);         //write to LED Matrix. This function is on mat_functions.h
   // Toggle display of the new framebuffer
  lmd.display();
  // Wait to let the human read the display
  delay(ANIM_DELAY);
  // Advance to next coordinate
  if( --x < len * -8 ) {
    x = LEDMATRIX_WIDTH;
  }
  delay(100);                         //adjust this for faster/slower scrolling
}
The writeToMatrix() function here needs to be inside a loop to generate a running message in the LED matrix.
The full source code is in my repository. Again, make sure to download and install the LEDMatrixDriver library first.
Output Video
Unlike my servo controller project, this one reacts almost instantaneously when the user clicks send. I limited the message to 100 characters only. Also, there’s no font for small letters so all messages convert to upper case letters.
I hope you find this project useful. For questions, reactions or suggestions, kindly drop a comment below!

