
The Raspberry Pi comes with a camera connector on board. But if you don't want to buy the official camera and use a web camera instead, you can! I'll show you how to display a video from the webcam on a web server hosted by a Raspberry Pi
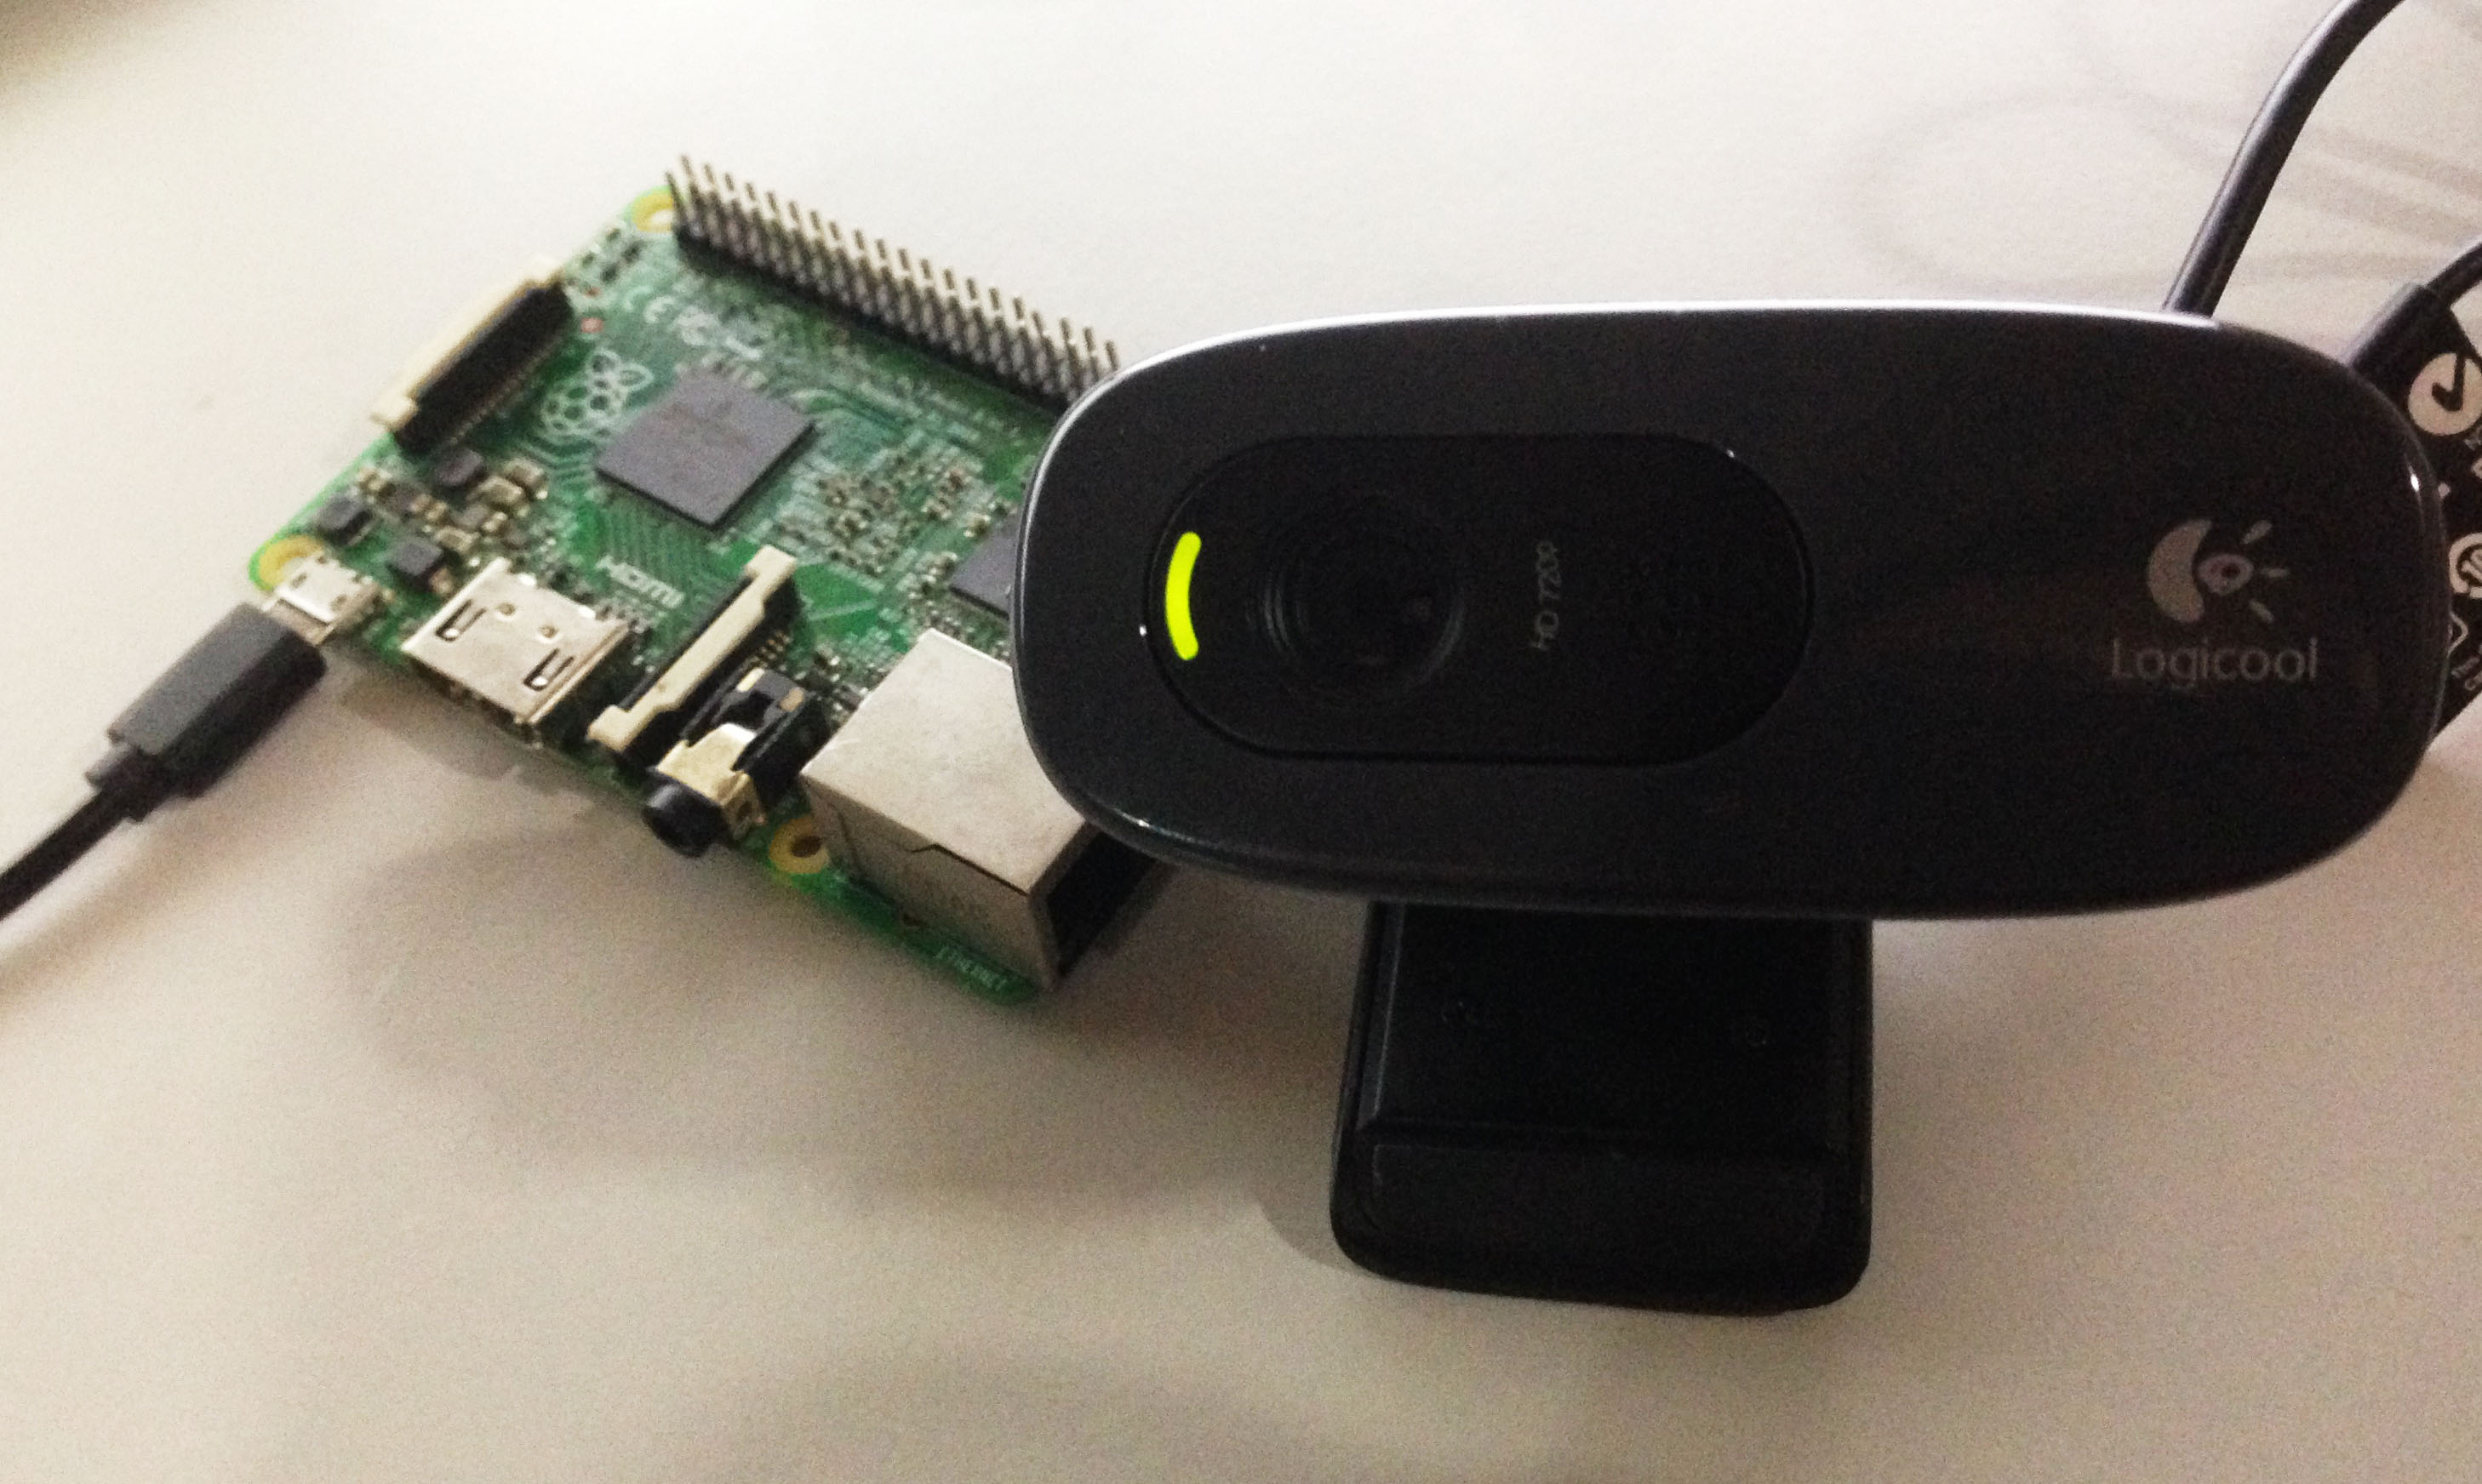
For this tutorial, I used Logitech C270 web camera. This camera is directly supported by Raspberry Pi. You can use any other webcam that is listed here.
Software Requirements
First, we download mjpg-streamer:
git clone https://github.com/jacksonliam/mjpg-streamer.git
We need libjpeg and cmake as well:
sudo apt-get install cmake libjpeg8-dev
You should now have the mjpg-streamer folder. Go to mjpg-streamer-experimental folder and run make and install:
cd mjpg-streamer/mjpg-streamer/mjpg-streamer-experimental
make
sudo make install
That installs the mjpg-streamer to the Raspberry Pi.
Embedding Video to Web Page
First of all, we need to know the name of the web camera. Go to dev and look for videox where x is any number. For example, mine's video1
Next, we created a script that would run the video stream continuously in the background. On root, create a file named stream.sh
sudo nano stream.sh
Then paste the following:
#!/bin/sh

PORT="8080"
ID="Raspberry Pi Web Cam"
PW="1234"
SIZE="320x240"
FRAMERATE="10"

export LD_LIBRARY_PATH=/usr/local/lib
mjpg_streamer -i "input_uvc.so -f $FRAMERATE -r $SIZE -d /dev/video1 -y" -o "output_http.so -w /var/www/html -p $PORT"
This is assuming that your web camera name is video1.
Run the script using the following commands
sudo chmod +x stream.sh
./stream.sh
Now it's time to embed the video to a web page. If you haven't installed Apache, do this:
sudo apt-get install apache2 -y
After installation of Apache server, CD to /var/www/html. In there, you'll see a file named index.html. Delete this file:
sudo rm index.html
Then create a new index.html file
sudo nano index.html
Paste the following:
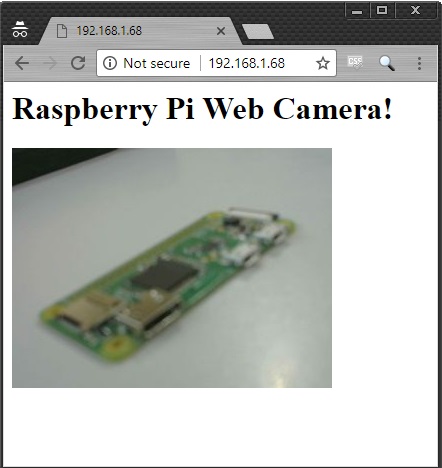
<html>
<body>
<h1>Raspberry Pi Web Camera!</h1>
<img src="https://192.168.1.68:8080/?action=stream" />
</body>
</html>
Here I used 192.168.1.68 because that's my Raspberry Pi's IP address. You should replace that with your own board's address or use raspberrypi.local.
Save the index.html file and open the IP address of the Raspberry Pi using your preferred browser. Here's what mine looks like:
That's it! You can now create cool camera applications like image processing or camera robots.

