
I finally got my hands on a Raspberry Pi Zero W and started the usual tinkering. For those unaware, this smaller version of the Raspberry Pi packs a 1 GHz CPU and 512 MB of RAM. But what excites me the most is the WiFI and Bluetooth connectivity that comes with the “W” version. Let's build a Raspberry Pi Zero web server!
Getting Started
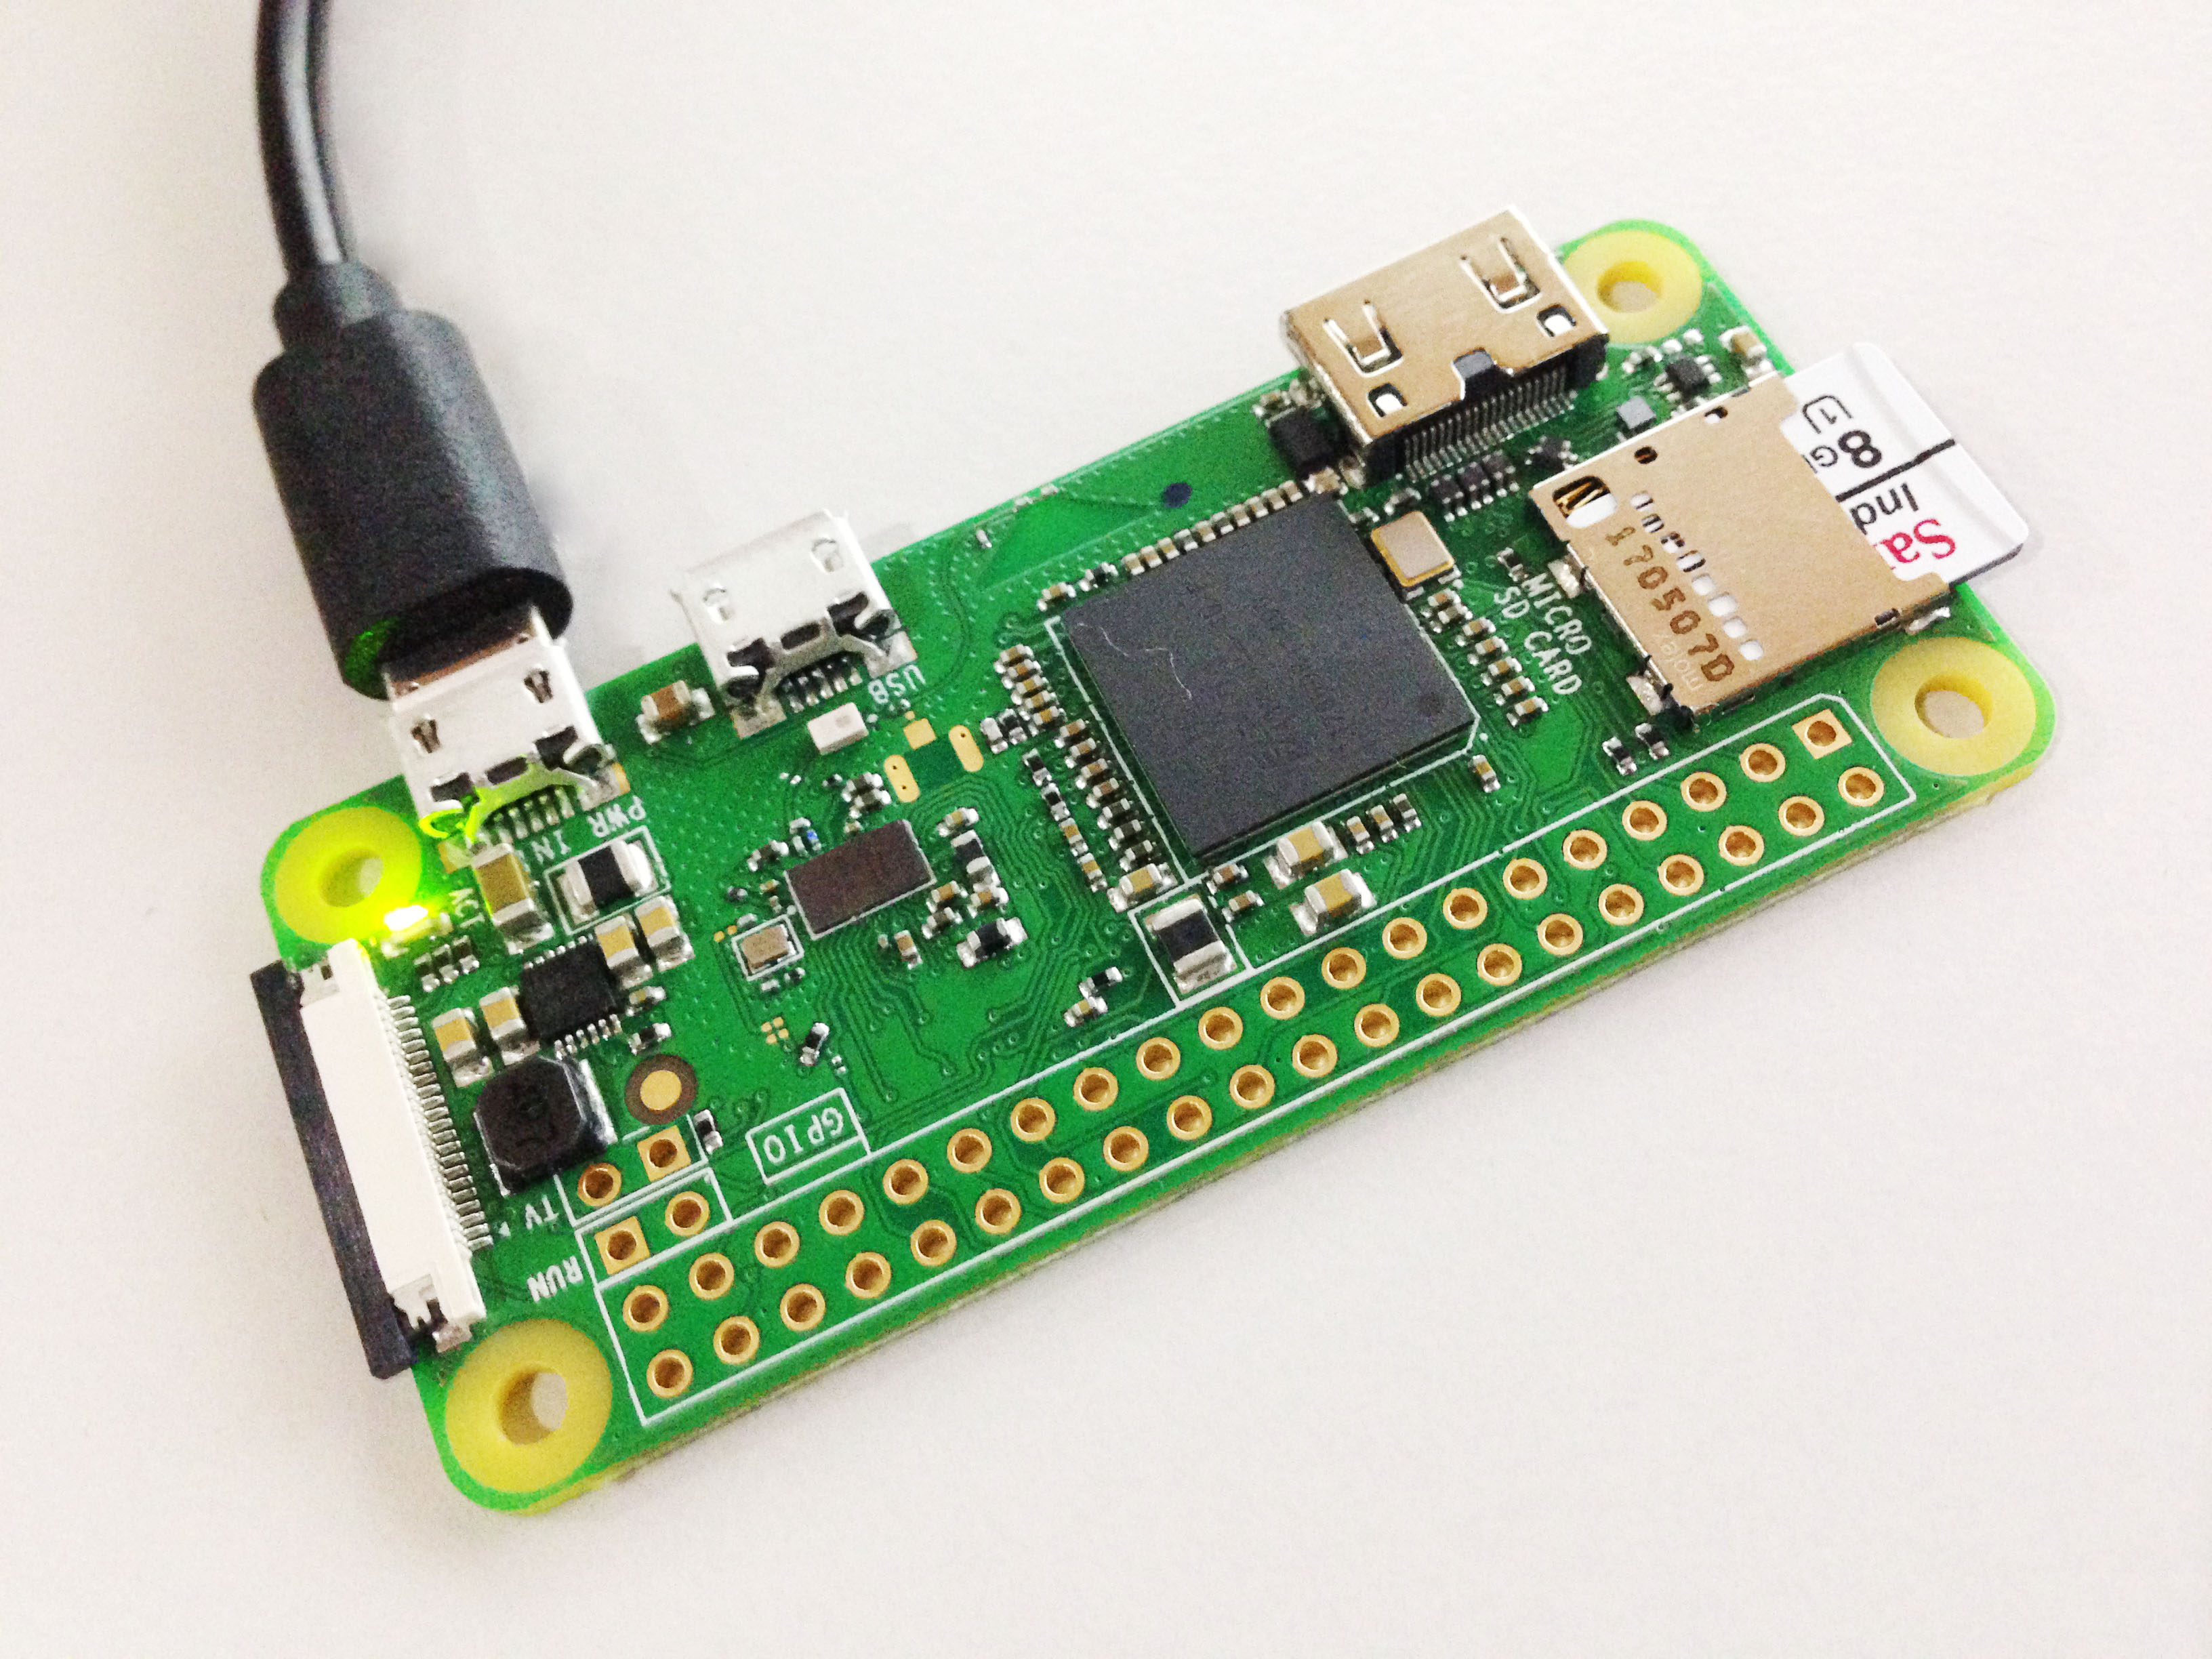
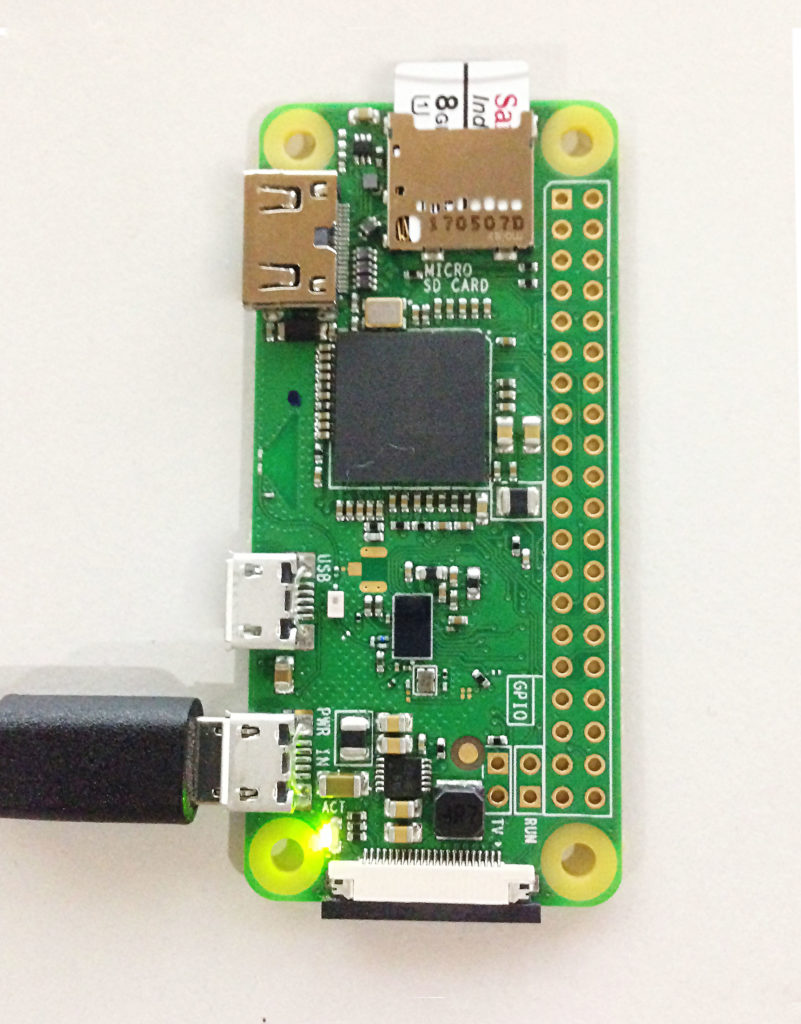
The Raspberry Pi Zero W has two micro-usb ports, one mini HDMI port, the usual GPIO pins (but with no pins soldered), micro-SD card slot and display connector.
You need at least a micro-usb cable to power-up the board, like the older versions. I had no problem powering up the Pi Zero W from my computer’s USB port.
See how the Raspberry Pi Zero compares to the PocketBeagle
As for the image, you can download the latest from here. As of this writing (February 2018), the latest image is Raspbian Stretch. If you need a gui, you go for the “Raspbian Stretch with Desktop” image. If you love working on a terminal screen (like me), go for the “Raspbian Stretch Lite” image.
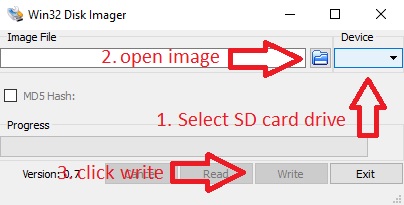
After downloading, write the image (.img) file to your 8GB microSD card using Win32 Disk Imager. Using Win32 Disk Image is straightforward:
When the image has been written, there is a need to setup WiFi and SSH for us to connect to the Raspberry Pi Zero W using a terminal program like Putty.
Setting up WiFi Connection
For the Raspberry Pi Zero W to connect to WiFi on boot, we need to add a file named wpa_supplicant.conf on the SD card image. On Windows, the partition where the image is mounted is named boot.
Create a text file inside boot and named it wpa_supplicant.text. Inside this file, write the following:
ctrl_interface=DIR=/var/run/wpa_supplicant GROUP=netdev
update_config=1
country=US

network={
ssid="Your network SSID"
psk="Your WPA/WPA2 security key"
key_mgmt=WPA-PSK
}
Supply your own WiFi name and password on the ssid and psk fields above.
Save the file then rename it to wpa_supplicant.conf.
See how to Setup Bluetooth on the Raspberry Pi Zero
Enabling SSH
Next, we need to enable SSH which is disabled by default. Enabling ssh only takes creating an empty file named ssh without any extension.
After setting up WiFi and enabling SSH, we should be able to connect to the Raspberry Pi Zero W using Putty.
But first, I need to know the IP address of my Raspberry Pi Zero W. I downloaded nmap for that.
Once nmap is installed, we can run the following command in the Windows command line on a computer.
nmap -sn 192.168.1.0/24
Here’s my results for nmap (we have a number of computers in the network):
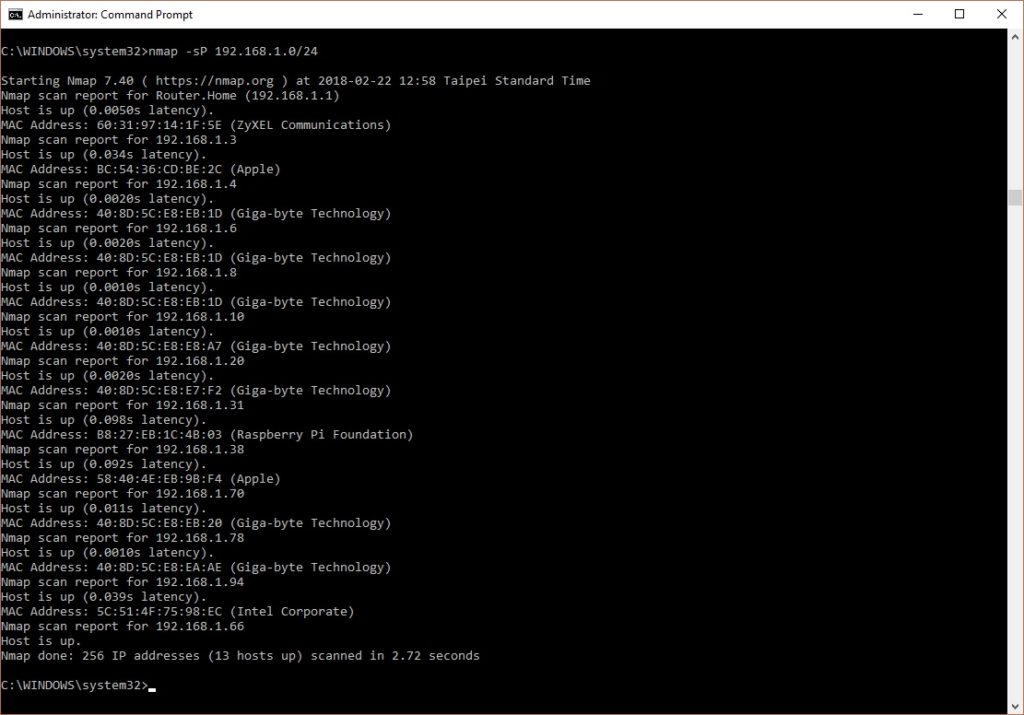
My Raspberry Pi Zero’s address is 192.168.1.31!
Now if you don’t want to use nmap, you can just use raspberrypi.local as the host name for your device. I just like using the Pi's IP address, that's all
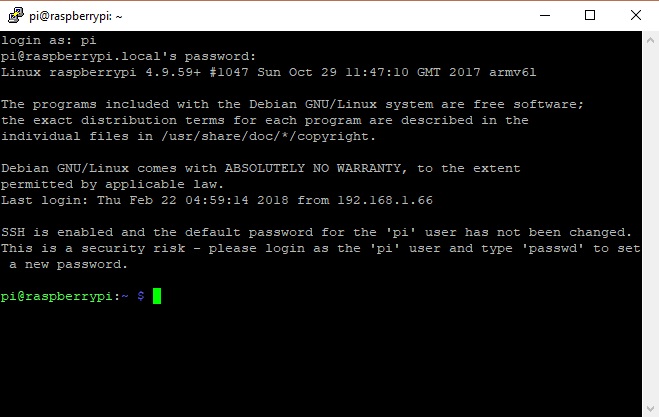
Open Putty, type your Raspberry Pi Zero’s IP address (or just raspberrypi.local), leave the port as 22 and then click open.
You’ve successfully SSH’d to your Pi!
Creating the Web Server
To setup a web server on the Raspberry Pi Zero W, I downloaded Apache:
sudo apt-get install apache2 -y
If the installation is successful, this is what should be on the browser if you go to the Pi’s address (or use http://raspberrypi.local)
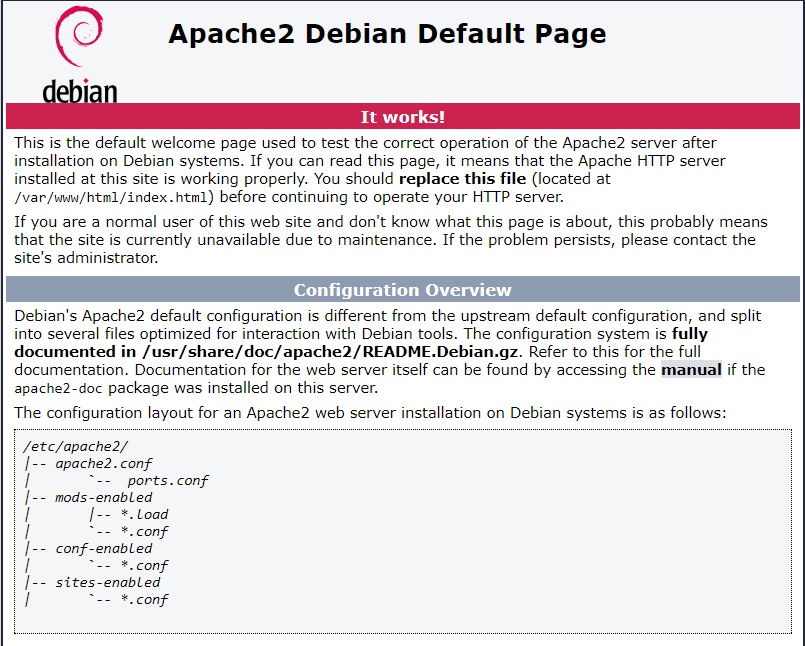
The source for the web page above is found at /var/www/html/ and is named index.html. Let’s replace is with something simpler. CD to the mentioned directory and delete index.html
cd /var/www/html/
sudo rm index.html
Next, create a new index.html file
sudo nano index.html
Then paste the following code:
<html>
<body>
<h1>Hello World!</h1>
</body>
</html>
[the_ad id="3059"]
This is what http://raspberrypi.local looks now:
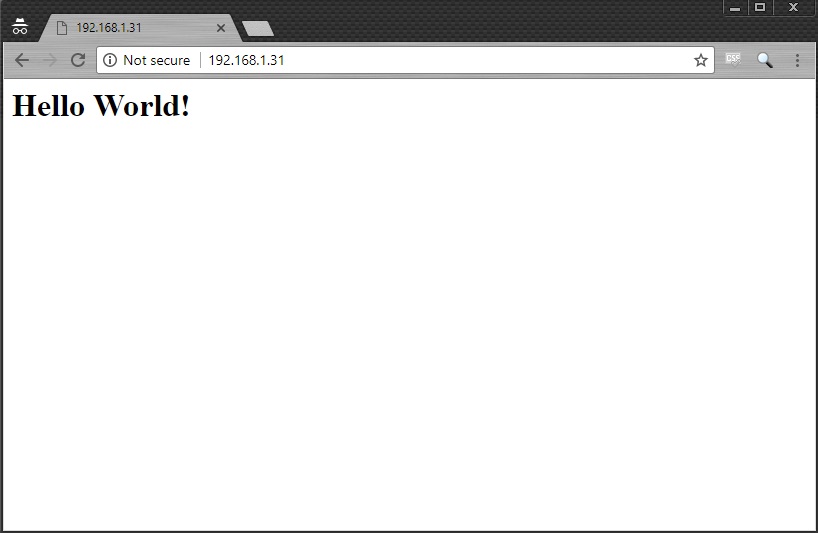
You now have a Raspberry Pi Zero web server! Next, we'll control some objects using this web server.

