
We managed to blink an LED in the previous tutorial. This time, still featuring the STM32F1 Nucleo, we will add a button that will control the attached LED and a simple clap switch.
Controlling an LED using a Button
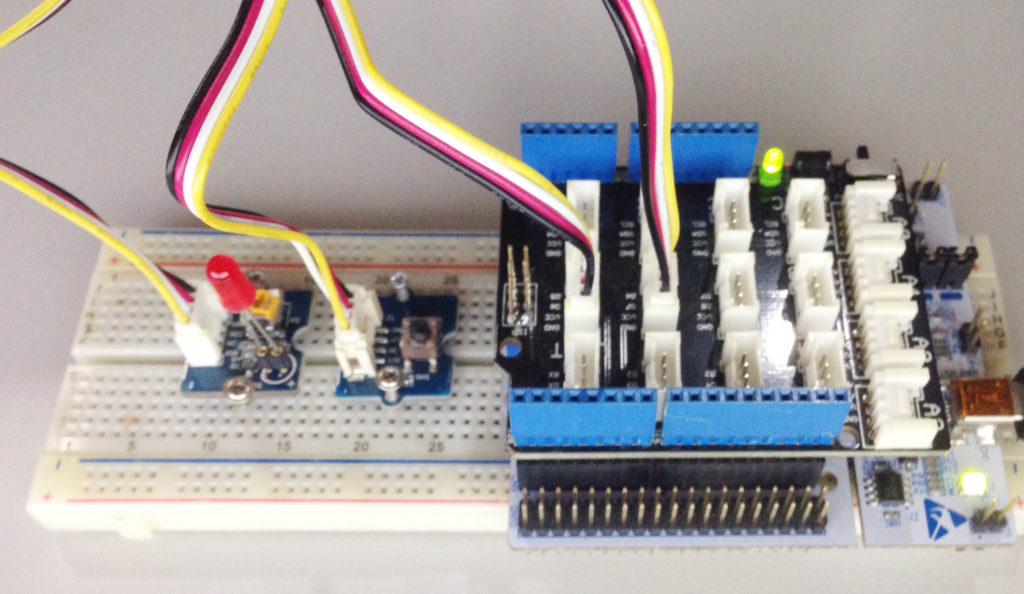
I attached the Grove button to D2 as shown:
Inputs like the attached button need to be initialized as a DigitalIn object. The initialization is straightforward:
DigitalIn button(D6);
[the_ad id="3059"]
You can also add a second parameter to the object: the initial state of the pin. Since we are using a button wired normally high, we don't need to use a second parameter.
The code for turning on and off the LED attached to D5 is quite simple:
#include "mbed.h"

DigitalOut myled(D5);
DigitalIn button(D6);


int main() {
    while(1) {
        if(button){
            myled = 1;
        }else{
            myled = 0;
        }
    }
}
The if(button) statement checks if the button is pressed (logic 1) or not (logic 0). Note that there are two ways to attach a button: normally high and normally low. The grove button I have uses the normally low setup.
Creating a Clap Switch
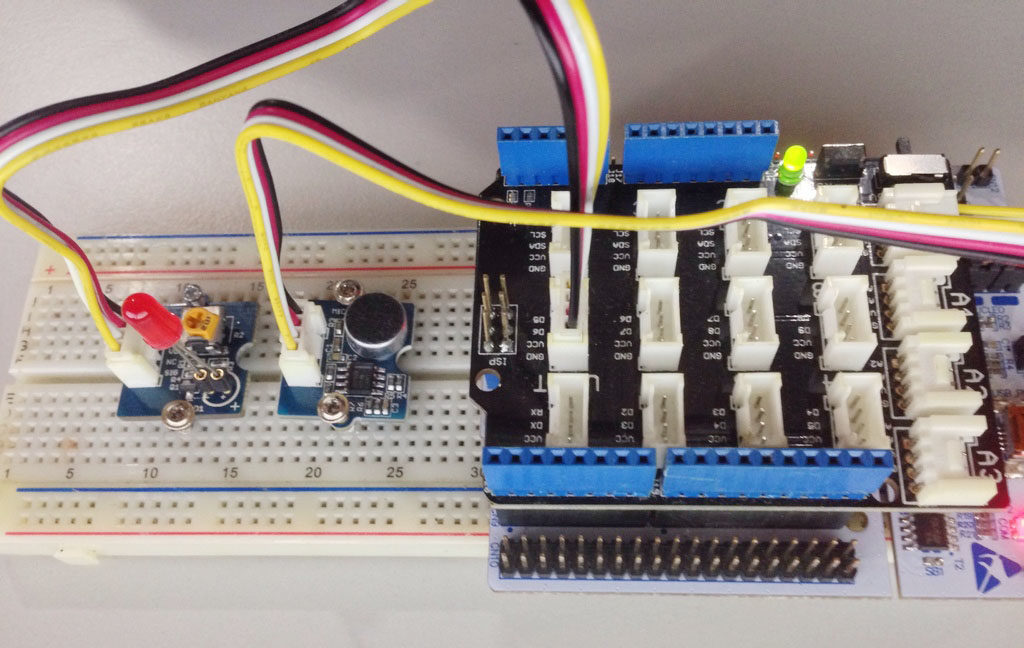
We can replace the button with another input device and use that to control the LED instead. I attached a microphone at A0 and removed the button:
The idea is to make clapping the one that triggers the LED. For that, I'll be using the AnalogIn object. Here's how I declared it using pin A0:
AnalogIn mic(A0);
The AnalogIn object converts the analog voltage to floating point numbers from 0.0 to 1.0. You may have to experiment which value is your threshold because this would depend on the noise of the environment. Mine was 0.3 so here's my code:
#include "mbed.h"

DigitalOut myled(D5);
AnalogIn mic(A0);

int main() {
    while(1) {
        if(mic > 0.3){
            myled = 0;
        }else{
            myled = 1;
        }
    }
}
An easier way to determine your threshold value is by testing what sound level is equivalent to your clap. The serial port function will help us with this which we'll cover next.

