
Microcontrollers usually don’t have enough memory to store data like images, databases, or even large text files. EEPROMs are tasked with this, but the portability of a memory card gives it a big advantage. This tutorial shows how easy to use a microSD card with the Arduino microcontroller.
Introduction
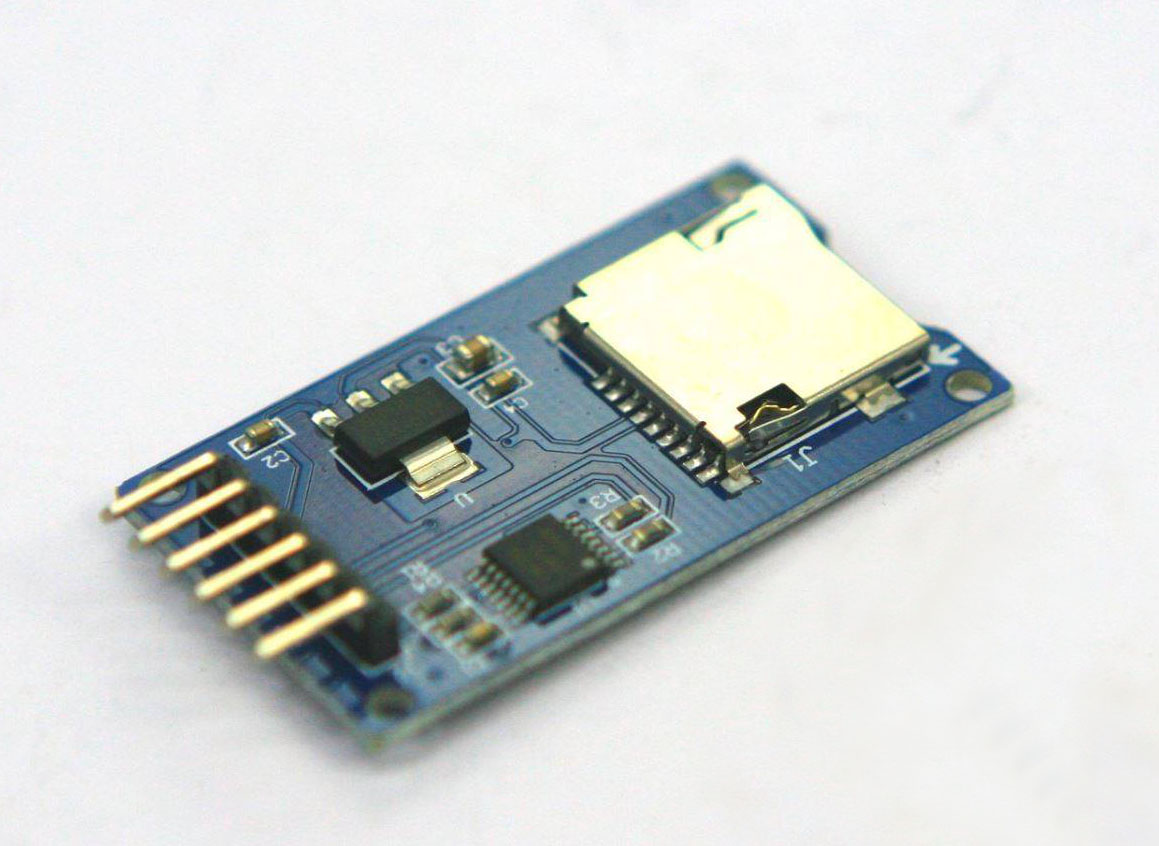
There are a lot of SD card modules available but this is the one that I got:

Don’t worry if your module doesn’t look the same as mine; as long as the correct connections are made, sketches in this tutorial will work since there is only one way to interface an Arduino with a micro SD card.
As shown, the module has six pins. The names of the pins are visible on the other side of the board:
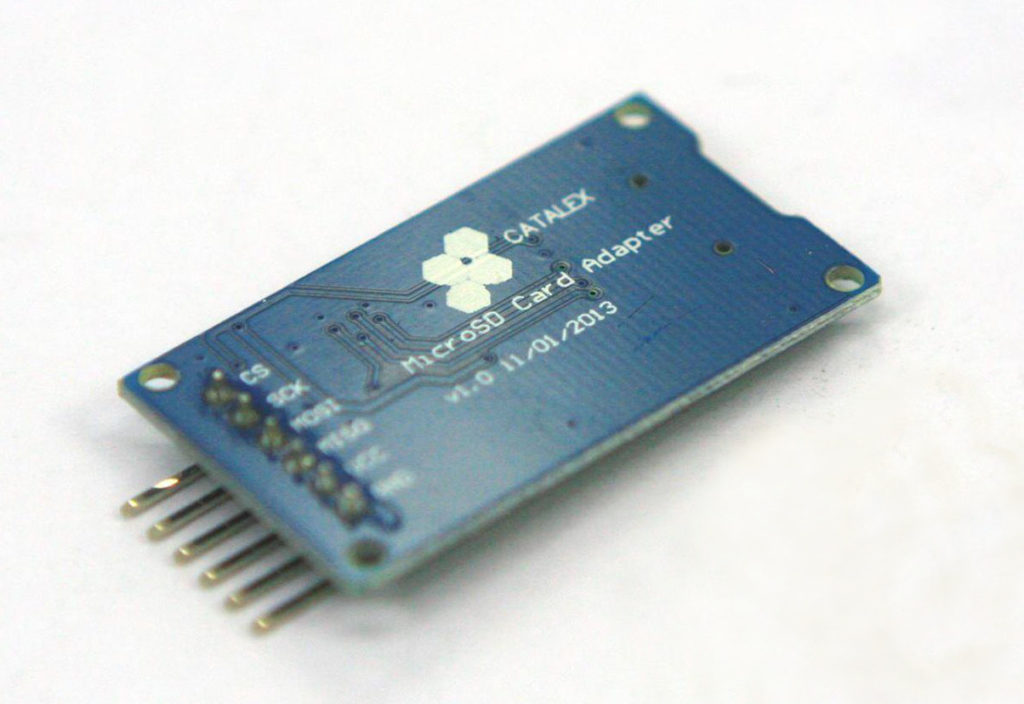
The pins are CS (chip select), SCK (clock), MOSI (master out, slave in), MISO (master in, slave out), VCC (+5V), and GND.
There are other ICs on the board that serve special purposes.
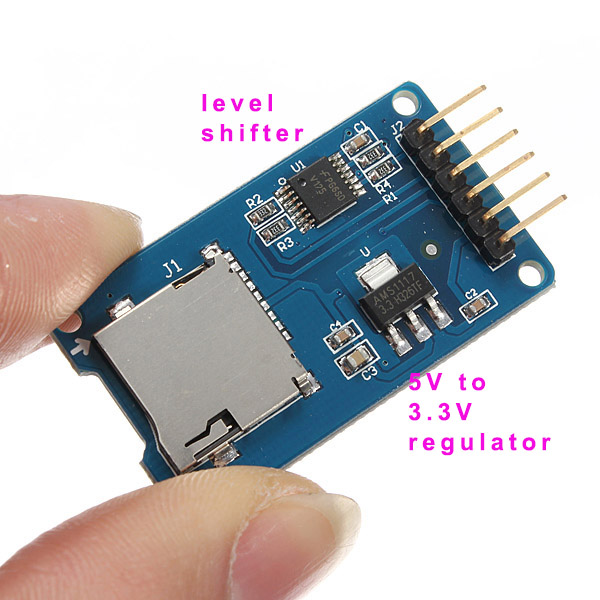
These are necessary because the SD card uses 3.3V. Going beyond this voltage level will obviously destroy your card.
Arduino Wiring Diagram
The pin names on the module follow standard SPI pins names which means we need to connect this module to the Arduino UNO’s SPI pins (11, 12, 13). Here is a wiring diagram to follow:

The Arduino IDE has a built-in “SD” library which we can use to interface with this microSD card module. Go to File > Examples > SD to view the example sketches.
Example Sketch
Now let’s say I wanted to save my temperature data from my thermistor tutorial. I could modify the Datalogger example from the SD library to fit my need. Here it is:
#include <SPI.h>
#include <SD.h>

double codeval;
double therm_res;
long series_res = 10000;
double temp, temp_in_celsius, temp_in_fahrenheit;
const int chipSelect = 4;

void setup() {
  // Open serial communications and wait for port to open:
  Serial.begin(9600);
  while (!Serial) {
    ; // wait for serial port to connect. Needed for native USB port only
  }

  pinMode(A0, INPUT);

  Serial.print("Initializing SD card...");

  // see if the card is present and can be initialized:
  if (!SD.begin(chipSelect)) {
    Serial.println("Card failed, or not present");
    // don't do anything more:
    return;
  }
  Serial.println("card initialized.");
}

void loop() {
  // make a string for assembling the data to log:
  String dataString = "";

  for(int i = 0; i < 100 ; i++){
    codeval += analogRead(A0);
  }

  //for converting the thermistor resistance to temperature
  codeval = codeval/100;
  therm_res = (1023 - codeval)/(codeval * series_res);
  temp = 1/(1/298.15 + (1/3455)*log(therm_res/10000));//temperature in Kelvin
  temp_in_celsius = temp + 273.15; //temperature in Celsius
  dataString += (String)temp_in_celsius;

  // open the file. note that only one file can be open at a time,
  // so you have to close this one before opening another.
  File dataFile = SD.open("datalog.txt", FILE_WRITE);

  // if the file is available, write to it:
  if (dataFile) {
    dataFile.println(dataString);
    dataFile.close();
    // print to the serial port too:
    Serial.println(dataString);
  }
  // if the file isn't open, pop up an error:
  else {
    Serial.println("error opening datalog.txt");
  }
}
The temperature data will now be on the datalog.txt file inside the SD card!

