Introduction to Raspberry Pi HATs
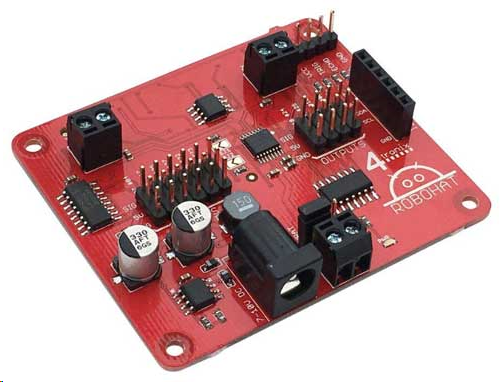
A Raspberry Pi HAT is a circuit board placed on top of a Raspberry Pi in order additional features to the single-board computer. There are a lot of Raspberry Pi Hat available for purchase. This post will show you how to build your own Hat.
This article is sponsored by JLCPCB
Raspberry Pi HAT Basics
HAT is, in fact, an acronym for “Hardware Attached on Top”, first announced in 2014 around the same time as the release of the Raspberry Pi B+. Thus, most HATs are designed from this model onwards. HATs for the Raspberry Pi Zero is called a pHAT.
The HAT is recommended to be 65 x 56 mm, with rounded corners and four mounting holes that align with the holes of the Raspberry Pi.
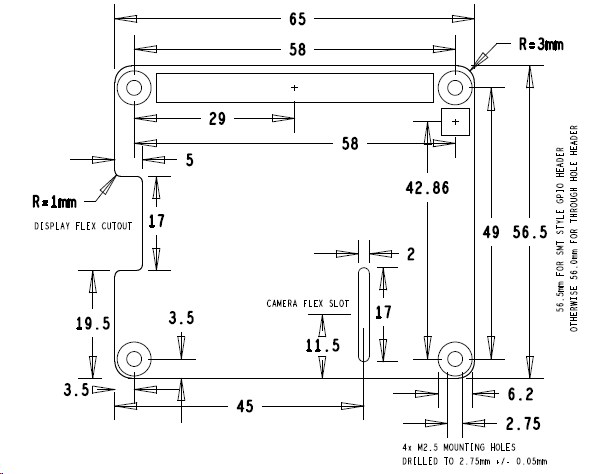
The HAT must be mounted and separated from the Raspberry Pi by 8 mm. Also, HATs must follow the 40W GPIO header setup.
Another requirement for a board to be called a HAT is that it should have a valid ID EEPROM which includes the vendor information, GPIO map and valid device tree information. The ID EEPROM allows the HAT to be automatically configured at boot time. The whole thing about ID EEPROMs warrants a separate article. For now, let me refer you to the HAT EEPROM format.
The Raspberry Pi foundation will not sue you if you will not follow their recommendations, but they advise against calling your board a HAT.
HAT Eagle PCB Layout
Following the mechanical specification shown above, I was able to create a basic PCB template for a HAT:
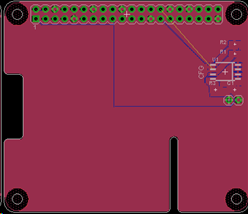
In the past, it was very difficult to build two-layer PCBs because the only option for prototypes are DIY PCBs. But thanks to PCB prototype services offered by JLCPCB, it's now possible to build up to four layers with minimal cost.
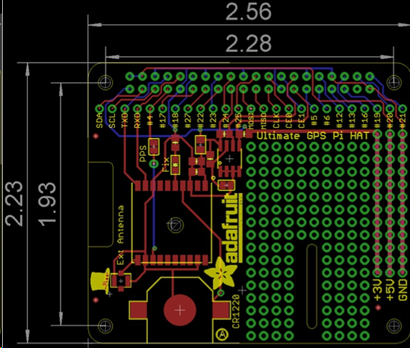
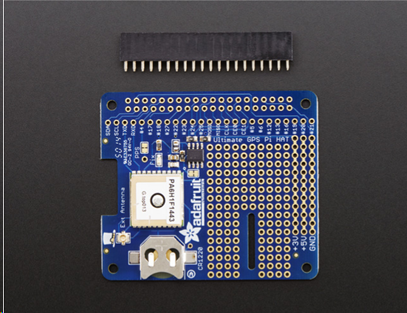
What’s left is to add components that match your application. For example, this HAT by Adafruit below adds GPS function to a Raspberry Pi:
This RoboHAT by Pimoroni is cool as well:

With PCB manufacturers offering very low prices, anyone can create their own HATs. What HAT would you create?


