

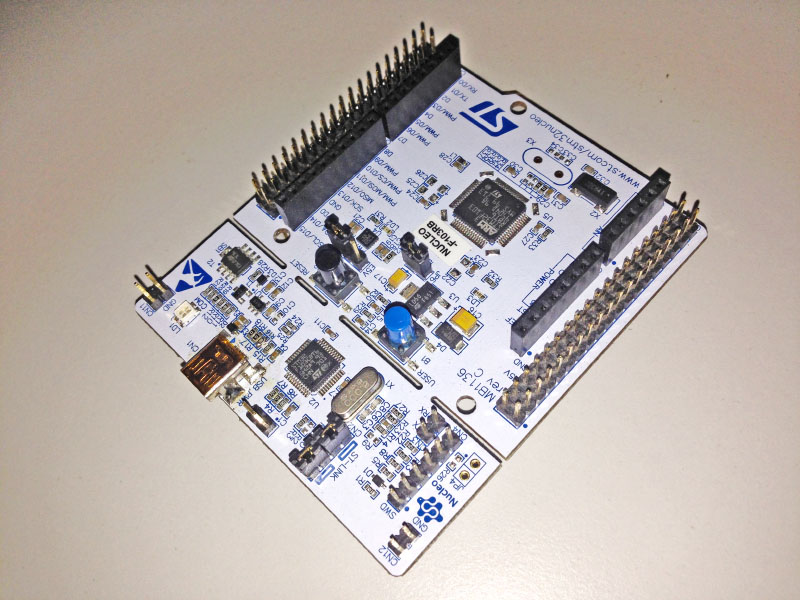
The STM32 Nucleo boards by ST pack a lot more power than an Arduino UNO and have headers aligned the same way with the latter which makes it compatible with Arduino shields.
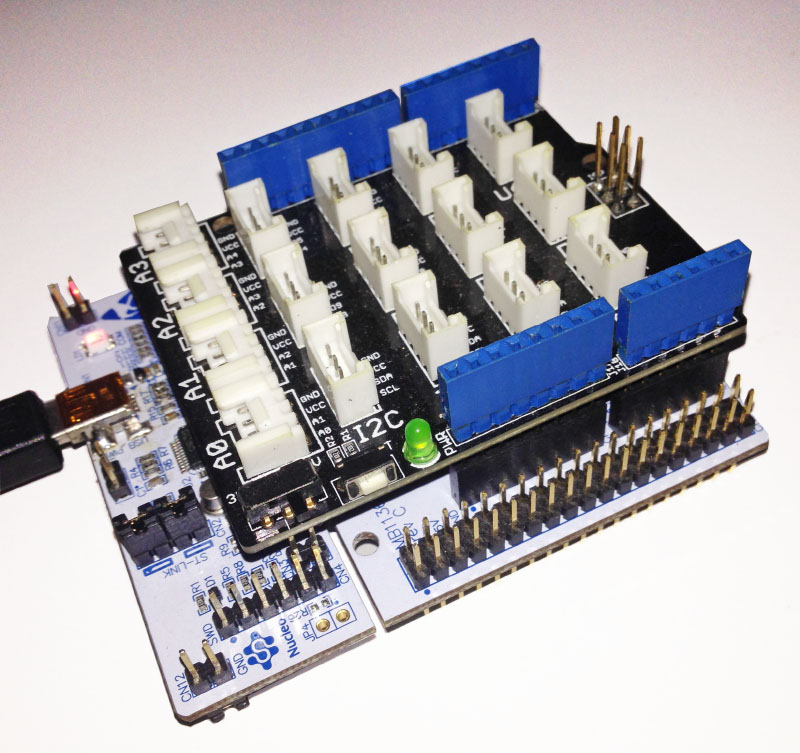
For this tutorial and the next, I will be using Seedstudio’s Grove Shield as it makes it easier to connect some of the devices I need. Here it is attached to my STM32 Nucleo:
Preliminaries
Download the driver for the STM32 board. If the driver installation is successful and the Nucleo board is connected to the desktop computer, it will act like a removable flash drive. Inside the “drive” is a link to the Mbed website and a text file containing some info about the board.
There are a couple of ways to program the STM32 Nucleo board but I found using Mbed is the easiest for beginners. It’s an online compiler with a neat interface and follows Arduino coding standards. Go ahead and register now to use the online compiler.
Using Mbed
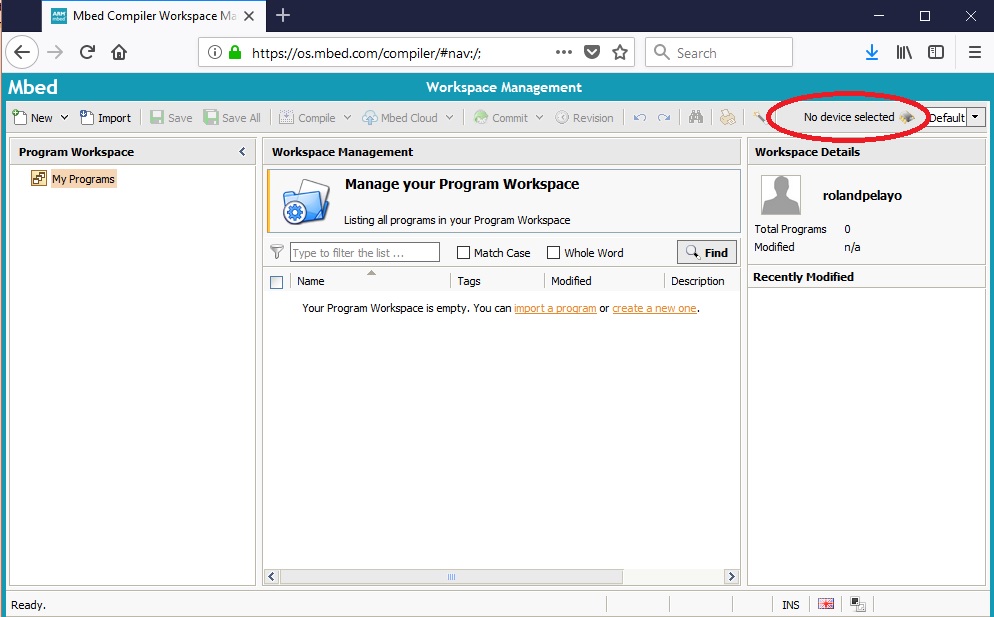
Once you’re in the compiler page, click on the upper-right corner to add an Mbed-supported board:
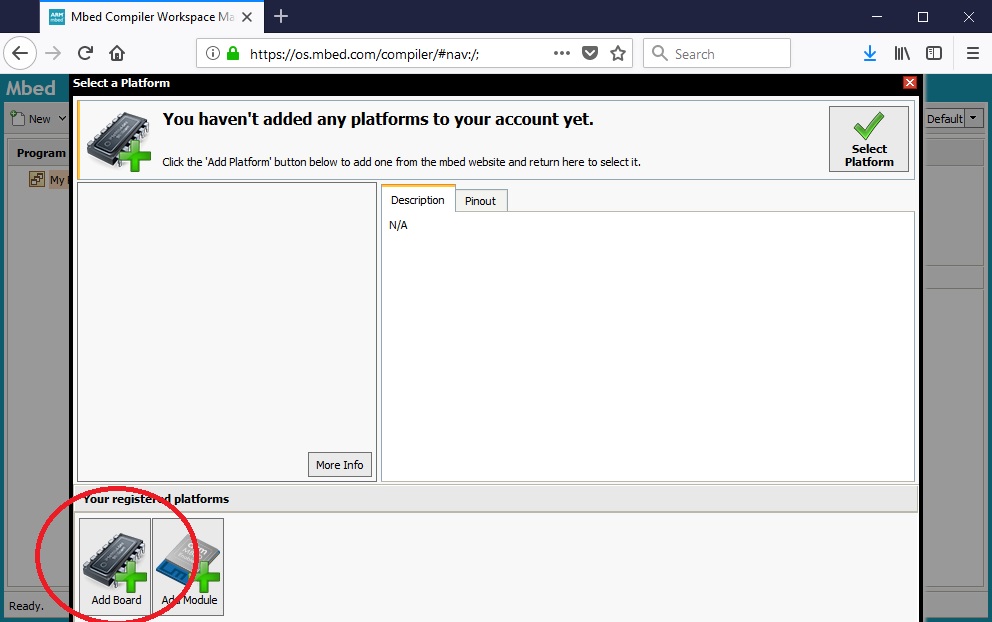
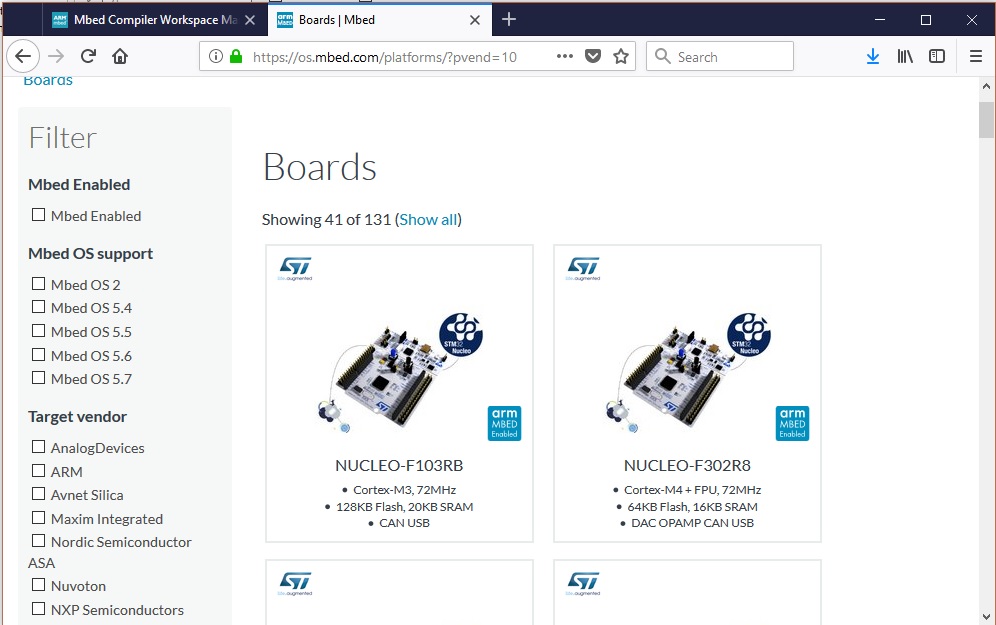
The Mbed platform page will now open. Tick the ST Microelectronics checkbox to find the Nucleo-F103RB board quicker:
Click the board and, on its info page which you will be redirected, click the “Add to your Mbed Compiler” button:

After the confirmation, go back to the compiler page and click the “Select Device” button on the upper-right corner again. The Nucleo F103RB board should now be visible:
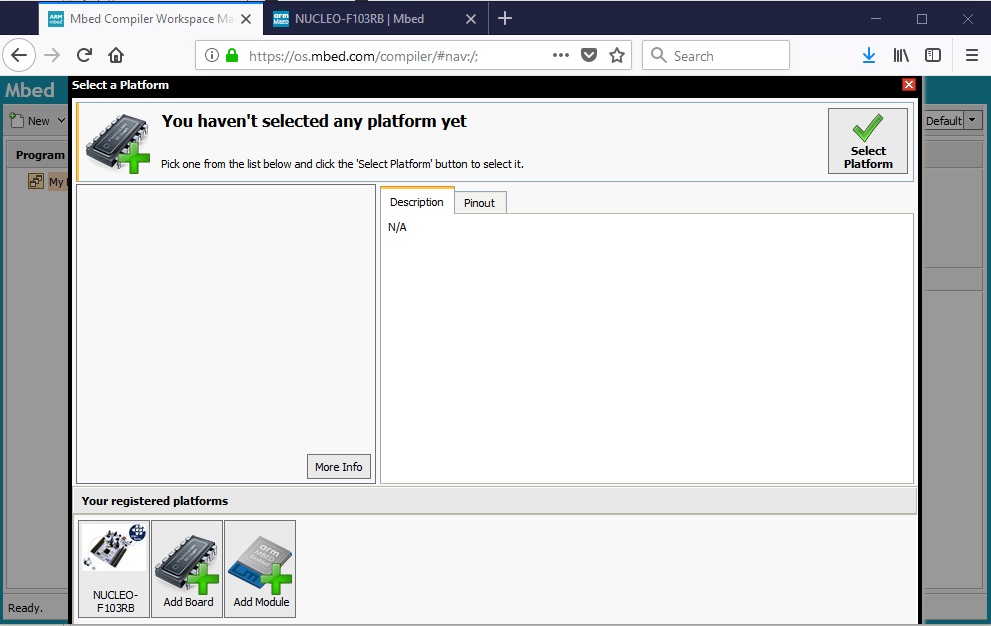
Click the board, then the “Select Platform” button to get started.
Our First Nucleo Program
Click “New” and a dialog opens up. The default program name is Nucleo_blink_led. Let’s leave that program name as is.
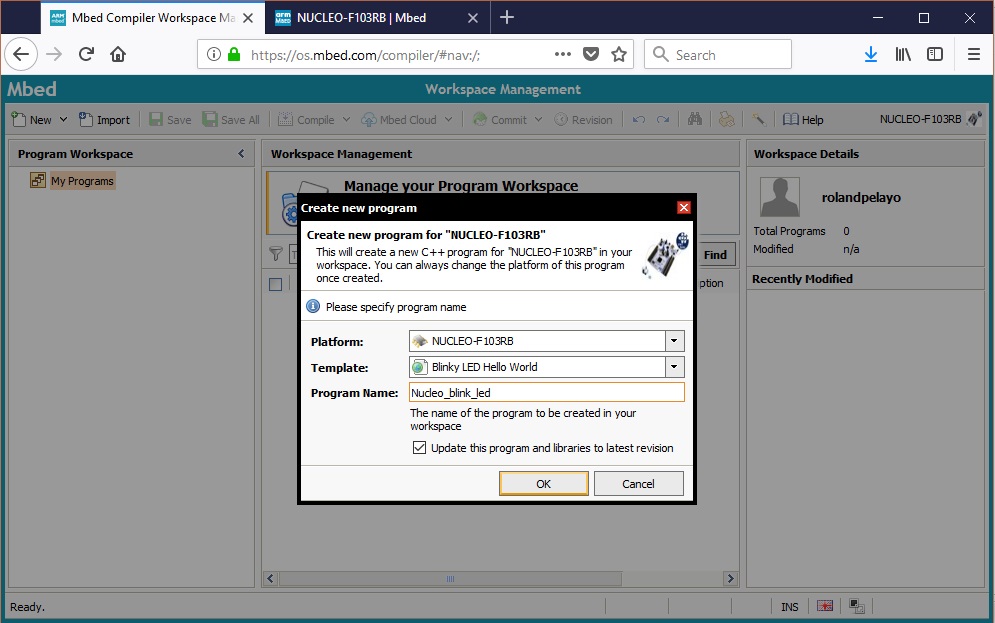
The Nucleo_blink_led program will contain a “main.cpp” file and the mbed library. The main.cpp file contains a basic program that turns the on-board LED on the Nucleo on and off:
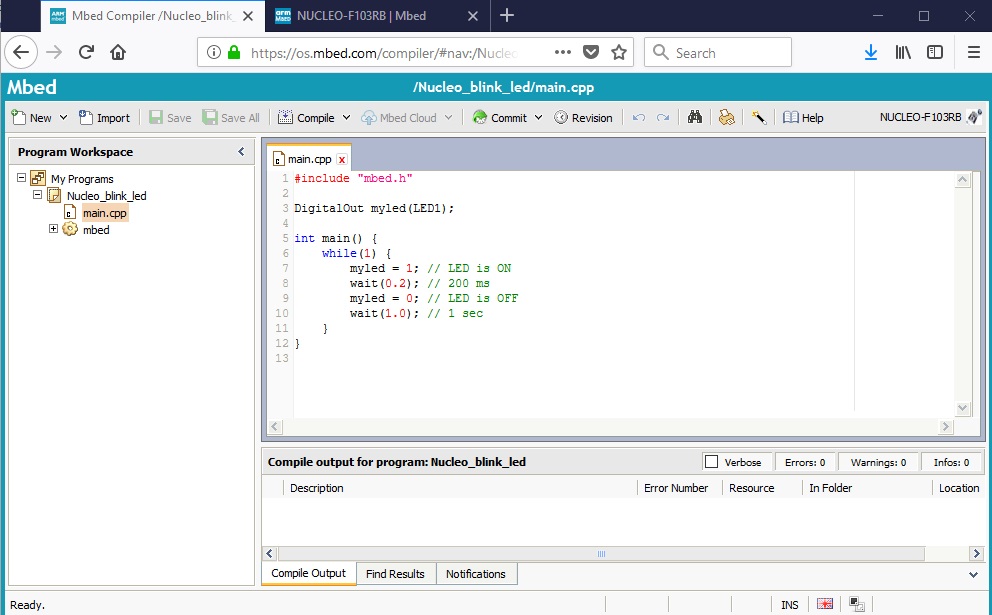
DigitalOut is a class that assigns a pin as a digital output. Here, the class object is aliased myled and is attached to LED1, the name of the on-board LED on the Nucleo.
As with C/C++ programming, there must always be a main() function. Inside the main function is an infinite loop (while (1)) where myled is toggled on and off with time delays in between.
Click the compile button on the menu bar. When the program compilation is successful, you will be prompted to save or open the binary file:
Note: the download dialog doesn’t seem to appear after compilation when I used Chrome. That’s why I am using Firefox here.
Your only choice in this case is to download the .bin file.
Once the binary file is downloaded, transfer it to the Nucleo "drive" just like how you would transfer any other file.


