Home / Tutorials / BeagleBone Tutorial / Analog Signals with BeagleBone BoneScript
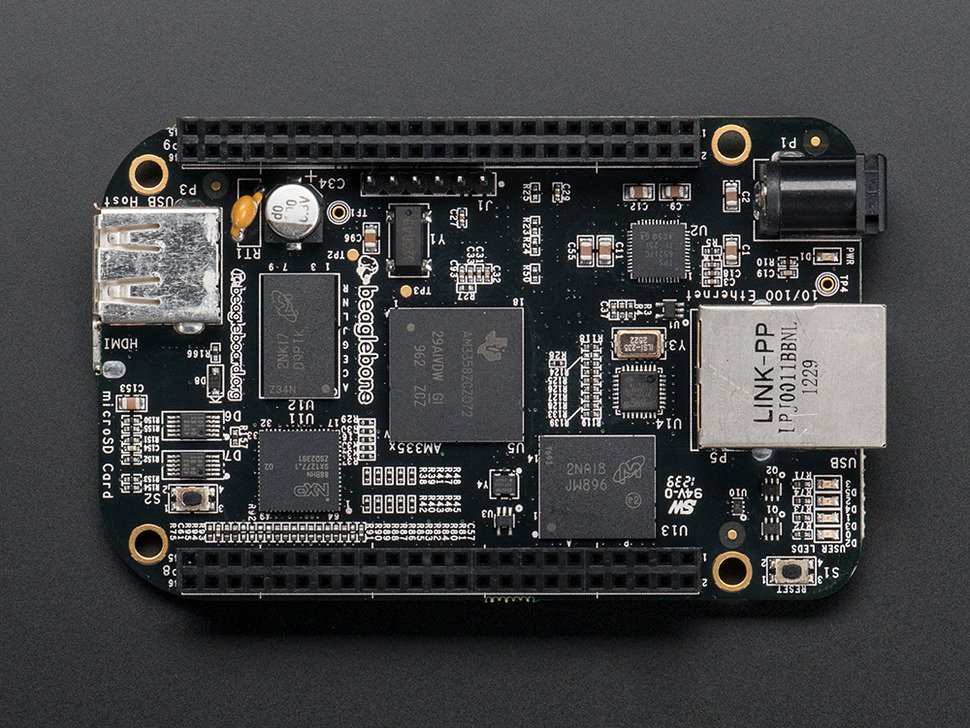
Analog Signals with BeagleBone BoneScript

Using the Beaglebone Black ADC

One of the advantages of the Beaglebone Black over the Raspberry Pi is the presence of an analog-to-digital converter. There are 7 analog inputs, all at P9:

http://192.168.7.2/static/images/cape-headers-analog.png

To process analog signals, we’ll be using the analogRead() function. Note that the analog pins can only read as much as 1.8 V. Levels higher than 1.8 V will damage the pins so be wary!

The following script reads an analog signal on pin P9_40 and displays it on the Output log on the Cloud9 IDE:

var b = require('bonescript');
inputPin = "P9_40";
loop();
function loop() {
    var value = b.analogRead(inputPin);
    console.log(value);
    setTimeout(loop, 1);
};

About Roland Pelayo

Roland Pelayo started TMM in 2015. He is a firmware engineer who has over ten years of experience in developing electronic and microcontroller-based systems. Roland's designs include medical devices, security and automation, robots, emergency alert systems, and educational training modules.   Have something that you like Roland to write about here? or do you need consultation for microcontroller firmware projects? just contact him via the contact page.

Check Also

beaglebone black adc

Controlling a Servo Motor with BoneScript

Using the Beaglebone Black’s PWM Bonescript also includes an analogWrite function which utilizes the 8 …