Getting Started with PocketBeagle Mini SBC
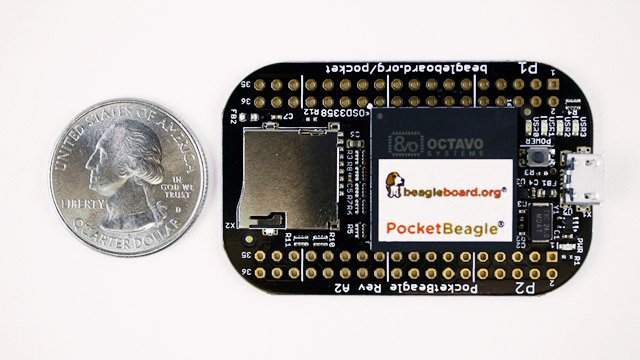
I am a fan of the BeagleBone Black. Thus when I heard that a small-body version of the BBB is now available, I purchased it immediately even if it costs twice as much as the other small-body SBC, the Raspberry Pi Zero. The PocketBeagle, as it’s called, also doesn’t have built-in WiFi or Bluetooth or even an HDMI port for connecting to an external display. What makes this SBC special then?
The Internals
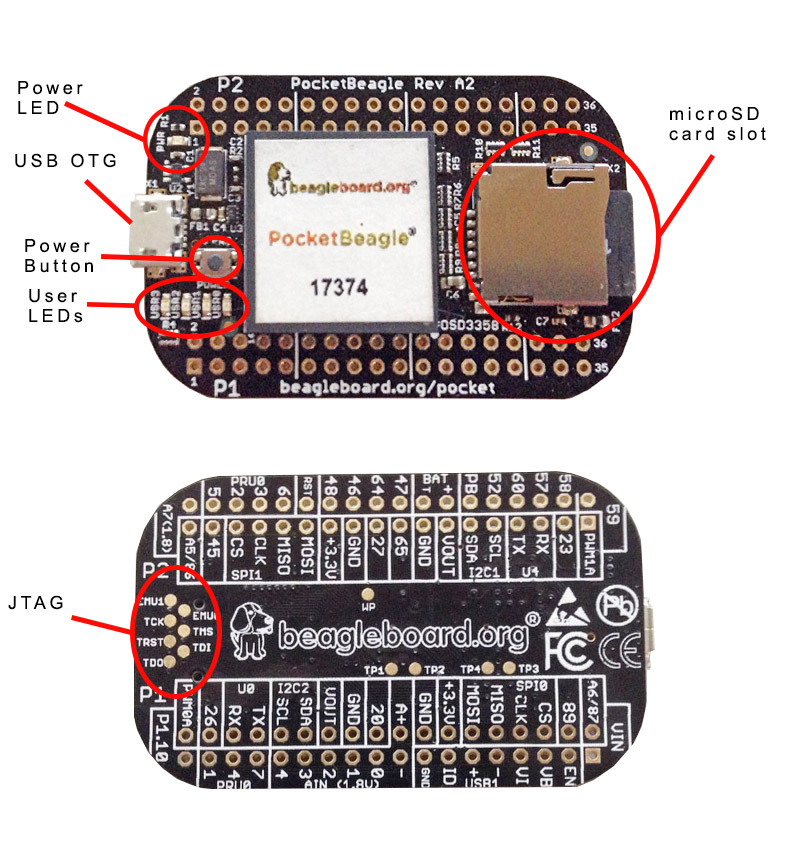
To start, the PocketBeagle is powered by Octavo Systems OSD3358-SM System-in-Package (SiP) that contains the Sitara AM335X CPU, 512 MB RAM, 4kB EEPROM, Power Management IC (PMIC) in a single package. The AM335X CPU is the same CPU on the Beaglebone Black which means we expect the two to have the same computing speed.
[the_ad id="3059"]
However, it doesn’t have its own 4GB eMMC which was used to store Linux images on the BBB. The microSD card therefore must be always mounted for the PocketBeagle to boot.
Debian Image for PocketBeagle
Speaking of the microSD card, you’ll need to burn a PocketBeagle compatible Linux image to it using Win32 Disk Imager or Etcher. I haven’t tried Etcher so I would refer you to another tutorial if you prefer it. If you want to use Win32 Disk Imager, here’s a download link. Install it and just follow what’s shown below:
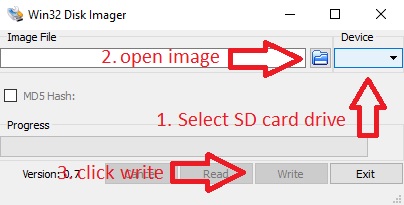
Note that the image must be extracted first before you can burn it with Win32 Disk Imager.
Insert the microSD card with the image to the PocketBeagle, connect the microUSB cable and it should turn on:
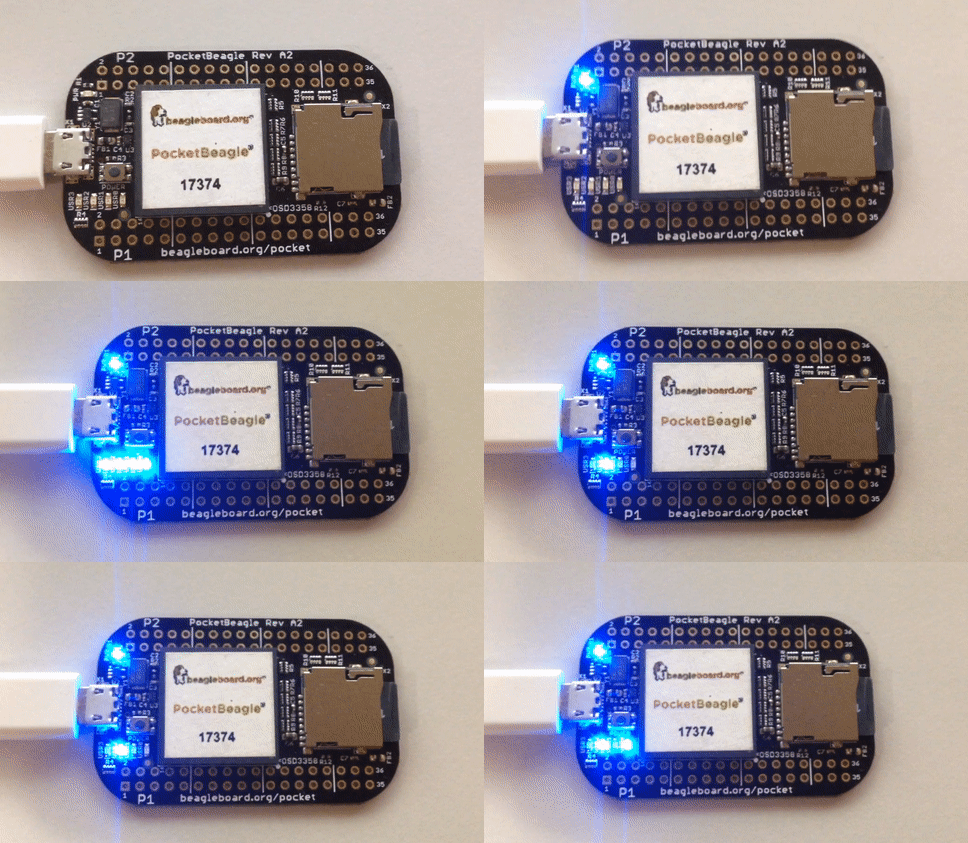
If the board is connected to your computer’s USB port, it should be detected as a removable drive. Inside the drive are web pages which will help you get started with development using Cloud9 and Node-Red. But of course I will not go that path.
[the_ad id="3059"]
The PocketBeagle is automatically assigned the IP address 192.168.7.2 (Windows) or 192.168.6.2 (Mac/Linux). You can use this or the hostname beaglebone.local to access the PocketBeagle via SSH.
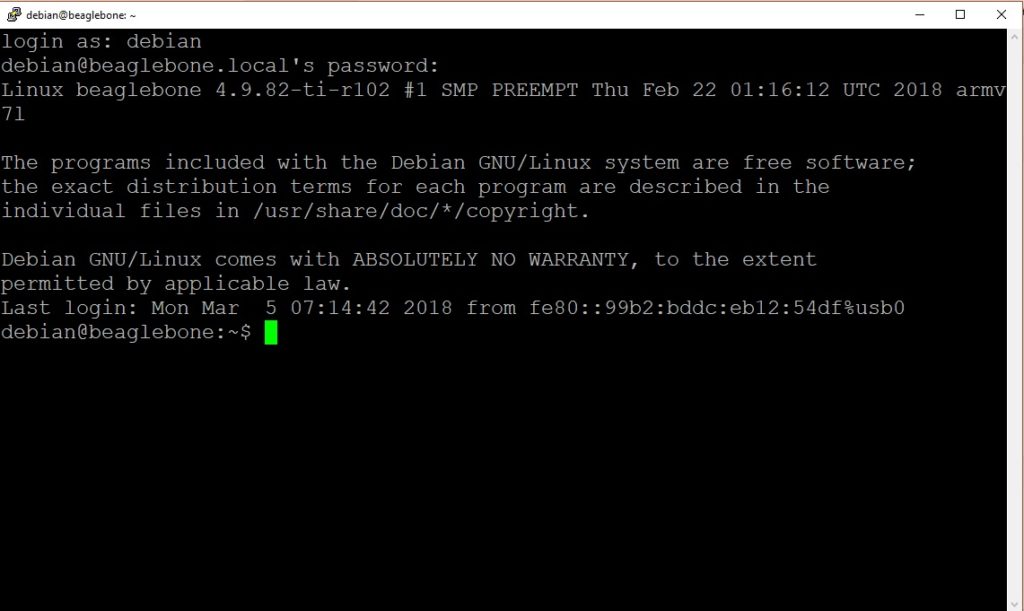
The default user name is debian with password temppwd. BTW, you need Putty to SSH via Windows.
Now let me add some headers into my PocketBeagle to work with external components. That would be for the next tutorial so I hope you come back!
[the_ad id="3059"]


