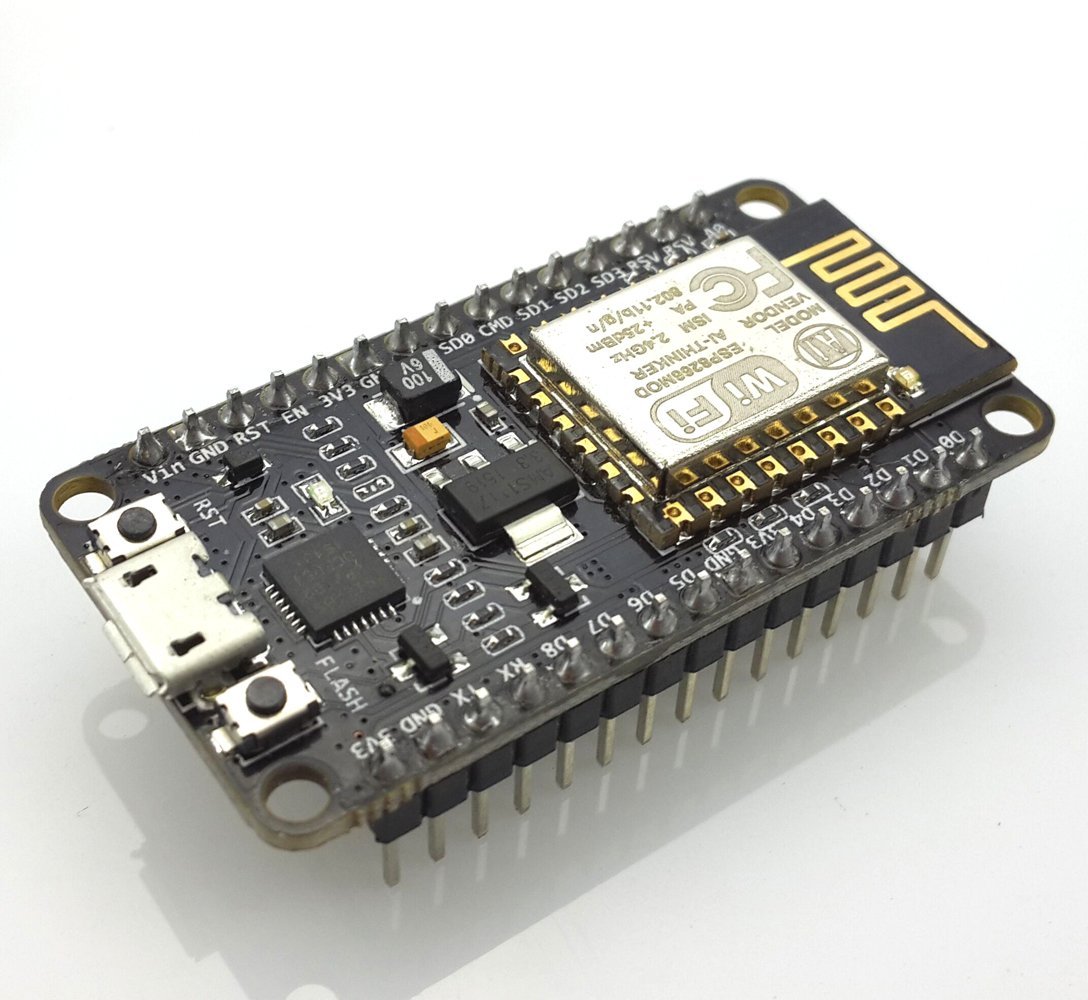
Creating NodeMCU WiFi Access Point

You can use WiFi with the NodeMCU (ESP8266) even without a WiFi router. All you need to do is create a NodeMCU WiFi Access Point and the device will now act as a WiFi gateway.
NodeMCU WiFi Access Point Code
For this tutorial, we will modify the code shown in my NodeMCU web server article. The example code below also uses the same schematic (an LED on D7).
#include <ESP8266WiFi.h>
#include <WiFiClient.h>
#include <ESP8266WebServer.h>
// Replace with your network credentials
const char* ssid = "<YOUR WIFI SSID>";
const char* password = "<YOUR WIFI PASSWORD>";
ESP8266WebServer server(80); //instantiate server at port 80 (http port)
String page = "";
int LEDPin = 13;
void setup(void){
//the HTML of the web page
page = "<h1>Simple NodeMCU Web Server</h1><p><a href=\"LEDOn\"><button>ON</button></a> <a href=\"LEDOff\"><button>OFF</button></a></p>";
//make the LED pin output and initially turned off
pinMode(LEDPin, OUTPUT);
digitalWrite(LEDPin, LOW);
delay(1000);
Serial.begin(115200);
WiFi.softAP(ssid, password); //begin WiFi access point
Serial.println("");
// Wait for connection
while (WiFi.status() != WL_CONNECTED) {
delay(500);
Serial.print(".");
}
Serial.println("");
Serial.print("Connected to ");
Serial.println(ssid);
Serial.print("IP address: ");
Serial.println(WiFi.softAPIP());
server.on("/", [](){
server.send(200, "text/html", page);
});
server.on("/LEDOn", [](){
server.send(200, "text/html", page);
digitalWrite(LEDPin, HIGH);
delay(1000);
});
server.on("/LEDOff", [](){
server.send(200, "text/html", page);
digitalWrite(LEDPin, LOW);
delay(1000);
});
server.begin();
Serial.println("Web server started!");
}
void loop(void){
server.handleClient();
}
You'll see that we used WiFi.softAP() instead of WiFi.begin() (on line 22) --- this creates the NodeMCU WiFi access point. Then to print the NodeMCU's ip, which we need to view the server page, we use WiFi.softAPIP() (line 34).
Upload the code above to your NodeMCU. If successful, the device should be visible as a WiFi access point with the SSID and password you specified in the code above.
You can also use this method to send data between two NodeMCUs. Basically, one device acts as a client one as a server, and also as the access point. The data will only be between the two and so will be much more secure compared to having a WiFi gateway/router.


