
If you’ve just started tinkering with ESP32 microcontrollers, you’ve probably noticed there isn’t just one “ESP32 board” — there are many, each with its own quirks and strengths. Some are built for general prototyping, others come with cameras or extra memory, while newer ones focus on AI, USB gadgets, or smart-home protocols like Matter. This guide breaks down the most common ESP32 boards in simple terms, showing what makes them different and helping you decide which one best fits your project.
ESP32 Boards and Their Uses
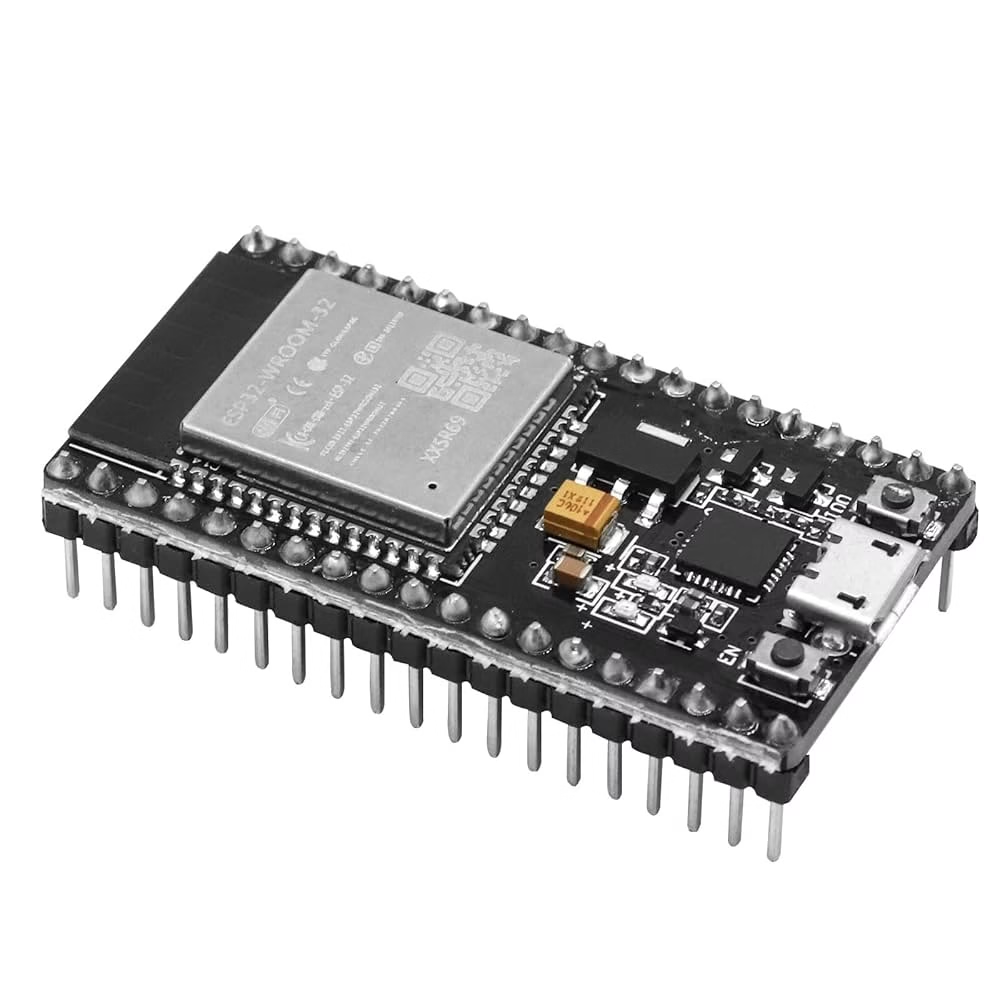
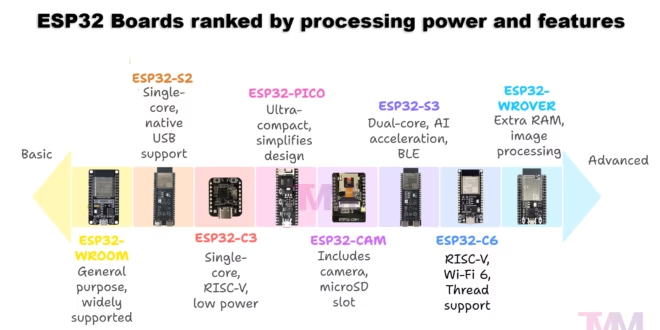
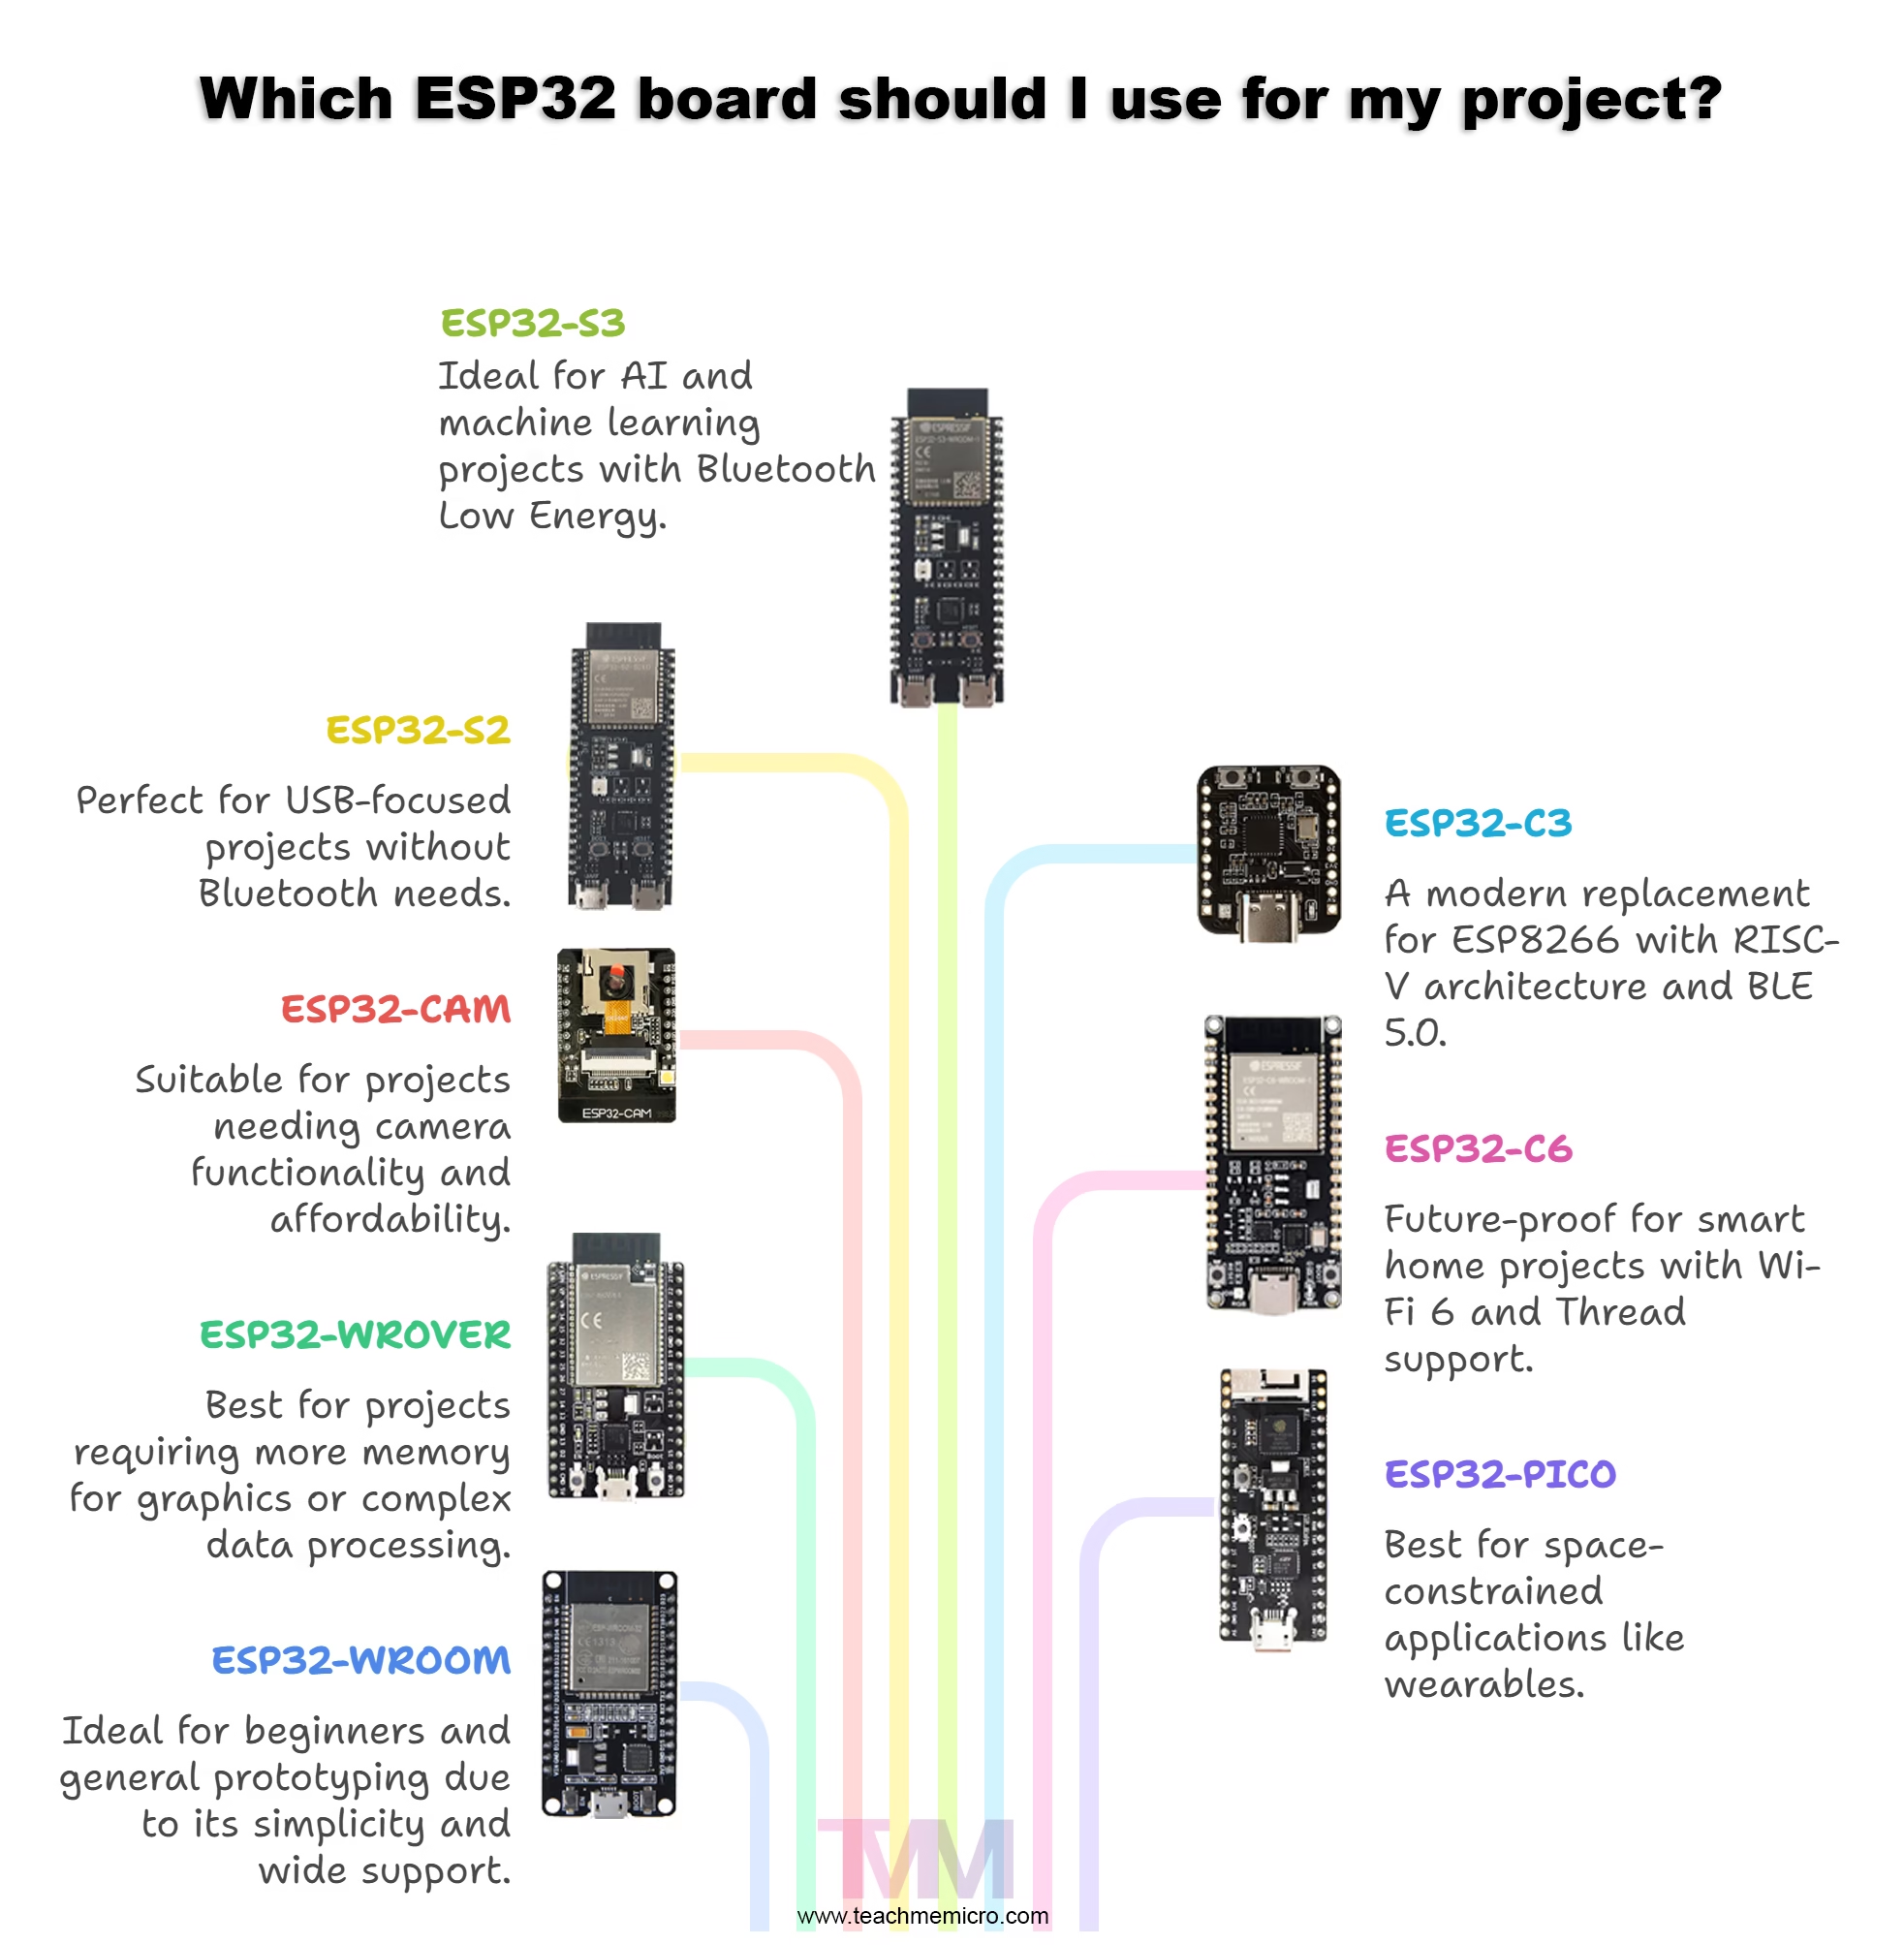
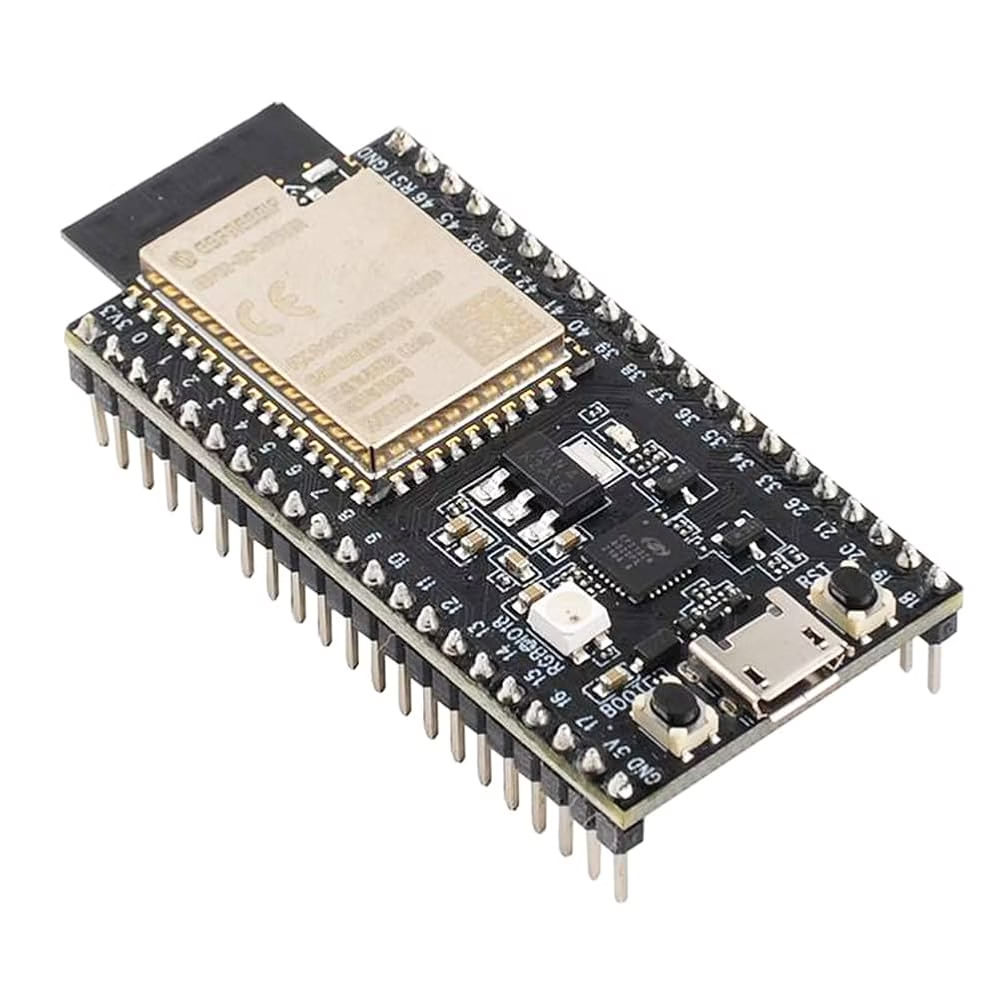
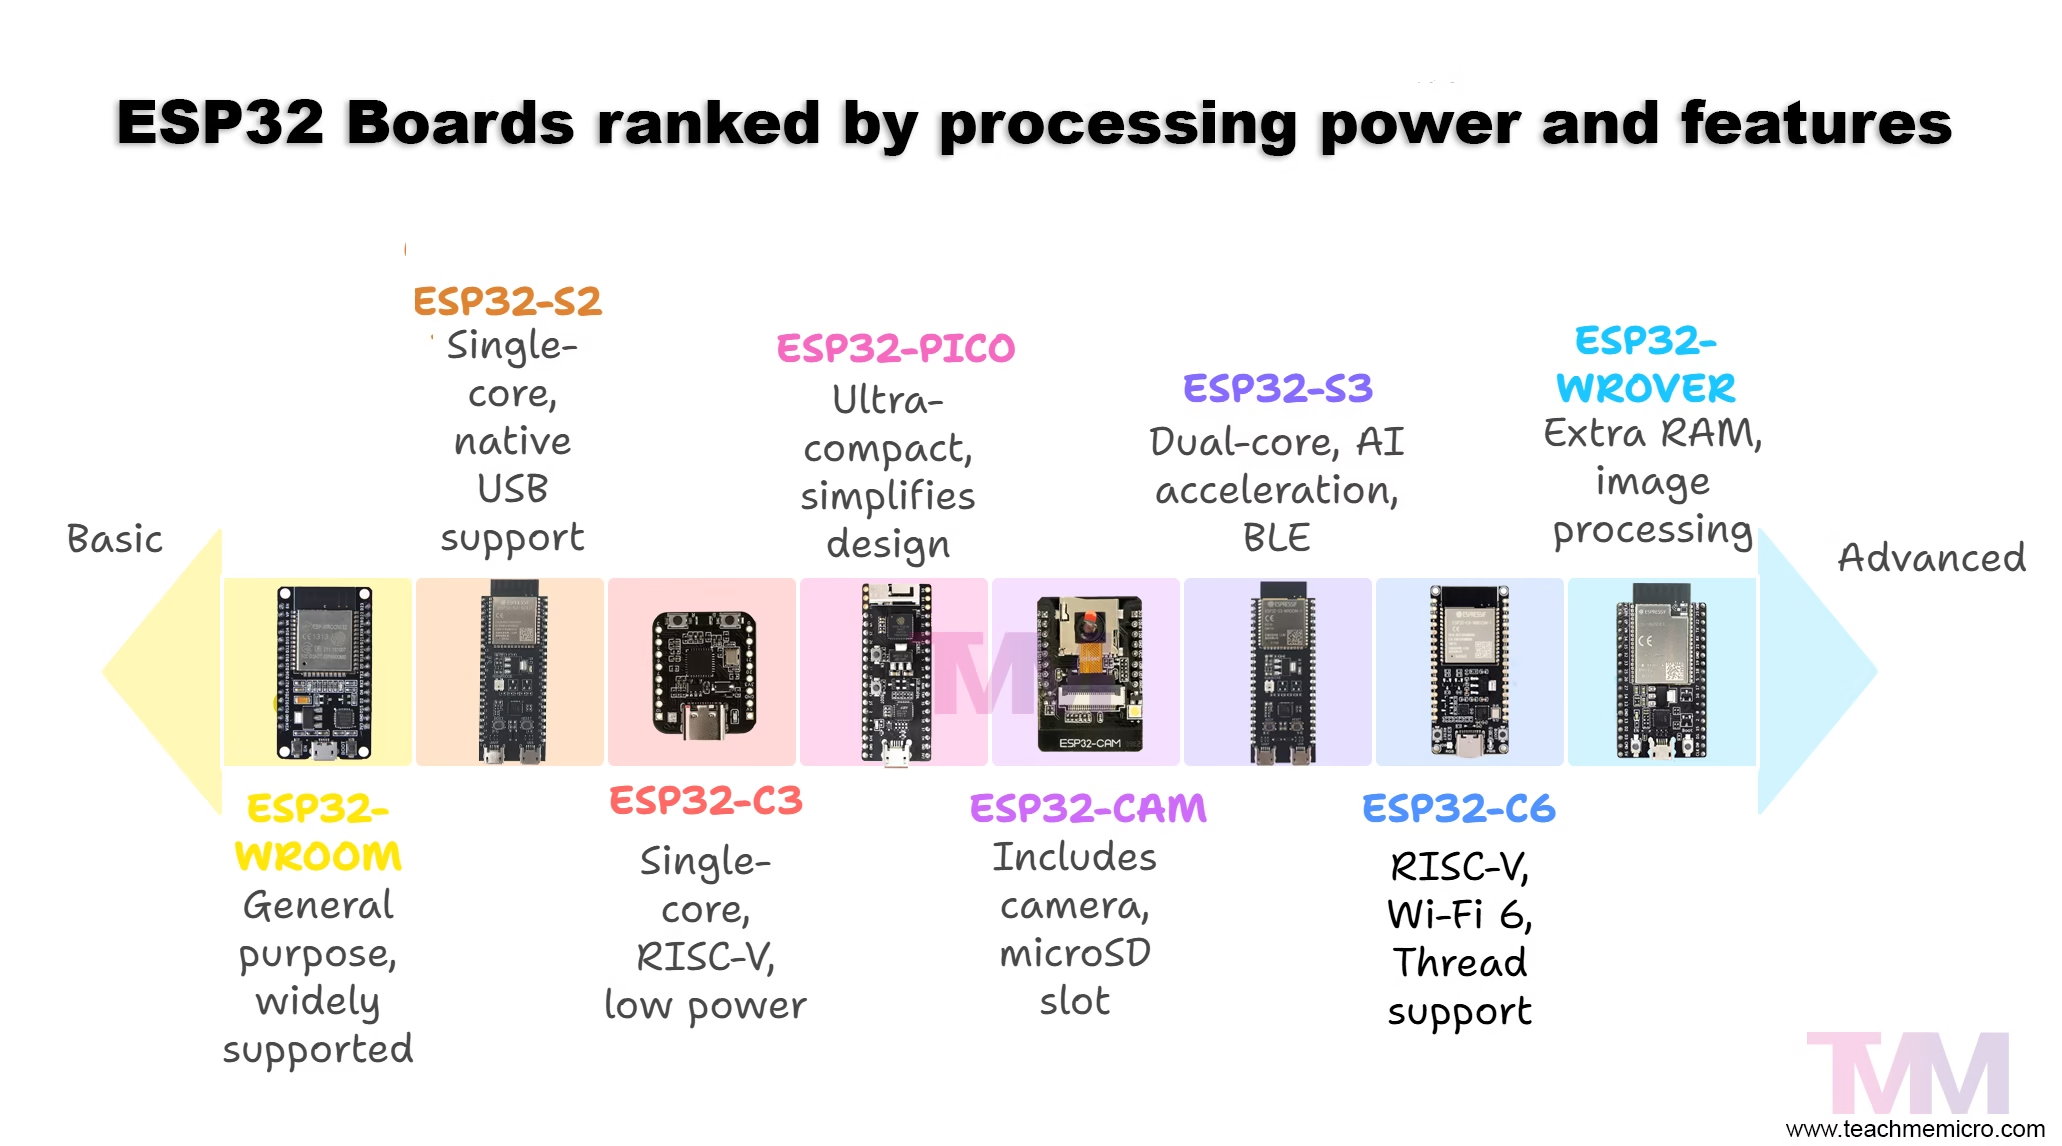
ESP32-WROOM (a.k.a. ESP32 DevKitC)
The ESP32-WROOM is the “classic” ESP32 development board. It has the standard ESP32 chip, dual-core processor, Wi-Fi, Bluetooth, and plenty of GPIO pins. Use this when you’re just starting out, prototyping, or don’t have any special needs like camera or audio. It’s the most common board, widely supported in tutorials, and super cheap. Most of our tutorials here use ESP32-WROOM.
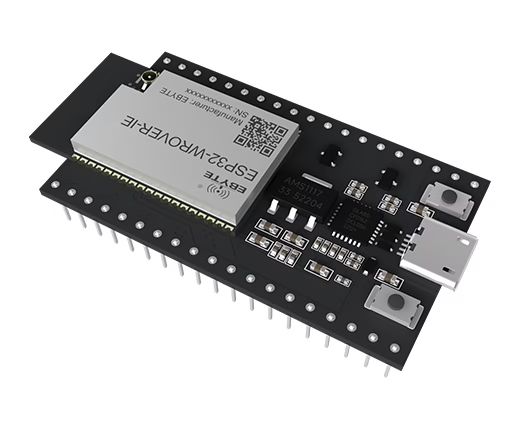
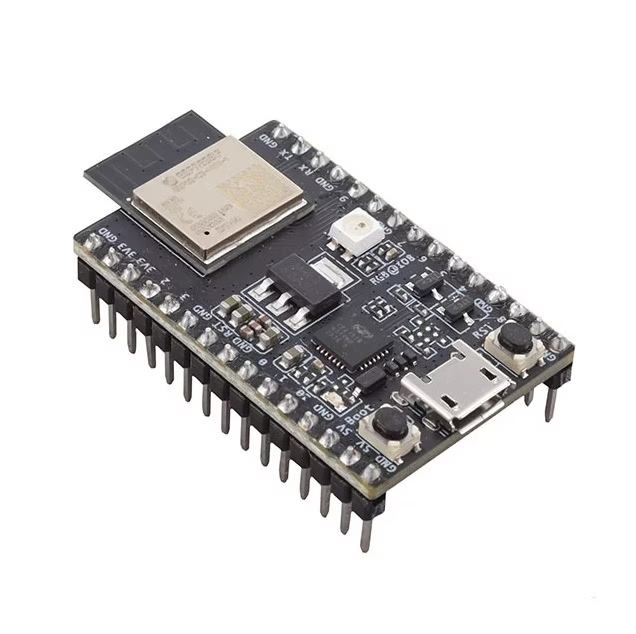
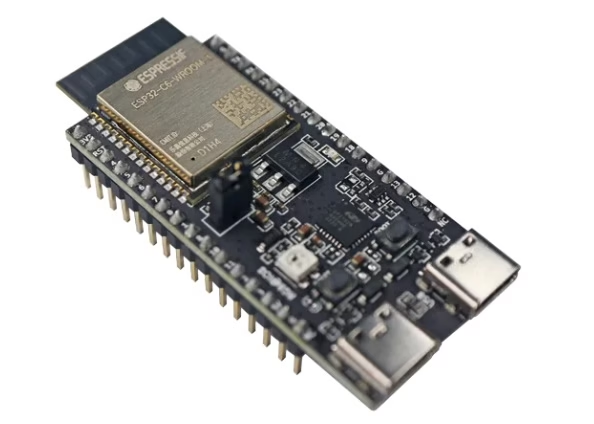
ESP32-WROVER
Think of the ESP32-WROVER as the WROOM’s big brother. It has extra RAM (PSRAM) and sometimes tiny built-in flash. That extra memory makes it great for things like buffering large amounts of data, running displays, or doing camera/image processing. Use this if you need more horsepower for graphics, audio, or complex projects like IoT hubs.
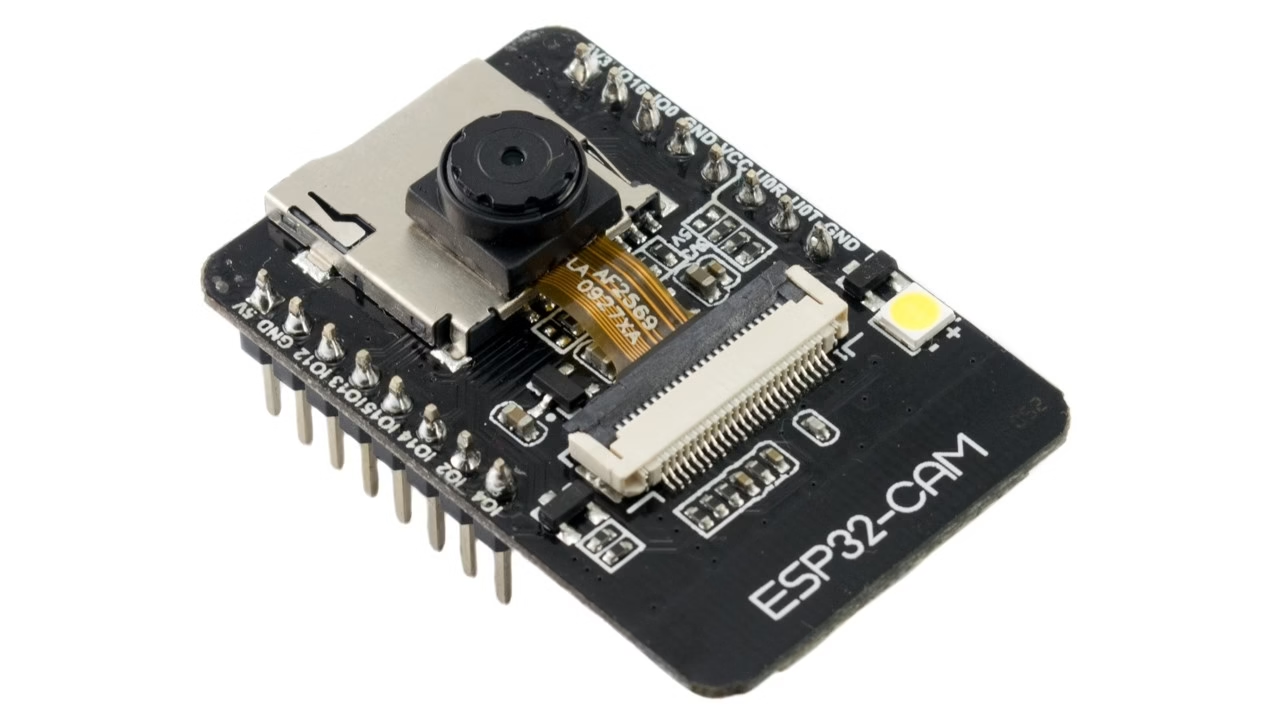
ESP32-CAM
This one comes with a camera module and microSD slot on board, but fewer GPIO pins. It’s tiny and very affordable. The trade-off: no built-in USB port, so you’ll need a separate USB-to-serial adapter to program it. Use this for security cameras, motion-triggered image capture, or anything involving low-cost video streaming and snapshots.
ESP32-S2
The ESP32-S2 is a single-core version of the ESP32 focused more on USB capabilities. It supports native USB, so you can make it appear as a keyboard, mouse, or other USB device. It doesn’t have Bluetooth. Use this for USB gadgets, HID devices, or projects where Bluetooth isn’t needed but USB features are.
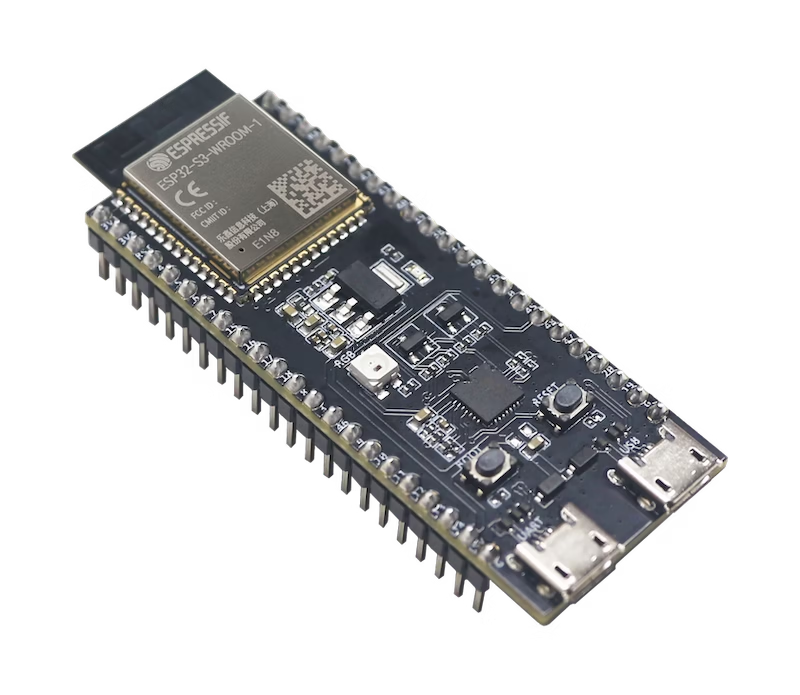
ESP32-S3
The ESP32-S3 is like the S2 but upgraded. It is dual-core again, supports AI acceleration, and has Bluetooth Low Energy (BLE). It’s also optimized for running TinyML, or small machine learning models. Use this if you’re building smart sensors, gesture recognition, voice activation, or any ML-flavored project on the edge.
ESP32-C3
The ESP32-C3 is interesting because it uses a RISC-V core instead of the Tensilica cores used in older ESP32 chips. It’s single-core, has Wi-Fi plus BLE 5.0, and is cheaper and lower power. It’s also pin-compatible with many ESP8266 boards. Use this if you need a modern replacement for the old ESP8266, want BLE 5.0 features, or prefer RISC-V architecture.
ESP32-C6
The ESP32-C6 adds support for Wi-Fi 6 and Thread, which is useful for Matter-based smart-home projects. It is also RISC-V based. Use this if you want to future-proof an IoT project, especially one that targets Matter or Thread ecosystems.
ESP32-PICO
ESP32-PICO modules are ultra-compact modules with flash, RAM, and even the crystal oscillator integrated into one chip. They save space and simplify the board design. Use this for wearables, tiny IoT devices, or anywhere board space is at a premium.
ESP32 Boards Comparison
Quick side-by-side to help you pick the right ESP32 board for your project.
| Board / Module | Cores / Arch | Wi-Fi | Bluetooth | Native USB | PSRAM | GPIO (approx.) | Notable Features | Best For |
|---|---|---|---|---|---|---|---|---|
| ESP32-WROOM (DevKitC) | Dual-core Xtensa | 802.11 b/g/n (2.4 GHz) | Classic + BLE 4.2 | No; uses USB-UART bridge on dev boards | No | ~25–30 usable | Most common, cheap, broad library/tutorial support | General prototyping, learning, IoT basics |
| ESP32-WROVER | Dual-core Xtensa | 802.11 b/g/n (2.4 GHz) | Classic + BLE 4.2 | No; uses USB-UART bridge on dev boards | Yes, typically 4–8 MB | ~25–30 usable | Extra RAM for images, buffers, and GUIs | Displays, audio, buffering, heavier apps |
| ESP32-CAM | Dual-core Xtensa | 802.11 b/g/n (2.4 GHz) | Classic + BLE 4.2 | No; program via external USB-UART | Varies | Very limited because the camera uses many pins | OV2640 camera onboard, microSD slot, tiny form factor | Low-cost camera, snapshots, simple streaming |
| ESP32-S2 | Single-core Xtensa | 802.11 b/g/n (2.4 GHz) | No Bluetooth | Yes, USB OTG | Optional on some modules | ~30+ usable | Native USB: HID, MSC, MIDI; lower power than classic ESP32 | USB gadgets, keyboards, mice, MIDI, secure devices |
| ESP32-S3 | Dual-core Xtensa + vector instructions | 802.11 b/g/n (2.4 GHz) | BLE 5, no Classic Bluetooth | Yes, USB OTG | Common, up to 8 MB | ~30+ usable | Improved AI/ML on device, camera/LCD friendly, rich I/O | Edge ML, vision, BLE sensors, modern USB projects |
| ESP32-C3 | Single-core RISC-V | 802.11 b/g/n (2.4 GHz) | BLE 5 | Yes on some dev boards via USB-CDC | Typically no | ~20–22 usable | Low cost, secure boot, ESP8266-like footprint | ESP8266 upgrade path, low-power BLE + Wi-Fi |
| ESP32-C6 | Single-core RISC-V | Wi-Fi 6 2.4 GHz + 802.15.4 Thread | BLE 5 | Yes on many dev boards via USB-CDC | Typically no | ~20–22 usable | Matter/Thread ready, better coexistence, future-proof IoT | Smart home, Matter/Thread, modern IoT stacks |
| ESP32-PICO | Dual-core Xtensa | 802.11 b/g/n (2.4 GHz) | Classic + BLE 4.2 | No | No; focus is tiny footprint | ~20–24 usable | Flash and crystal integrated in a tiny package | Wearables, ultra-compact designs, cost-sensitive products |
Quick “When to Use Which” Cheat Sheet
- Beginner / general use: ESP32-WROOM (DevKitC)
- Projects needing more RAM: ESP32-WROVER
- Camera projects: ESP32-CAM
- USB gadgets such as keyboards, MIDI, and HID devices: ESP32-S2
- AI / ML or advanced BLE: ESP32-S3
- Low-cost ESP8266 replacement: ESP32-C3
- Smart home Matter/Thread projects: ESP32-C6
- Tiny or wearable projects: ESP32-PICO
The ESP32 family has grown into a versatile lineup that covers everything from simple hobby projects to advanced IoT and AI applications. Whether you’re building your first prototype, experimenting with cameras and sensors, or preparing for future smart-home standards, there’s an ESP32 board tailored for the job. The key is matching the board’s strengths to your project’s needs. Start simple, then explore the more specialized modules as your ideas expand.


 Board for the First Time")


