This setup is:
- Free
- Reliable
- No Firebase
- No OAuth
- No paid APIs
If you just want a clean Google Sheet logging your ESP32 sensor data, this is one of the simplest and most stable methods available today.
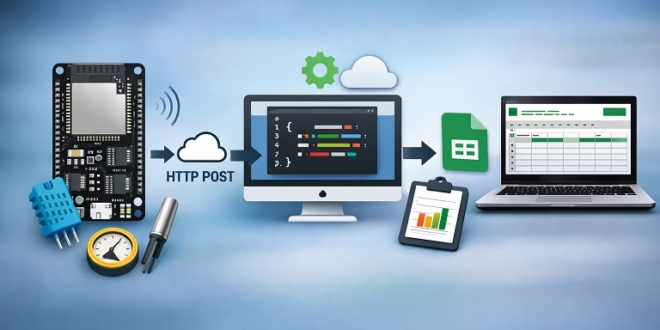
How This Works
Here’s the flow I’m using:
- ESP32 reads sensor data
- ESP32 connects to Wi-Fi
- Every 1 hour, ESP32 sends an HTTP POST request
- Google Apps Script receives the data
- The data is appended to Google Sheets
That’s it.
What I’m Using
Hardware
- ESP32 (any variant works)
- Any sensor (DHT22, DS18B20, analog sensor, etc.)
Software & Accounts
- Arduino IDE
- Google account
- Internet connection
Step 1: Create the Google Sheet
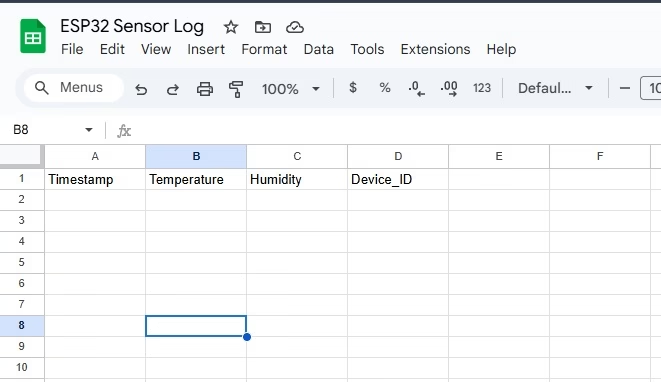
- Go to Google Sheets
- Click Blank
- Rename the file (I use something like ESP32 Sensor Log)
- Add these headers in Row 1: Timestamp | Temperature | Humidity | Device_ID
You can add more columns later if you want more sensors.
Step 2: Create the Google Apps Script
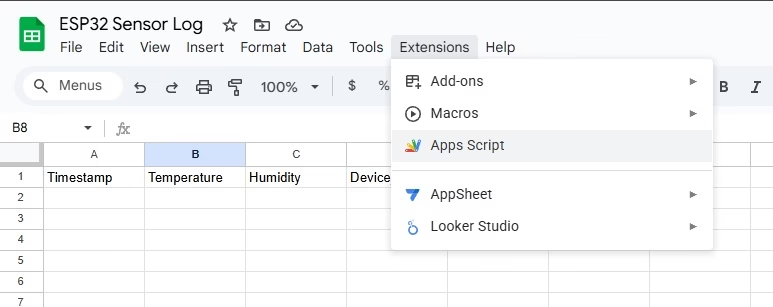
- Inside your Google Sheet, click
Extensions → Apps Script - Delete everything inside the editor
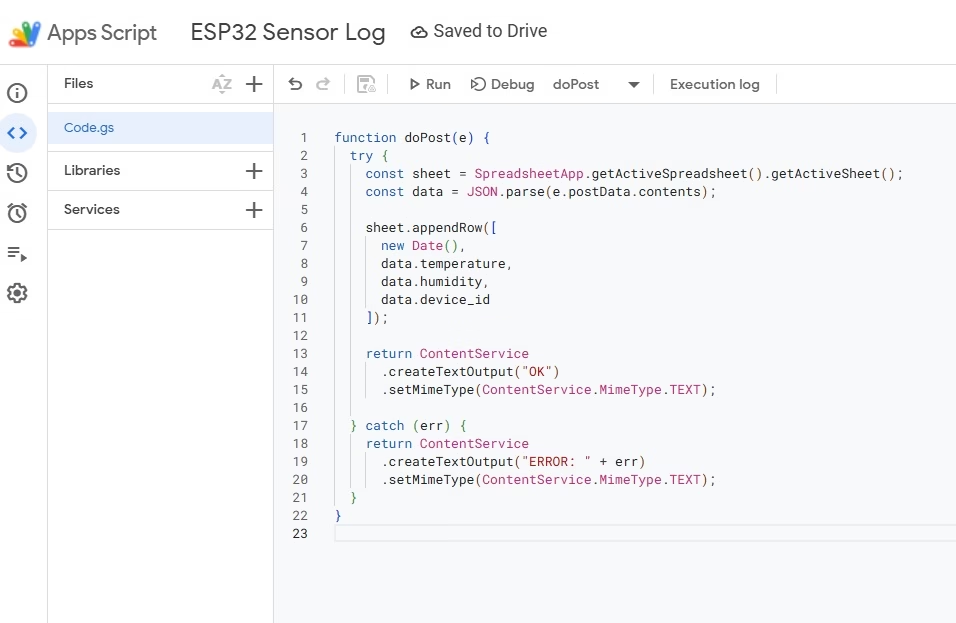
- Paste this code:
function doPost(e) {
  try {
    const sheet = SpreadsheetApp.getActiveSpreadsheet().getActiveSheet();
    const data = JSON.parse(e.postData.contents);

    sheet.appendRow([
      new Date(),
      data.temperature,
      data.humidity,
      data.device_id
    ]);

    return ContentService
      .createTextOutput("OK")
      .setMimeType(ContentService.MimeType.TEXT);

  } catch (err) {
    return ContentService
      .createTextOutput("ERROR: " + err)
      .setMimeType(ContentService.MimeType.TEXT);
  }
}
- Click Save
- Name the project (I usually call it ESP32 Sensor Log )
Step 3: Deploy the Script as a Web App
- Click Deploy → New deployment
- Select Web app
- Set the options:
- Execute as: Me
- Who has access: Anyone
- Click Deploy
- Authorize permissions
- Copy the Web App URL
I’ll use this URL in the ESP32 code.
Step 4: ESP32 Arduino Code (Hourly Upload)
Libraries I’m Using
These are already included with ESP32 Arduino core:
- WiFi.h
- HTTPClient.h


 Board for the First Time")