
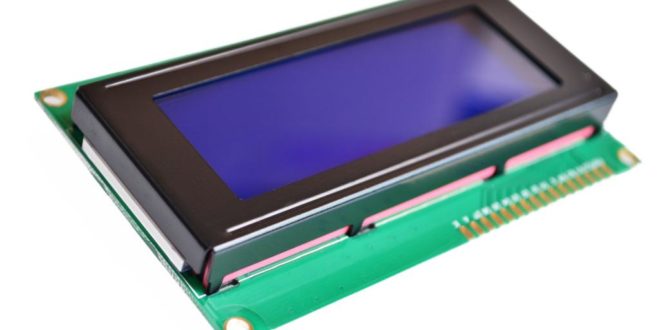
The 16x2 parallel LCD (HD44780) is a popular liquid crystal display among hobbyists due to its cheap price and ease of use. The Arduino platform recognizes its popularity and created the LiquidCrystal library for it. The Arduino LCD tutorial covers that.
I attempted to port the LiquidCrystal library to the Raspberry Pi using Python and was fairly successful. Here’s how to create Raspberry Pi LCD applications using my own LiquidCrystalPi library.
This tutorial requires you have at least Python 2.7 installed on your Raspberry Pi. If you’ve downloaded the latest Raspbian Jessie image on your RPi then you already have it!
Getting the Raspberry Pi LCD Source
First up, clone my github repository using your Raspberry Pi's bash terminal:
git clone https://github.com/kurimawxx00/LiquidCrystalPi.git
Save the module LiquidCrystalPi.py to the same folder you will be writing a code for the LCD.
Starting Out the Code
My module relies on the RPi.GPIO library to access the Raspberry Pi pins so start the python code by importing it
import RPi.GPIO as GPIO
You may also need to set the Raspberry Pi pin numbers to follow board or BCM convention. Let’s say you want to use the board conventions:
GPIO.setmode(GPIO.BOARD)
From here on out, you need to specify the Raspberry Pi pins by their board number and not by their GPIO numbers.
To start using the LiquidCrystalPi library, instantiate the LCD class:
LCD = LiquidCrystalPi.LCD(29, 31, 33, 35, 37, 38)
Here the LCD class was assigned to the variable LCD (which can be any other valid Python variable name). The LCD class takes six arguments (in order): RS pin, Enable pin, D4 to D7 pins. In my example, those pins are connected to 29, 31, 33, 35, 37 and 38 respectively using BOARD conventions.
Once the class has been instantiated, we can now call the functions associated with it. The very first function to call must be the begin() function
LCD.begin(16, 2)
The first number 16 is the number of columns while the second number 2 is the number of rows.
To display a string, just use the write() function
LCD.write(“Hello World”)
You can also use write() to display a character.
The text will always be written starting from the first column of the first row. To go the next row, use nextline()
LCD.nextline()
Full Blown Example
Here’s the wiring diagram using the pins I’ve mentioned above:
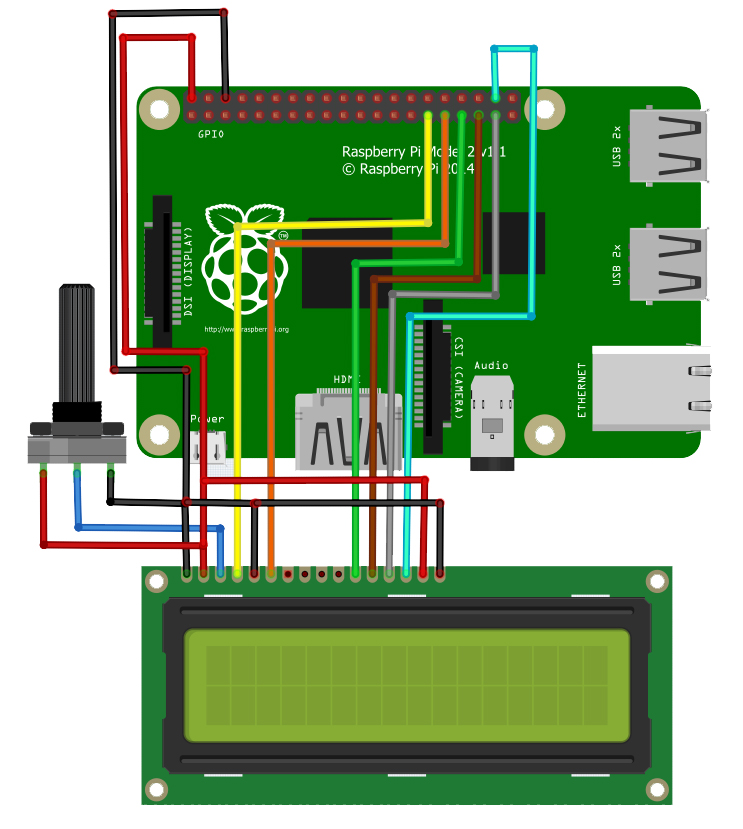
Here’s the code to display “Hello World” using the same circuit as above:
import RPi.GPIO as GPIO
import LiquidCrystalPi
import time as time

GPIO.setmode(GPIO.BOARD)
GPIO.setwarnings(False)

LCD = LiquidCrystalPi.LCD(29, 31, 33, 35, 37, 38)

LCD.begin(16,2)

time.sleep(0.5)
LCD.write("Hello World")
Here are all the LCD functions (so far):
home() # brings cursor back to first row, first column
clear() # clear LCD screen
nextline() # bring cursor to next line
moveleft() # move cursor one position left
moveright() # move cursor one position right
I'm continually working on adding more functions so do check out the LiquidCrystalPi repo for updates.
Was this library useful? A thank you on the comments would suffice!


 Tutorial")

it's helpfull
yes very helpful, easy to understand, good job. thank you
when cloning the liquid crystal.pi, it asks for a usename and password what should i enter?
Provide your own github username and password.