Raspberry Pi VNC Control Via PC
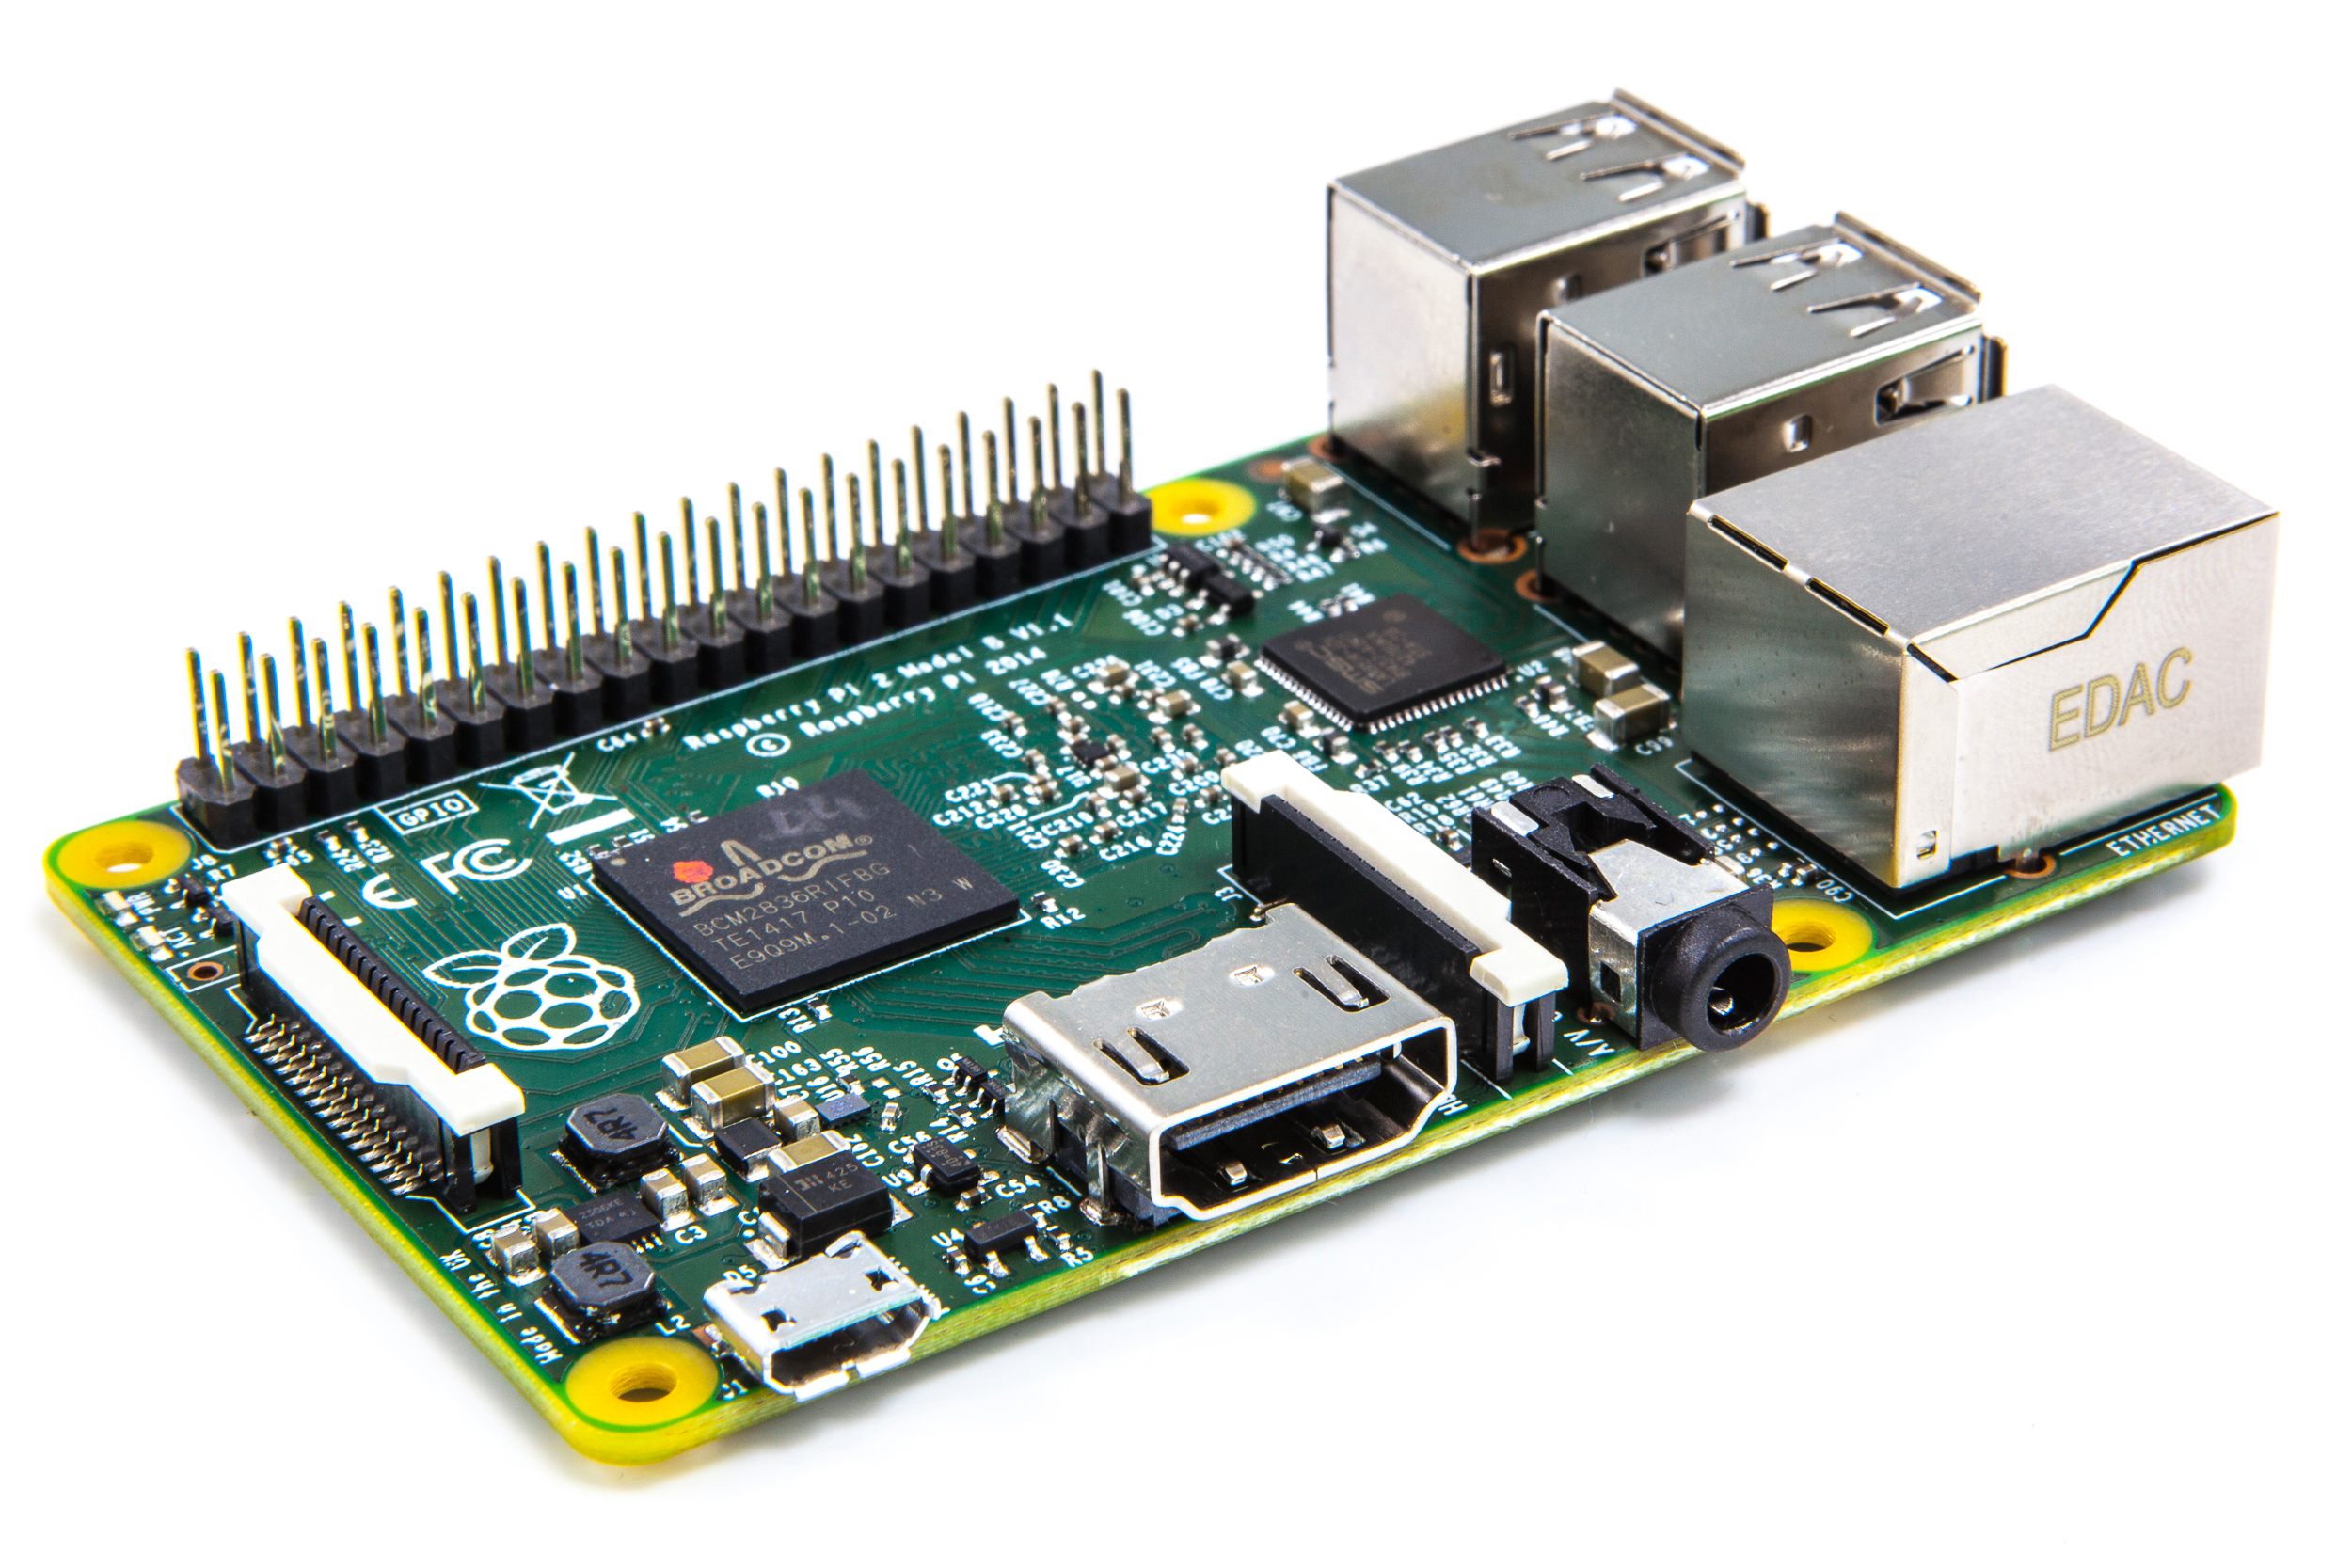
I don't have a monitor for my Raspberry Pi so I use SSH to access and control it. I can do everything I need with SSH but sometimes I just grow tired of looking at the terminal and just want to point and click my mouse in using my board. So how can I use the RPi's GUI without a dedicated monitor? Through Raspberry Pi VNC Control!
TightVNCServer for Raspberry Pi VNC Control
The first thing you need is to install tightvncserver on your Raspberry Pi:
sudo apt-get install tightvncserver
After that, run the vnc server:
root@raspberrypi:~# vncserver :1

You will require a password to access your desktops.

Password:
Verify:
You will be asked to enter a password with a maximum length of 8. This password will be asked by the VNC client later on so take note of it.
After entering your password, you would see this on your terminal:
Would you like to enter a view-only password (y/n)? n
xauth:  file /root/.Xauthority does not exist

New 'X' desktop is raspberrypi:1

Creating default startup script /root/.vnc/xstartup
Starting applications specified in /root/.vnc/xstartup
Log file is /root/.vnc/raspberrypi:1.log
Just answer "n" for the view-only password question.
TightVNC on your PC as Controller
On your PC, download Tightvnc. Once it's downloaded, open up TightVNC Viewer. This window will appear:
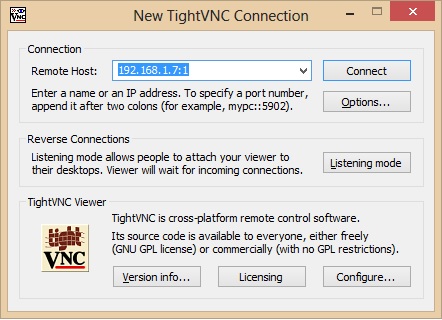
Enter your Raspberry Pi's IP address and the VNC display number (or port). My RPi is at 192.168.1.7 and my VNC display number is 1 (as seen from the terminal when I ran vncserver). Click "Connect" and you'll then be asked for the password I mentioned earlier:
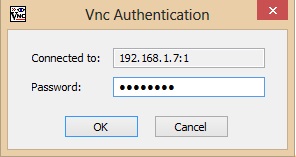
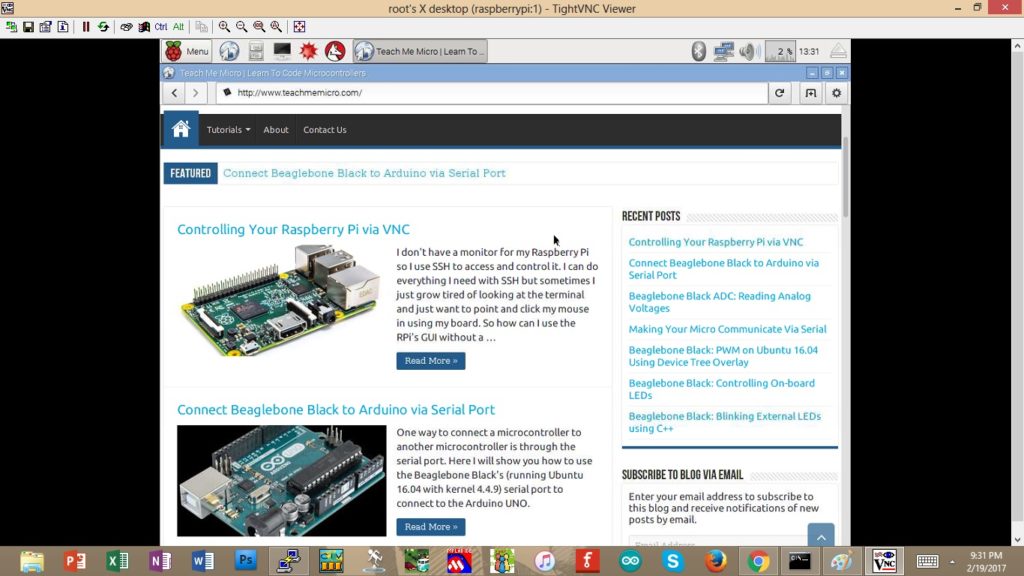
Click "OK" and voila! The Raspberry Pi's desktop GUI can now be viewed on your PC:
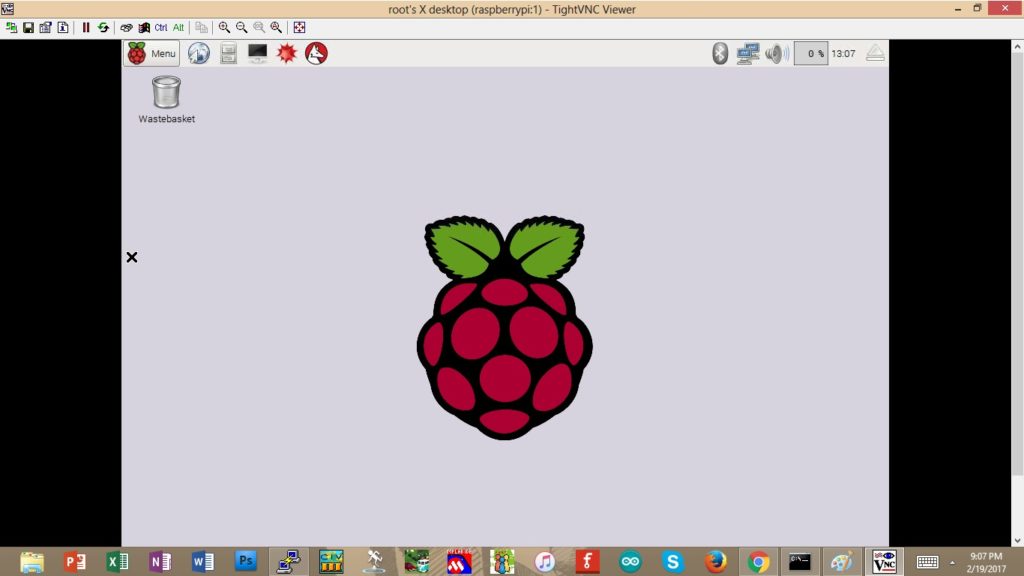
You can browse the web too of course:
And play some games if you will: (No Minecraft though as it needs a dedicated monitor to run).

Was this post useful? Drop a comment below!


