
Using RFID cards and tags is a cool way to switch on anything, wirelessly. For example, you can create an e-lock for your room, check meeting attendance or use cards to control your robot. In this tutorial, we will add RFID functions to a Raspberry Pi Zero.
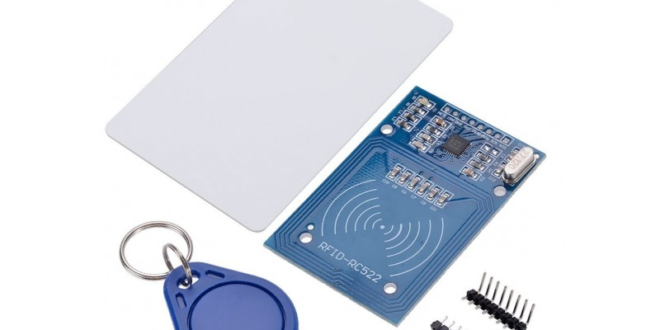
For this tutorial, I will be using the Mifare RC522 module shown:
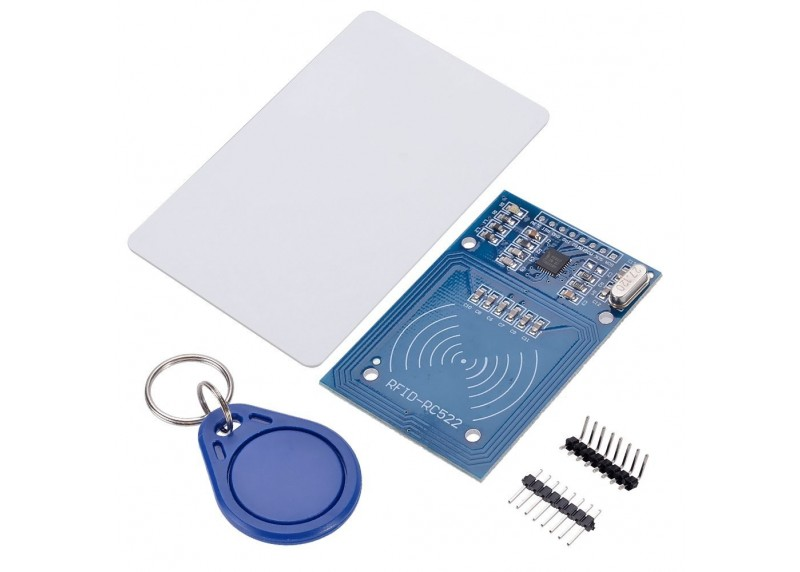
The module comes with one RFID card and one tag plus some male headers. I decided to use to bent headers.
This module has eight pins:
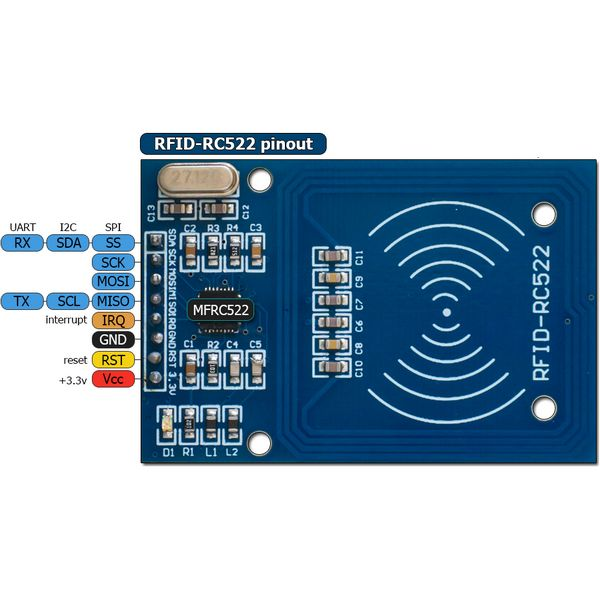
As you can see by the names of the pins, this RC522 module can be interfaced using UART, I2C or SPI. I will be using SPI in this tutorial.
Enabling Raspberry Pi SPI
First, you need to enable SPI for your Raspberry Pi Zero. SSH to your Pi or use VNC and open the termina. Go to configuration settings via
raspi-config
Select Interfacing Options then SPI. Select Yes when prompted. After that, reboot your Pi:
sudo reboot
Once your Raspberry Pi turns on again, do the following steps if indeed SPI is now on:
Open config.txt
sudo nano /boot/config.txt
Find this line:
dtparam=spi=on
If it’s there, then your SPI interface is on.
Installing RFID Software
Next, install Python 2.7 dev using:
sudo apt-get install python2.7-dev
Then download and install the special SPI tool for python:
git clone https://github.com/lthiery/SPI-Py.git
cd SPI-Py

sudo python setup.py install
Lastly, download this handy Python library for using the RC522 module:
git clone https://github.com/mxgxw/MFRC522-python.git

cd MFRC522-python
That’s it! Use this wiring diagram to connect the RC522 to your Raspberry Pi Zero:
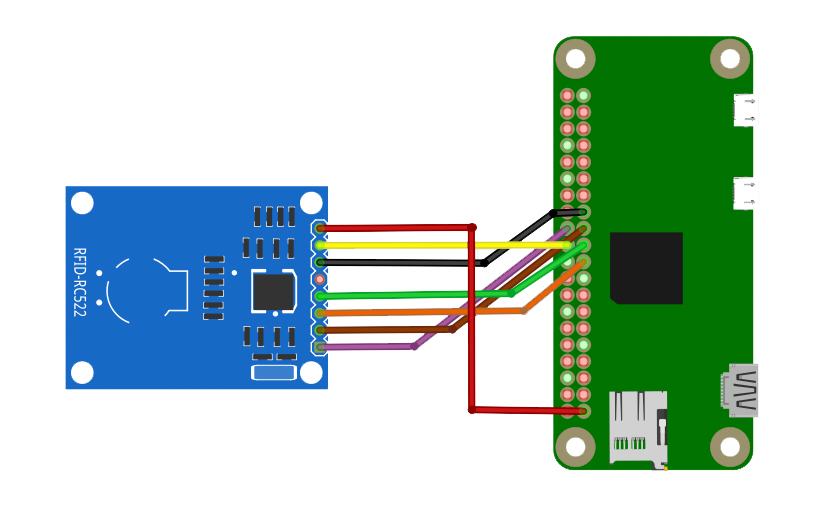
| Name | Pin # | Pin name |
|---|---|---|
| SDA | 24 | GPIO8 |
| SCK | 23 | GPIO11 |
| MOSI | 19 | GPIO10 |
| MISO | 21 | GPIO9 |
| IRQ | None | None |
| GND | Any | Any Ground |
| RST | 22 | GPIO25 |
| 3.3V | 1 | 3V3 |
To read a card or tag, just use the Read.py script. For example,
python Read.py
Everytime you tap your card or tag, their UID and other information will show on the terminal. Here's what shown on mine:

A Mifare card has 1k or 4k EEPROM which means it can store data. For example, a 1k card has 16 sectors with 4 blocks each. Each block can store 16 bytes. For now, we will be only reading the UID for identification. We can save this unique UID to an sql database and create a login or attendance system.


