
Ever wondered why e-book readers don't use LCDs, OLEDs, or TFT displays? This is because, with the same usage, e-paper or e-ink displays consume 0.008% power compared to a TFT display. In this article, I'll be featuring an e-ink display that can be readily used with Arduino and other microcontrollers.

How E-ink Displays Work
E-ink displays contain (3) picture elements (pixels) with positively charged (4) white pigments and negatively charged (5) black pigments suspended in (6) transparent oil. These pixels are in between (2) transparent and (7) non-transparent electrodes.
When a positive charge is applied to a pixel, the white pigments are pushed to the surface of the screen (transparent electrode) while the black pigments go down. White pigments at the surface reflect white light and absorb black light. Inversely, a negative charge will push the black pigments toward the screen. The gray color is achieved when both a negative and positive charge is applied.
The advantage of the e-ink display against other display technologies is that it doesn't need power once the image is displayed. So if you're reading a page in an e-book reader, the only time that the e-ink display is consuming power is when you are transferring from one page to another. In contrast, TFT displays refresh at 50 Hz. That means it consumes power 50 times in a second.
Another thing is that because e-ink displays operate via the reflection of ambient light, no backlight is necessary, adding to the reduction of power.
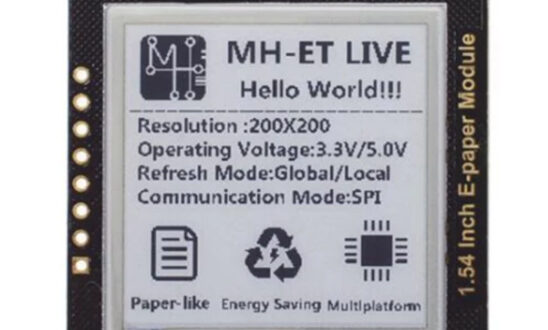
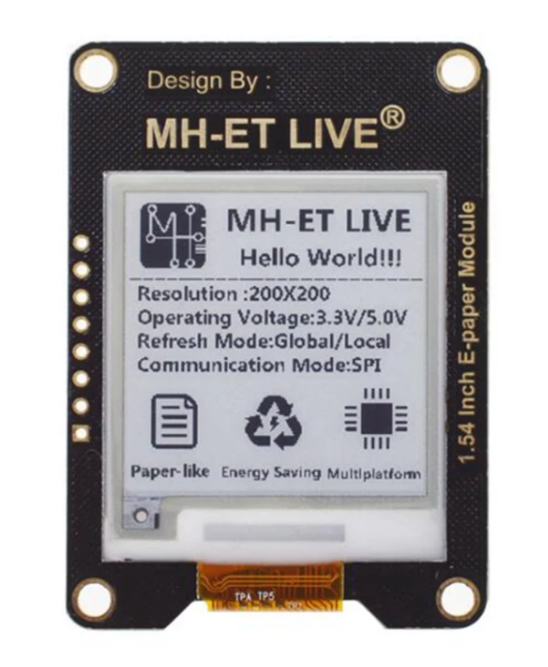
1.54 E-paper Module
The Arduino-compatible E-ink display I acquired is from MH-ET LIVE:
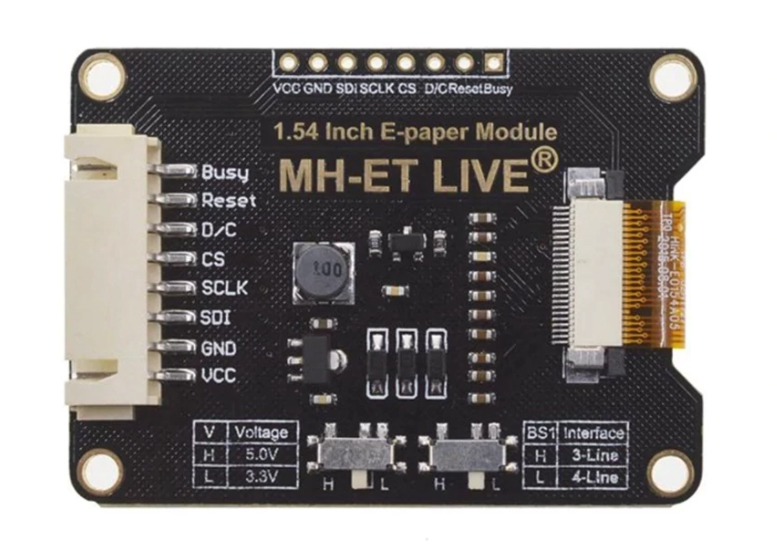
This display uses SPI for communicating with microcontrollers. At the back of the screen are two switches: one for shifting the voltage levels and another for changing between 3-wire and 4-wire SPI.
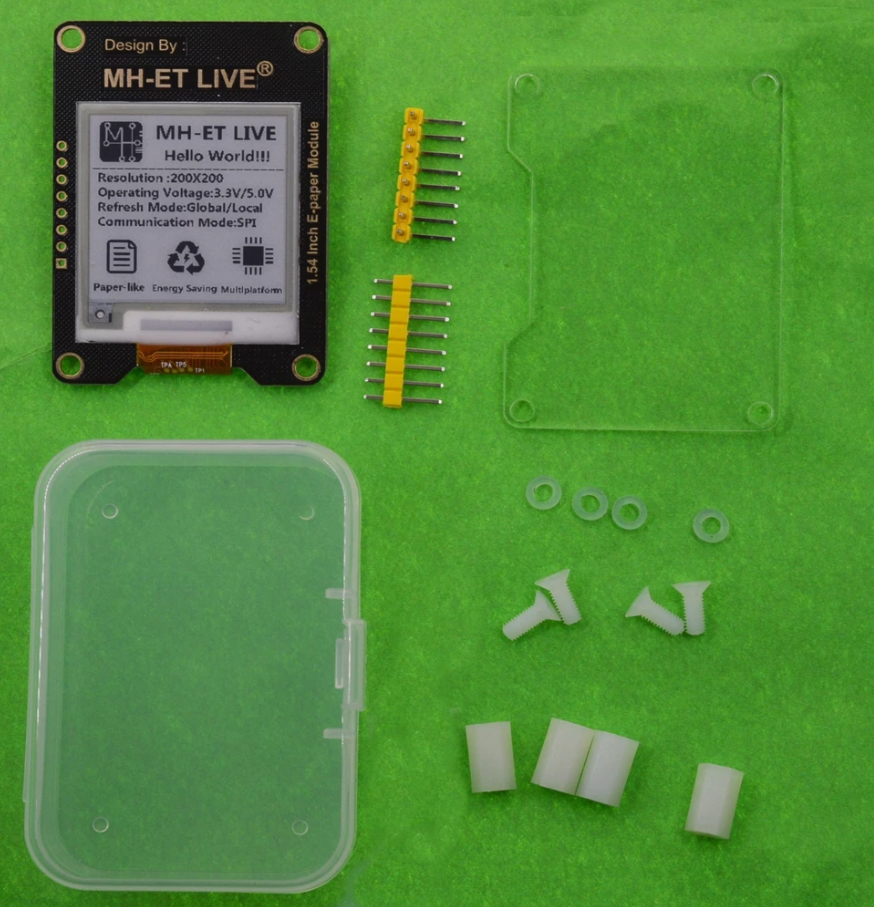
The package also contains a screen protector, male headers, and standoffs.
This e-ink display is compatible with that from Waveshare so the code here will be usable if you have this kind (pictured below):

Arduino Code for E-ink Display
I've modified Waveshare's e-paper code and made it more like an Arduino library. You can download the library in my repository.
The library has two sample codes, one for displaying basic text and another for showing grayscale images. I will be adding more examples in the future.
Displaying Basic Text
Basically, you need to include the library:
#include <Epaper1_54.h>
then create an instance of the Epd class:
Epd epd(0, 0);
The arguments 0 and 0 here are for specifying the starting point of the image to be painted. I guess Waveshare's reason for having this one is to support multiple screen sizes.
Next, you initiate the display:
epd.LDirInit();
and set the width and height of the text:
epd.SetWidth(200);
epd.SetHeight(24);
Here, the text will occupy the whole 200 px of screen width and 24 px of the screen height.
Next, specify the color of the text. If you want black text on a white background, you call the Clear() function first and pass a value of 1 or "UNCOLORED" to it:
epd.Clear(UNCOLORED);
To write the string, use the DrawStringAt() function, followed by placing that string to the screen buffer:
epd.DrawStringAt(30, 4, "Hello World!", &Font16, COLORED);
epd.SetFrameMemory(epd.Buffer(), 0, 10, epd.GetWidth(), epd.GetHeight());
Here, 30 and 4, are the column and row positions for the text. This is followed by the text to display, then the font and the color.
If you want white text over a black background, just reverse the positions of UNCOLORED and COLORED in this example.
BTW, you can choose between the following font sizes:
- Font8
- Font12
- Font16
- Font20
- Font24
The setFrameMemory() requires a buffer (internally declared), the starting x and y coordinate (with reference to the column and row set before), and the width and height which was declared as 200 and 24.
Finally, to show the frame, we call DisplayFrame():
epd.DisplayFrame();
So the whole code for printing "Hello World!" in black text over a white background is:
#include <SPI.h>
#include <Epaper1_54.h>

Epd epd(0, 0);

void setup() {
  // put your setup code here, to run once:
  Serial.begin(115200);
  Serial.println("e-Paper init and clear");
  epd.LDirInit();
  epd.ClearAll();

  epd.SetWidth(200);
  epd.SetHeight(24);

  Serial.println("e-Paper paint");
  epd.Clear(UNCOLORED);
  epd.DrawStringAt(30, 4, "Hello World!", &Font16, COLORED);
  epd.SetFrameMemory(epd.Buffer(), 0, 10, epd.GetWidth(), epd.GetHeight());

  epd.DisplayFrame();
}

void loop() {
  // put your main code here, to run repeatedly:

}
Showing Grayscale Images
The example in the library e_paper_image shows how to display an image to the E-ink display. Nevertheless, I'll be outlining the steps here.
Find an image with a size of 200 x 200 pixels and upload it to Img2Cpp. This website converts images to a byte array that can then be used to display an image on a screen.


The byte array will be visible after clicking the "Generate code" button.
Open a new file on Arduino IDE and paste the following code:
#include <Epaper1_54.h>
#include "flower.h"

Epd epd(0, 0);

void setup() {
  // put your setup code here, to run once:
  Serial.begin(115200);
  Serial.println("e-Paper init and clear");
  epd.LDirInit();
  epd.ClearAll();
  epd.DisplayPartBaseImage(epd_bitmap_sample_input);
  epd.DisplayFrame();
}

void loop() {
  // put your main code here, to run repeatedly:

}
The function to display the image is DisplayPartBaseImage() whose argument is the char array.
To add the char array from Img2Cpp, create an external file named "flower.cpp". Paste the byte array code from Img2Cpp and then add this line on the top-most line:
#include "flower.h"
#include <avr/pgmspace.h>
Then, create another file, named "flower.h" and put this line:
extern const unsigned char epd_bitmap_sample_input[];
Here's the flower image on the actual e-ink display:

Video
The library also has other functions, like displaying different shapes. Here's a video showcasing that and more:
List of Graphics Functions:
void DrawAbsolutePixel(int x, int y, int colored);
void DrawPixel(int x, int y, int colored);
void DrawCharAt(int x, int y, char ascii_char, sFONT* font, int colored);
void DrawStringAt(int x, int y, const char* text, sFONT* font, int colored);
void DrawLine(int x0, int y0, int x1, int y1, int colored);
void DrawHorizontalLine(int x, int y, int width, int colored);
void DrawVerticalLine(int x, int y, int height, int colored);
void DrawRectangle(int x0, int y0, int x1, int y1, int colored);
void DrawFilledRectangle(int x0, int y0, int x1, int y1, int colored);
void DrawCircle(int x, int y, int radius, int colored);
void DrawFilledCircle(int x, int y, int radius, int colored);
For questions and suggestions, please drop a comment below. What project can this e-ink display be used for?

 with Seven-segment Displays")


