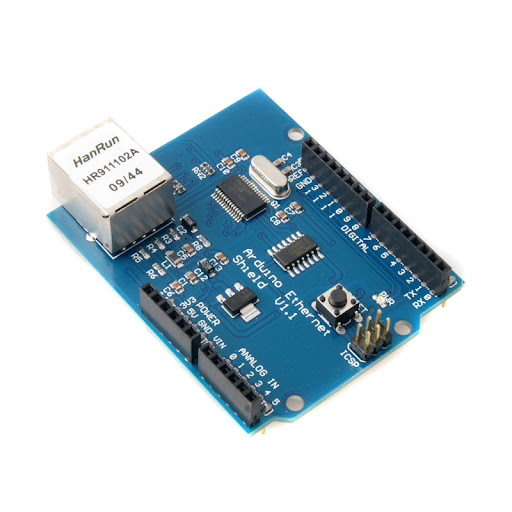
Last time, I showed you how to send HTTP requests via TCP featuring the ENC28J60 ethernet shield. We continue with our series with another post, this time, using JSON for data transfer. Full tutorial after the jump.
Introduction
JSON is short for Javascript Object Notation and is a data-interchange format. It is, in fact, human-readable text consisting of arrays of attribute-value pairs. An example of JSON is shown below:
{ "sensor":[ {"temperature":"35"}, {"pressure":"120"}, {"humidity":"20"} ] }
JSON starts and ends with a curly bracket. In the example above, we have an array “sensor” with attributes “temperature”, “pressure” and “humidity” and their corresponding values.
Although JSON uses Javascript notation, it is usable in any platform since it is essentially a text file. Arduino definitely can use it for data transfer.
Sending JSON
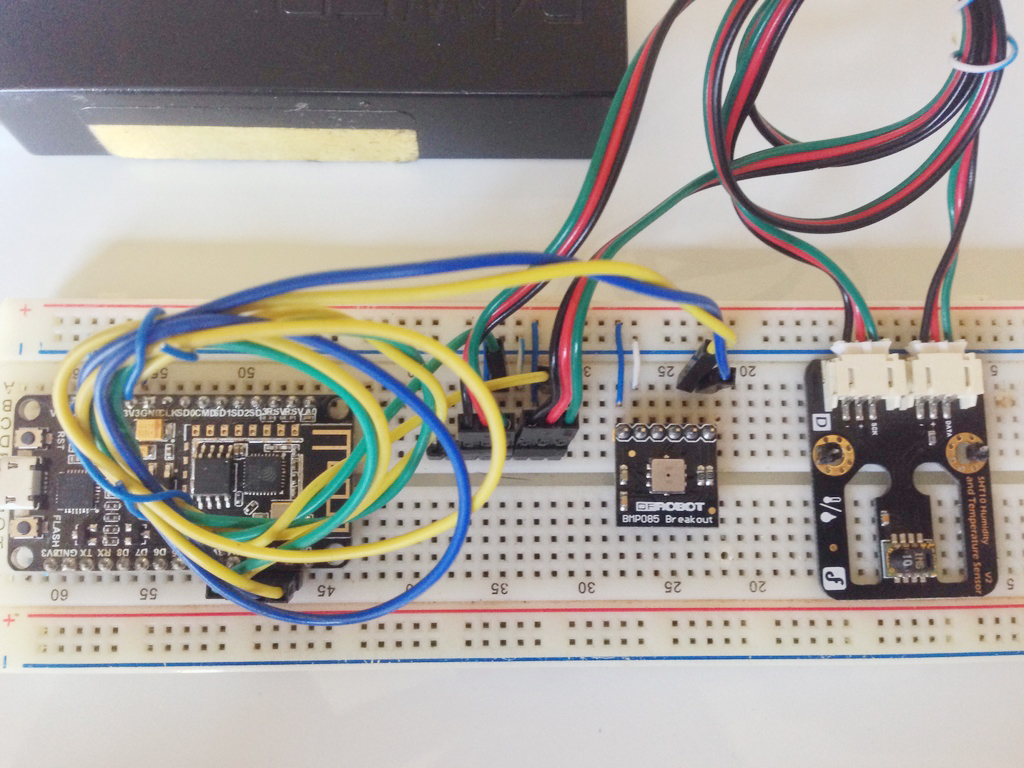
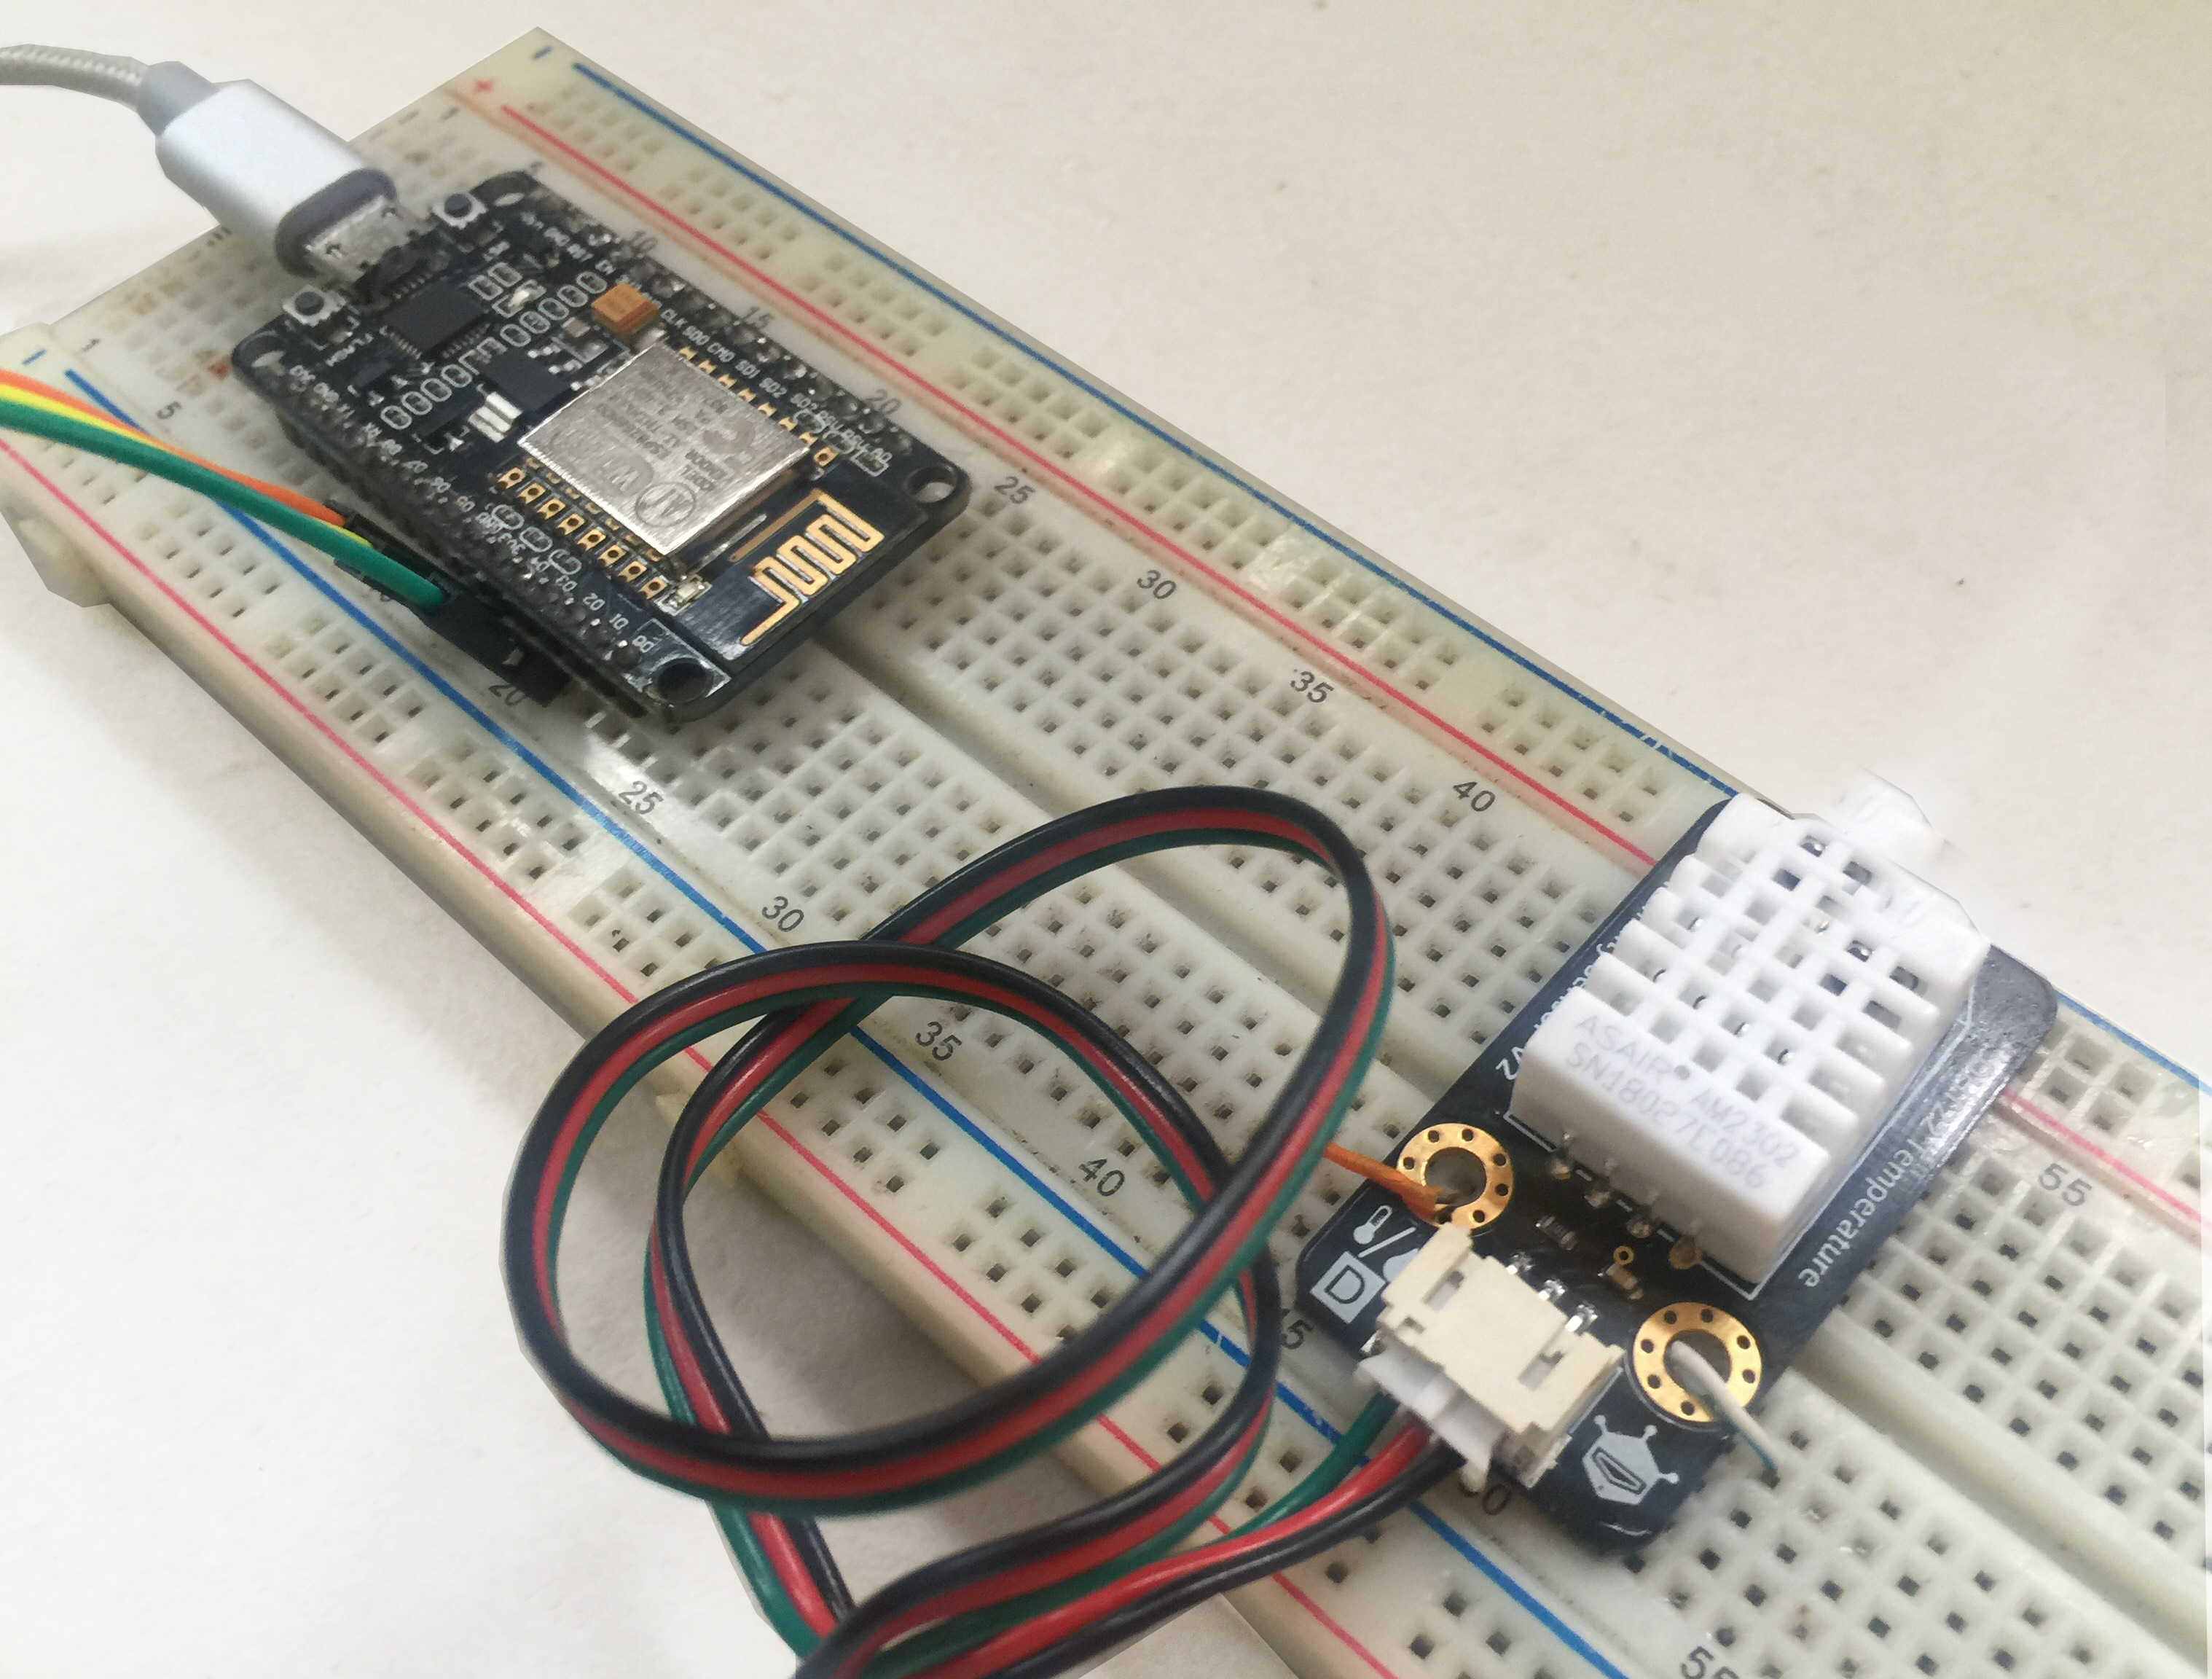
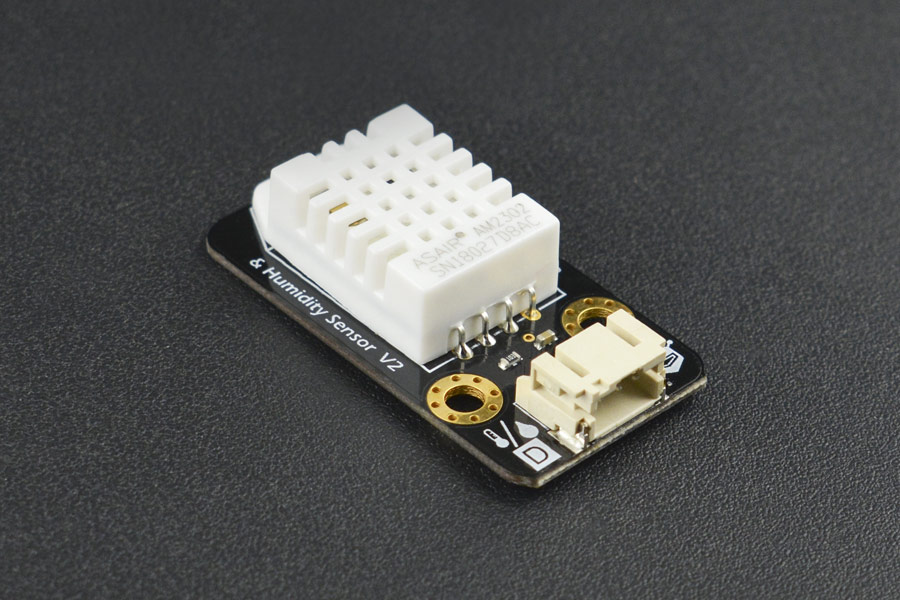
The scenario: we have a DHT11 sensor wired to an Arduino. Then ENC28J60 provides the TCP data path from the sensor to the web sensor. We would like to send data periodically to the web server for displaying on a page.
We’ll be using Adafruit’s Sensor and DHT library to help us read the temperature and humidity values from the DHT11 and UIPEthernet library for using the ENC28J60 shield.
For this part, we’ll be encoding JSON manually. For that, we need only to use a string and then add to that string all our attributes and values.
sensors_event_t event;
String temp = (String)event.temperature;
String humi = (String)event.humidity;
string sensorJSON = “{\”sensor\”:[{\”temperature\”:\””+temp+”\”},{\”humidity\”:\””+humi+”\”}]}”;
The sensors_event_t is a special class from Adafruit’s DHT library. Among its objects are the temperature and humidity values. We just need to cast them as String for concatenation. Then we follow the JSON format to encode the values inside the sensorJSON variable. Notice that JSON uses double quotes liberally. We’ll need to use escape characters on the double quotes for our string to be read correctly.
Next, we send the sensorJSON string to our web server. This part is similar to what we did in the previous post. Here’s the full sketch:
#include <Adafruit_Sensor.h>
#include <DHT.h>
#include <DHT_U.h>
#include <UIPEthernet.h>

#define DHTPIN 2
#define DHTTYPE DHT11

DHT_Unified dht(DHTPIN, DHTTYPE);

EthernetClient client;
uint8_t mac[6] = {0x00,0x01,0x02,0x03,0x04,0x05};

void setup() {
  Serial.begin(9600);

  char server[] = "www.example-server.com";

  String temp = "";
  String humi = ""

  String sensorJSON = "";

  if(Ethernet.begin(mac) == 0){
    Serial.println("Failed to configure Ethernet using DHCP");
    while(1);
  }
}

void loop() {
  sensors_event_t event;
  dht.temperature().getEvent(&event);
  if(isnan(event.temperature)){
    temp = "";
  }else{
    temp = (String)event.temperature;
  }
  delay(100);
  dht.humidity().getEvent(&event);
  if(isnan(event.relative_humidity)){
    humi = "";
  }else{
    humi = (String)event.relative_humidity;
  }
  sensorJSON = "{\"sensor\":[{\"temperature\":\""+temp+"\"},{\"humidity\":\""+humi+"\"}]}";
  delay(2000);
  if (client.connect(server,80)){
    Serial.println("Connected to server");
    client.println("POST /json-parser.php HTTP/1.1");
    client.println("Host: menrva.online");
    client.println("Content-Type: application/json");
    client.print("Content-Length: ");
    client.println(sensorJSON.length());
    client.println();
    client.println(sensorJSON);
    client.println();
  }else{
    Serial.println("Connection to server failed");
  }
}
This code sends out data every two seconds. Note that I am using example-server.com here. Just change it to your own server name.
Web Page
We want browser users to view the last data sent to the server. To do that, we create a PHP code that reads the data and saves it in a file. And when a browser user visits the server, the contents of that file are printed out.
<html>
    <body>
    <?php
            $filename = "json-data.txt";
            if ($_SERVER['REQUEST_METHOD'] === 'POST') {
                $json = file_get_contents('php://input');
                $data = json_decode($json,true);
                $temp = 'Temperature: '.$data['sensor'][0]['temperature']."\r\n";
                $humi = 'Humidity: '.$data['sensor'][1]['humidity']."\r\n";
                $handle = fopen($filename, "w") or die("Unable to open file!");
                fwrite($handle, $temp);
                fwrite($handle, $humi);
                fclose($handle);
            }else if($_SERVER['REQUEST_METHOD'] === 'GET'){
                $handle = fopen($filename, "r");
                $contents = fread($handle, filesize($filename));
                echo $contents;
                fclose($handle);
            }else{;}
     ?>
    </body>
</html>
In the code above, we separate POST from GET requests. Typically, a browser user issues a GET request and so we only show the contents of our file:
else if($_SERVER['REQUEST_METHOD'] === 'GET'){
  $handle = fopen($filename, "r");
  $contents = fread($handle, filesize($filename));
  echo $contents;
  fclose($handle);
}
When we send data from the sensor, we use POST request. Hence, that is when we write to the file:
if ($_SERVER['REQUEST_METHOD'] === 'POST') {
  $json = file_get_contents('php://input');
  $data = json_decode($json,true);
  $temp = 'Temperature: '.$data['sensor'][0]['temperature']."\r\n";
  $humi = 'Humidity: '.$data['sensor'][1]['humidity']."\r\n";
  $handle = fopen($filename, "w") or die("Unable to open file!");
  fwrite($handle, $temp);
  fwrite($handle, $humi);
  fclose($handle);
}
Notice how we read the temperature and humidity values:
$temp = 'Temperature: $data['sensor'][0]['temperature']."\r\n";
$humi = 'Humidity: '$data['sensor'][1]['humidity']."\r\n";
Recall that this is our JSON from Arduino:
{
  "sensor":[
    {"temperature":"36"},
    {"humidity":"25"}
  ]
}
This consists of an attribute ‘sensor’ which contains an array with two elements:
{"temperature":"36"} , {"humidity":"25"}
So to read the first array element (temperature), we specify its index:
$data['sensor'][0]
To return the value of that element, we specify that element (or attribute) name:
$data['sensor'][0][‘temperature’]
Humidity is the second element in the array hence its index is 1:
$data['sensor'][1]
We can then read its value just like what we did with temperature:
$data['sensor'][1][‘humidity’]
Here's what the user sees when he visits the page:

Receiving JSON
Now that we are able to send JSON to a remote server, it’s time to do the opposite. As mentioned, JSON data is just a specially formatted string. However, the Arduino platform has limited tools for parsing strings. Thankfully, we can use the ArduinoJson library.
Let’s say we have this JSON somewhere in our web server:
{
  "sensor": "gps",
  "time": 1351824120,
  "data": [
    48.756080,
    2.302038
  ]
}
We want to read the values of the attributes sensor, time, and data. We issue a GET request for which the server responds. Then we parse the response using ArduinoJson. Below is the full sketch:
#include <ArduinoJson.h>
#include <UIPEthernet.h>
#include <SPI.h>

void setup() {
  // Initialize Serial port
  Serial.begin(9600);
  while (!Serial) continue;

  EthernetClient client;
  uint8_t mac[6] = {0x00,0x01,0x02,0x03,0x04,0x05};
  if (!Ethernet.begin(mac)) {
    Serial.println(F("Failed to configure Ethernet"));
    return;
  }
  delay(1000);

  Serial.println(F("Connecting..."));

  // Connect to HTTP server
  client.setTimeout(10000);
  if (!client.connect("arduinojson.org", 80)) {
    Serial.println(F("Connection failed"));
    return;
  }

  Serial.println(F("Connected!"));

  // Send HTTP request
  client.println(F("GET /example.json HTTP/1.0"));
  client.println(F("Host: arduinojson.org"));
  client.println(F("Connection: close"));
  if (client.println() == 0) {
    Serial.println(F("Failed to send request"));
    return;
  }

  // Check HTTP status
  char status[32] = {0};
  client.readBytesUntil('\r', status, sizeof(status));
  // It should be "HTTP/1.0 200 OK" or "HTTP/1.1 200 OK"
  if (strcmp(status + 9, "200 OK") != 0) {
    Serial.print(F("Unexpected response: "));
    Serial.println(status);
    return;
  }

  // Skip HTTP headers
  char endOfHeaders[] = "\r\n\r\n";
  if (!client.find(endOfHeaders)) {
    Serial.println(F("Invalid response"));
    return;
  }

  // Allocate the JSON document
  // Use arduinojson.org/v6/assistant to compute the capacity.
  const size_t capacity = JSON_OBJECT_SIZE(3) + JSON_ARRAY_SIZE(2) + 60;
  DynamicJsonDocument doc(capacity);

  // Parse JSON object
  DeserializationError error = deserializeJson(doc, client);
  if (error) {
    Serial.print(F("deserializeJson() failed: "));
    Serial.println(error.f_str());
    return;
  }

  // Extract values
  Serial.println(F("Response:"));
  Serial.println(doc["sensor"].as<char*>());
  Serial.println(doc["time"].as<long>());
  Serial.println(doc["data"][0].as<float>(), 6);
  Serial.println(doc["data"][1].as<float>(), 6);

  // Disconnect
  client.stop();
}

void loop() {
  // not used in this example
}
Using ArduinoJSON
ArduinoJson makes life easier by acting as a parser similar to PHP’s json_decode(). First, a JSON document is initialized:
const size_t capacity = JSON_OBJECT_SIZE(3) + JSON_ARRAY_SIZE(2) + 60;
DynamicJsonDocument doc(capacity);
The capacity value should be carefully chosen to accommodate the data. The library creators provide a handy tool for calculating the correct capacity.
Next, the JSON is parsed:
DeserializationError error = deserializeJson(doc, client);
if (error) {
  Serial.print(F("deserializeJson() failed: "));
  Serial.println(error.f_str());
  return;
}
Here, client should be raw JSON only without headers. The cause of the error prints out if there is.
Finally, we capture the values:
// Extract values
Serial.println(F("Response:"));
Serial.println(doc["sensor"].as<char*>());
Serial.println(doc["time"].as());
Serial.println(doc["data"][0].as(), 6);
Serial.println(doc["data"][1].as(), 6);
Here's the serial monitor output for this sketch:

For the next part of this tutorial, we will be looking at using MQTT with the ENC28J60 ethernet shield.
This tutorial is originally written by Roland Pelayo for circuitxcode.com


