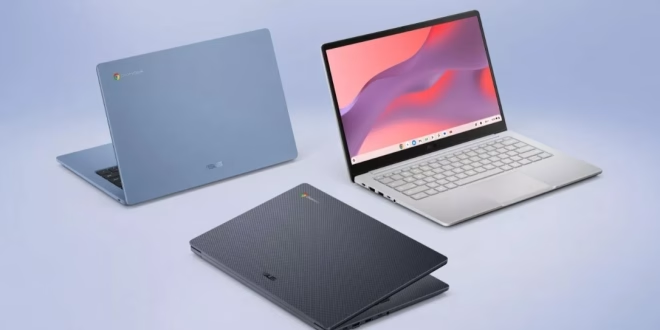
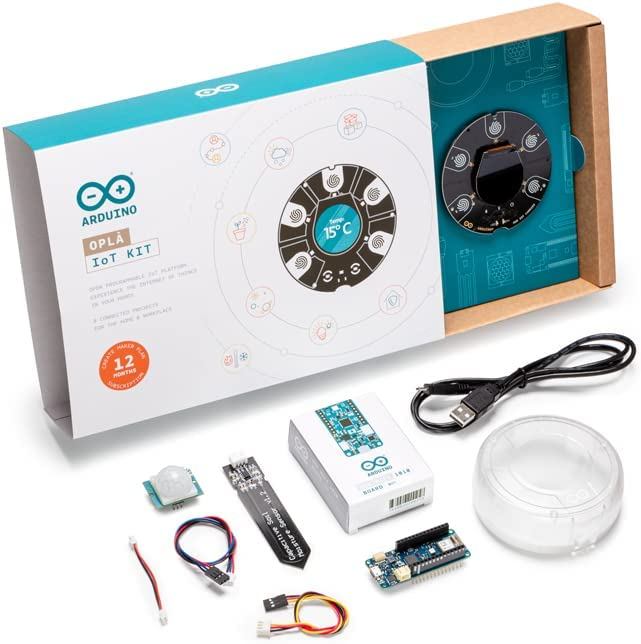
Many DIY electronics beginners mistakenly assume they need a bulky, expensive Windows or Mac machine to write code and flash boards. However, modern lightweight laptops are more than capable of handling embedded programming. With the education sector now accounting for roughly 46 to 60 percent of the global market for ChromeOS devices, these machines have become a dominant standard for learning and student prototyping in Australia. If you are looking for an affordable, battery-efficient workstation, a chromebook laptop is fully equipped to serve as your mobile development hub for platforms like Arduino and ESP32. With hardware configurations that deliver between 8 and 14 hours of continuous active use on a single charge, you can enjoy extended prototyping sessions without constantly searching for a power outlet. Furthermore, standard lithium-ion laptop batteries maintain optimal performance for 300 to 500 charge cycles, which equates to roughly a year of heavy use before naturally stabilising at around 80 percent of their initial capacity. This longevity makes them incredibly practical for students and hobbyists alike.
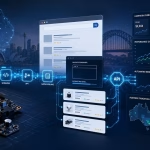
Thanks to recent advancements in browser technology, you no longer need to download heavy desktop clients to start coding. The implementation of the WebSerial API is a game-changing standard that allows your ChromeOS browser to directly read and write to connected USB serial devices. This successfully bypasses the need for complex local driver installations that often frustrate beginners, allowing you to focus entirely on learning the fundamentals of circuit logic and coding.
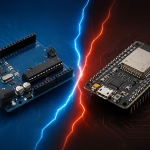
For early learners, the Arduino Web Editor processes all C++ code compilation securely in the cloud. This means even budget-friendly devices with limited RAM can effortlessly flash binaries down to connected boards. In addition to standard C++, Arduino recently expanded its cloud capabilities with a browser-based application for MicroPython. This allows users to program compatible microcontrollers directly over WebSerial without downloading native desktop clients, making project management incredibly seamless from a unified online dashboard. You can effortlessly switch between devices without losing any saved progress or code.
Enabling the Linux Development Environment
If you prefer coding locally or need to run full desktop-class Integrated Development Environments (IDEs), ChromeOS has a robust built-in solution. The native Linux environment, known as Crostini, operates using a custom virtual machine monitor optimised for tight security and low-latency performance. Because it is an integrated feature in the operating system, you can natively install and run Linux command-line tools and code editors without compromising your device's security. To get started, you can follow the official Google documentation to set up Linux on your Chromebook through the developer settings, which opens up a secure Debian terminal for your projects.
As of early 2024, ChromeOS introduced a seamless upgrade path for this container to Debian 12 (Bookworm). This ensures that hardware enthusiasts have access to the latest packages and modern graphical frameworks for their preferred coding setups. Your default Linux container, designated as 'penguin', will securely mount local files and let you run full desktop Linux applications natively. This means you can use industry-standard software like Visual Studio Code or the full Arduino IDE just as you would on a traditional desktop.
Steps to Configure Your Coding Workspace
Whether you are participating in local Australian STEM initiatives or just tinkering at home, setting up your device takes only a few minutes. Follow these fundamental steps to get your mobile workstation ready for embedded electronics:
Update your operating system to ensure you have the latest browser features required for the WebSerial API.
Enable the Linux development environment in your system settings to generate your secure container.
Allocate sufficient disk space for your Linux partition (reserving at least 10GB is recommended for desktop IDEs).
Download the Linux AppImage or install the official web application for your preferred microcontroller development platform.
Connect your board via USB and approve the system prompt to share the serial port with your Linux container.
Next Steps for Your Electronics Journey
Australian organisations like the AustSTEM Foundation and award-winning educational groups such as STEM Punks are actively promoting early coding literacy by pairing low-cost laptops with educational microcontrollers. Major Australian electronics distributors, including Pakronics and Little Bird Electronics, now supply curriculum-aligned hardware bundles specifically tested for school-issued devices. You might even encounter unique, locally designed microcontrollers like the Kookaberry being used to teach digital concepts in classrooms across the country. These local resources make it easier than ever to find compatible parts.
Once your development environment is configured, the best way to test it is by diving into a practical, hands-on task. A brilliant starting point for any beginner is to follow a basic sensor wiring tutorial to build an IoT light detector with ESP32 hardware. Taking on a project like this will give you immediate experience with writing C++ code to read analogue values, proving just how capable your lightweight, battery-efficient workstation truly is. As you grow more comfortable with the ecosystem, you will quickly discover that ChromeOS is a highly productive platform for turning your electronic ideas into reality.