
Needless to say, a serial output is a necessary tool in debugging embedded system applications. Placing the right messages in the right place will help you save hours in figuring out what went wrong in your code. Arduino programmers are very familiar with Serial. print() and its derivatives. But how can we implement it with STM32F1?
Here's a refresher on serial communication just in case you need it.
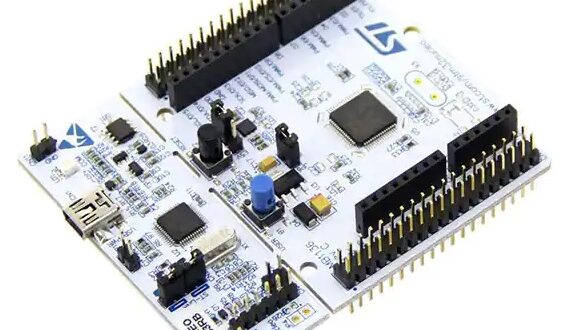
Like most microcontrollers, the STM32F103RB has dedicated serial pins. This tutorial will use the PA2 and PA3 pins which house USART2 TX and RX pins respectively. The reason behind this choice is that for the Nucleo-64 F103B, the USB port is wired directly to these pins.
In contrast, the STM32 Blue Pill, which uses an STM32F103C8, has pins PA11 and PA12 (USART1) wired to its USB port.
Assign the pins PA2 and PA3 to their USART equivalents as shown, using STM32CubeMX:

Generate the code to an MDK ARM output. If you choose to open the project, Keil V5 should start up and you have your ready-to-use code.
Here's a separate tutorial on how to use STM32CubeMX to generate code.
In main.c, you’ll notice a typedef for UART2.
UART_HandleTypeDef huart2;
This is used to initiate everything that needs to be initiated in order to use the serial port. Of course, this is also generated by STM32CubeMX:

All that is left is to call the transmit function to send messages via serial.
HAL_StatusTypeDef HAL_UART_Transmit(UART_HandleTypeDef *huart, uint8_t *pData, uint16_t Size, uint32_t Timeout)
The function requires the UART typedef, a char array for the message to be sent, the size of that char array, and a timeout period.
Locate the line with the infinite loop (while (1)) and insert the following:
/* USER CODE BEGIN WHILE */
while (1)
{
/* USER CODE END WHILE */

  unsigned char stringMsg[] = "Celtics 2022 Champs!\r\n";    //Data to send
  HAL_UART_Transmit(&huart2,stringMsg,sizeof(stringMsg),10);// Sending in normal mode
  HAL_Delay(1000);

/* USER CODE BEGIN 3 */
}
/* USER CODE END 3 */
This prints out the given string as long as the STM32F1 is on.
With the STM32F1 connected to the PC using the USB port, we use terminal apps like Putty to view the message:

Using printf() Function
We can further simplify printing out messages via serial by using the printf() function. For this, we need the stdio library.
Add a reference to the stdio library just below “main.h”:
![]()
Next, define a struct below the MX_GPIO_INIT function:

Below this line, create an instance of the struct and name it _stdout:
![]()
Then, define a function fputc(). This is what is required so that the UART channel is diverted to printf():

We also add a ferror function that would handle (although here it does nothing) errors in UART.
All in all, this should be what it looks like:

Now, instead of using this to transmit messages via serial port:
unsigned char stringMsg[] = "Celtics 2022 Champs!\r\n";
HAL_UART_Transmit(&huart2,stringMsg,sizeof(stringMsg),10);
We can now use:
printf(“Celtics 2022 Champs!\r\n”);
The whole code for this tutorial is on my repository.


 Communication with PIC16F877A")

