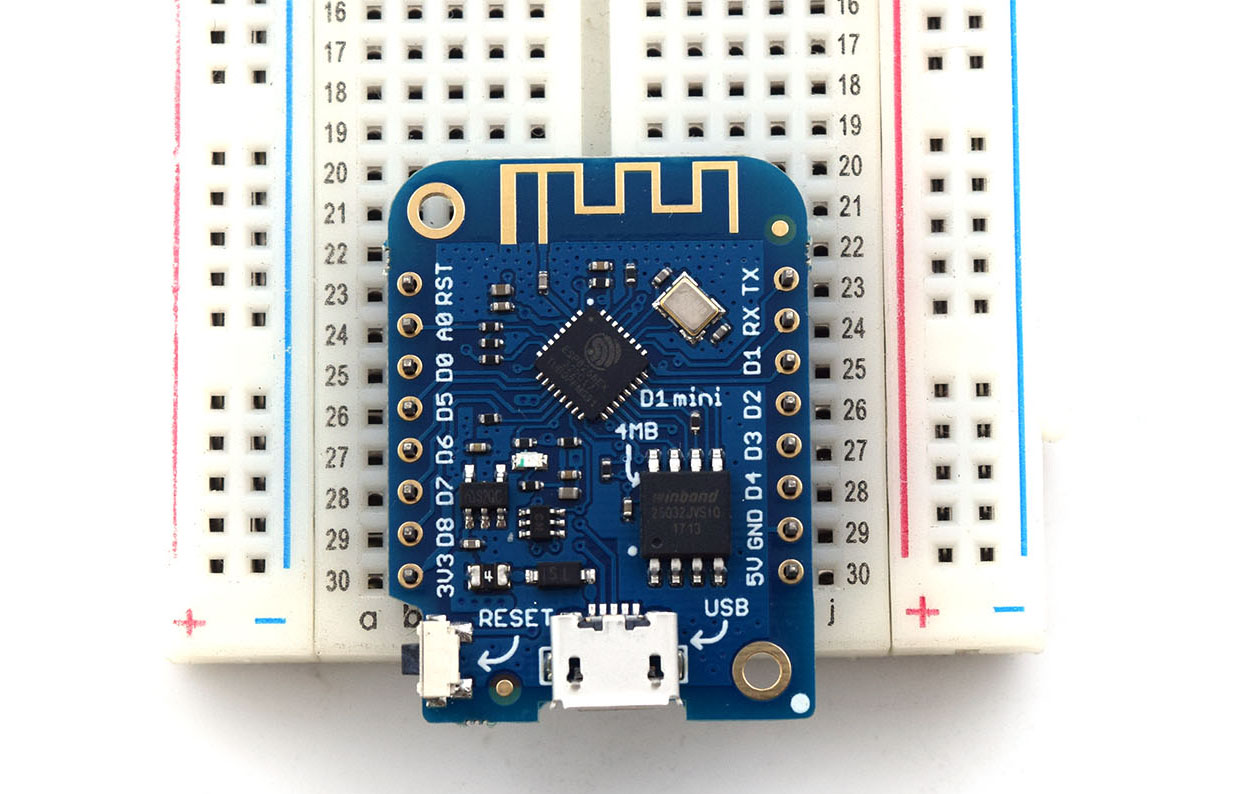
WeMos D1 Mini WiFi Server

Required Libraries
#include <ESP8266WiFi.h>
#include <WiFiClient.h>
#include <ESP8266WebServer.h>
Define Access Point SSID and Password
Next, we define the SSID and password for the WiFi connection:
const char* ssid = "<YOUR WIFI SSID>";
const char* password = "<YOUR WIFI PASSWORD>";
Initialize Server Object
Then we create the server object:
ESP8266WebServer server(80);
Create Access Point
Inside setup, we initialize the WiFi connection through:
WiFi.softAP(ssid, password);
This should start the access point, making the SSID visible to would-be clients.
Write HTML Page
<h1>WeMos D1 Mini Web Server</h1><p><a href=\"LEDOn\"><button>ON</button></a> <a href=\"LEDOff\"><button>OFF</button></a></p>
This is a very simple HTML and could be improved with CSS and Javascript. For the purpose of this tutorial, we will stick with this one.
String index = "<h1>Simple NodeMCU Web Server</h1><p><a href=\"LEDOn\"><button>ON</button></a> <a href=\"LEDOff\"><button>OFF</button></a></p>";
And have it shown to the client who visits the home page:
server.on("/", [](){
    server.send(200, "text/html", index);
});
Bind to LED Control
Notice that on the HTML page, we have links to two pages: /LEDOn and /LEDOff.
server.on("/LEDOn", [](){
    server.send(200, "text/html", index);
    digitalWrite(13, HIGH);
    delay(1000);
});

server.on("/LEDOff", [](){
    server.send(200, "text/html", index);
    digitalWrite(13, LOW);
    delay(1000);
});
Finally, we start the server by calling the begin function.
server.begin();
The above code needs to be executed only once and hence will be inside setup(). The loop() function will only have one line of code and that is:
server.handleClient();
This makes the WeMos D1 Mini always listening to clients that visit the server.
WeMos D1 Mini WiFi Server Full Sketch
#include <ESP8266WiFi.h>
#include <WiFiClient.h>
#include <ESP8266WebServer.h>
// Replace with your network credentials
const char* ssid = "<YOUR WIFI SSID>";
const char* password = "<YOUR WIFI PASSWORD>";
ESP8266WebServer server(80); //instantiate server at port 80 (http port)
void setup(void){
//the HTML of the web page
String index = "<h1>Simple NodeMCU Web Server</h1><p><a href=\"LEDOn\"><button>ON</button></a> <a href=\"LEDOff\"><button>OFF</button></a></p>";
//make the LED pin output and initially turned off
pinMode(13, OUTPUT);
digitalWrite(13, LOW);
delay(1000);
Serial.begin(115200);
WiFi.softAP(ssid, password); //begin WiFi access point
Serial.println("");
server.on("/", [](){
server.send(200, "text/html", index);
});
server.on("/LEDOn", [](){
server.send(200, "text/html", index);
digitalWrite(13, HIGH);
delay(1000);
});
server.on("/LEDOff", [](){
server.send(200, "text/html", index);
digitalWrite(13, LOW);
delay(1000);
});
server.begin();
Serial.println("Web server started!");
}
void loop(void){
server.handleClient();
}
Upload the code above to your WeMos D1 Mini. If successful, the device should be visible as a WiFi access point with the SSID and password you specified in the code above.


