Using the Beaglebone Black ADC
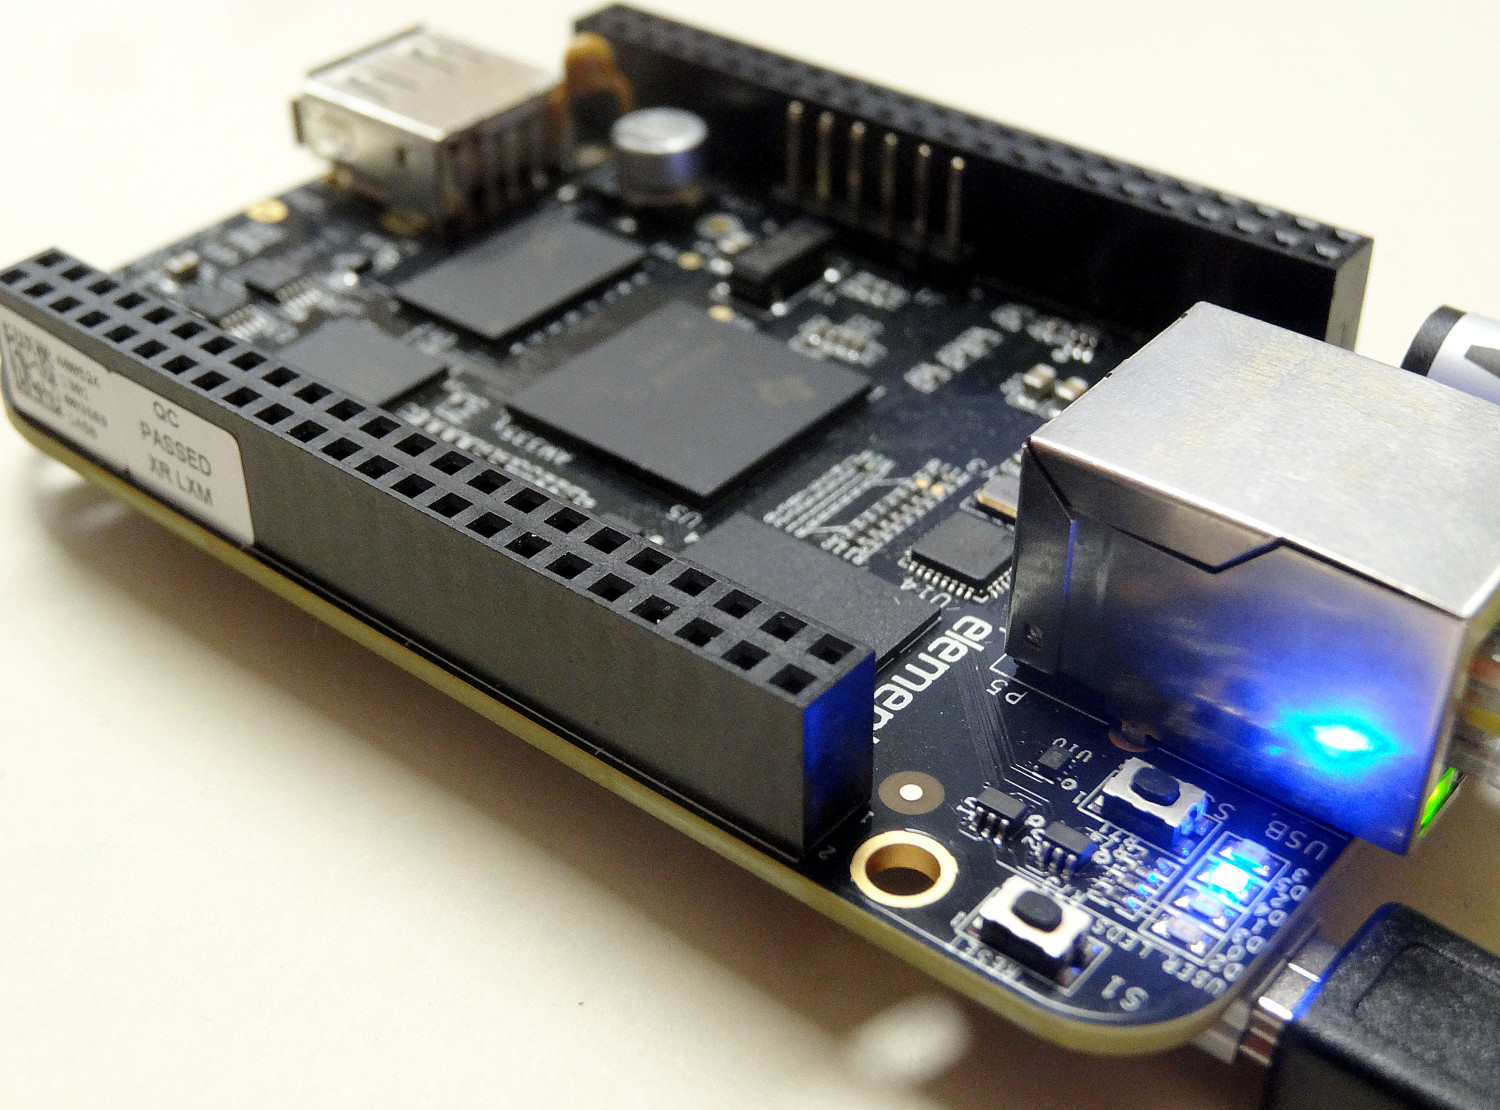
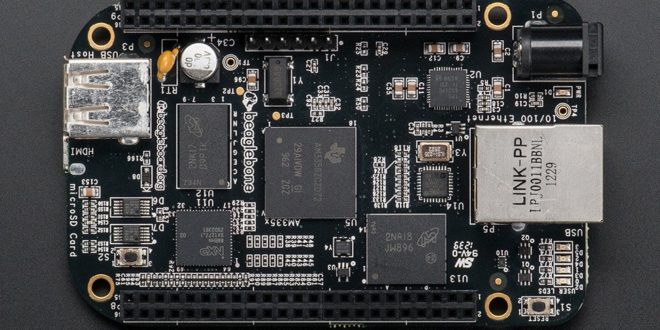
One of the advantages of the Beaglebone Black over the Raspberry Pi is the presence of an analog-to-digital converter. There are 7 analog inputs, all at P9:
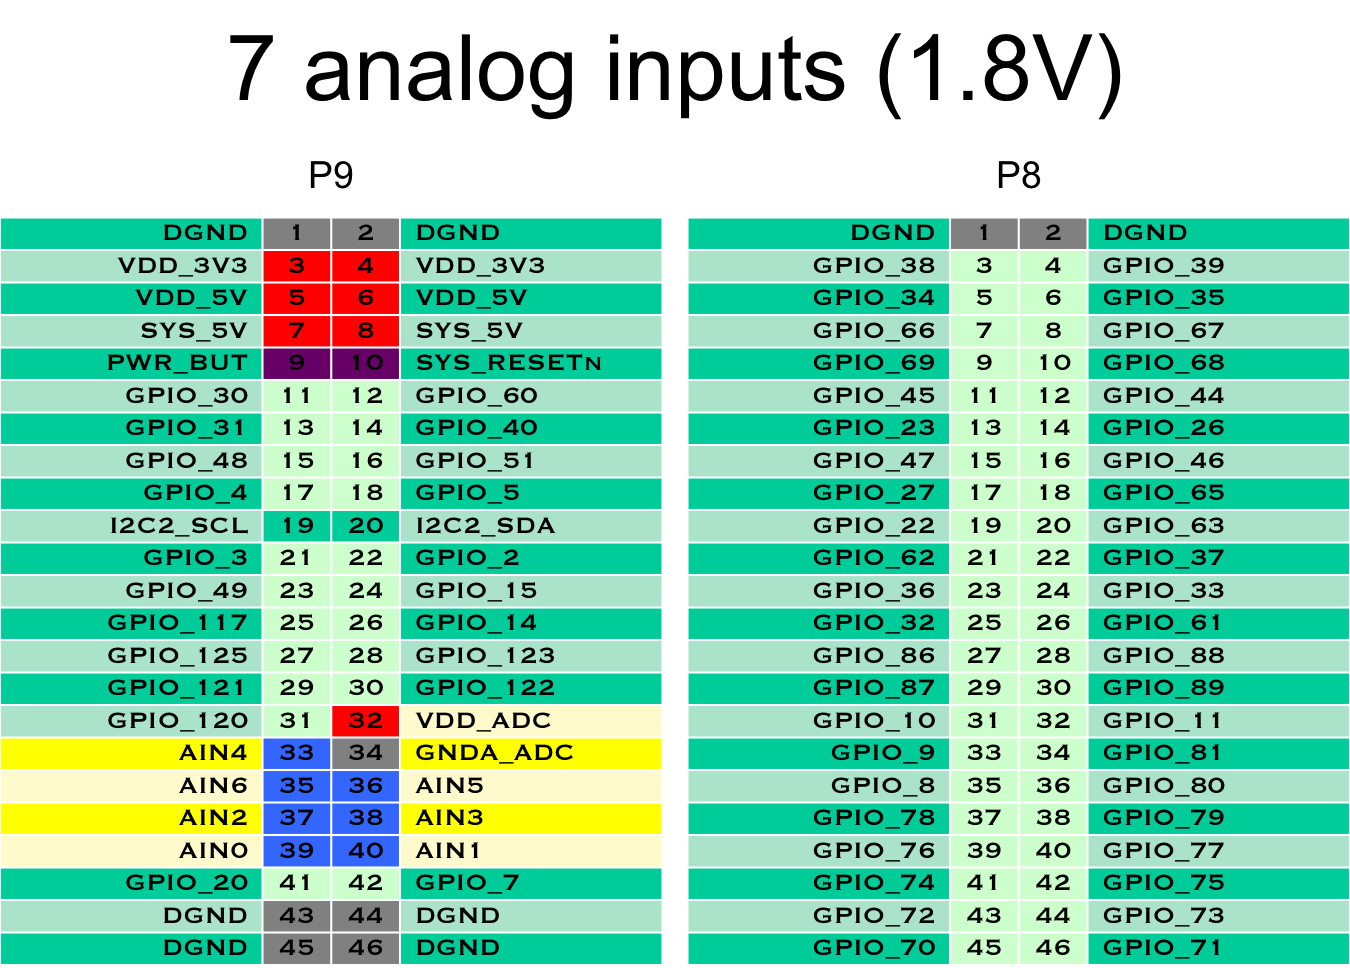
To process analog signals, we’ll be using the analogRead() function. Note that the analog pins can only read as much as 1.8 V. Levels higher than 1.8 V will damage the pins so be wary!
The following script reads an analog signal on pin P9_40 and displays it on the Output log on the Cloud9 IDE:
var b = require('bonescript');
inputPin = "P9_40";
loop();
function loop() {
    var value = b.analogRead(inputPin);
    console.log(value);
    setTimeout(loop, 1);
};