
So far, we've been using HTTP in our NodeMCU web servers and while it works, the protocol is not really the best way for sending and receiving small-sized data for IoT applications. In this tutorial, I will introduce you to MQTT using ESP8266.
What is MQTT?
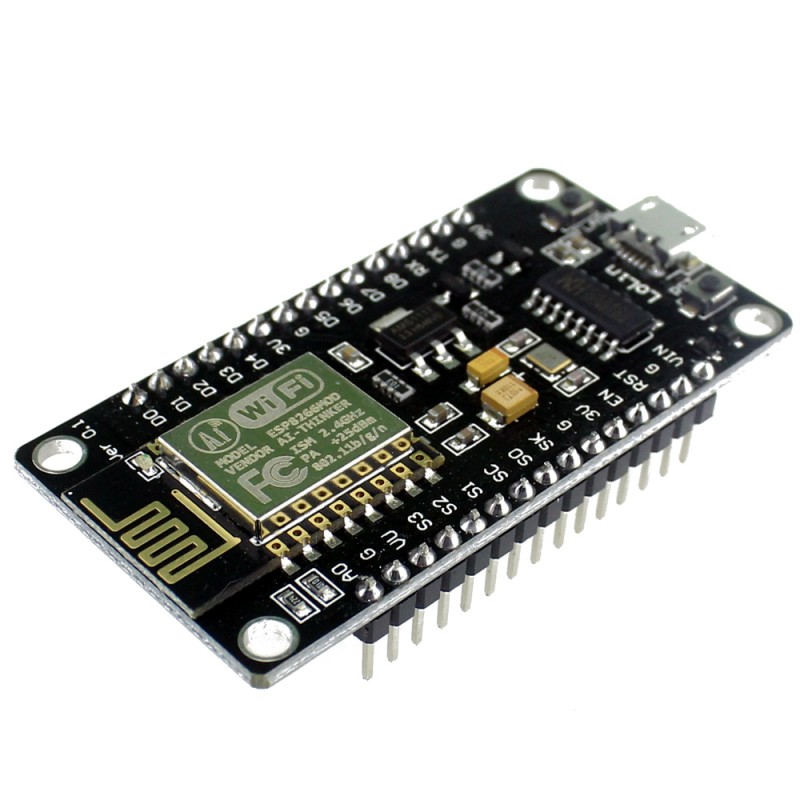
MQTT (Message Queue Telemetry Transport) is a publish-subscribe messaging protocol widely used in IoT applications. This protocol is designed for data transfer between devices with limited network bandwidth and power. Thus, it is highly recommended for microcontroller projects that sends data over the internet. In this tutorial, I will show you how to use the MQTT protocol in sending data from the NodeMCU to any web page.
In our previous NodeMCU tutorials, we send data to web servers thru HTTP (Hyper Text Transfer Protocol), which is the de facto standard of how web pages are acquired by web browsers. However, HTTP is document-centric which consumes a lot of network bandwidth. MQTT, in contrast, transfers data as a byte array which is more lightweight. HTTP is also a more sophisticated protocol that can drain more power from microcontrollers and embedded computers.
How MQTT Works
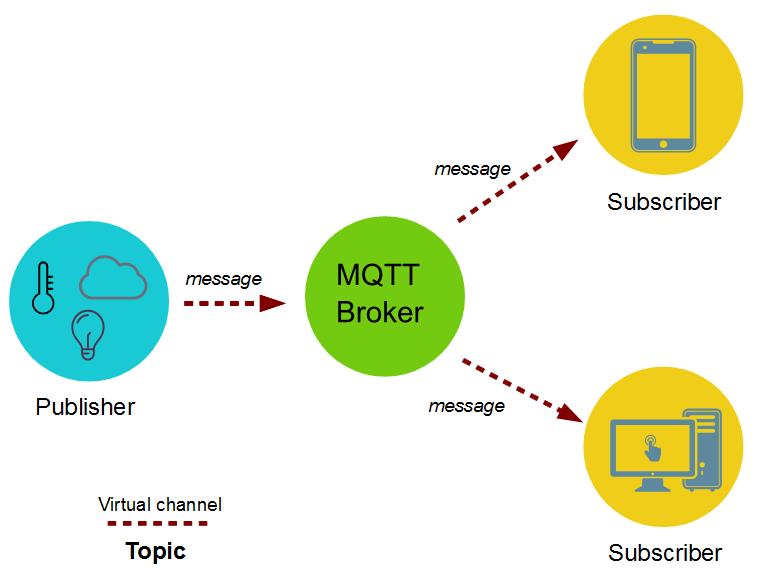
Communication through MQTT needs a "broker" which is responsible for distributing messages to clients based on a certain "topic". A publisher sends data to the broker while subscribers reads data from the broker:
You can create your own MQTT broker through apps like mosquitto on a Raspberry Pi. You can also use web-based brokers like hiveMQ, Adafruit IO and shiftr.io. For this tutorial, we will be using shiftr.io.
A typical MQTT connection needs a host name, port, client ID, username and password. Once these are specified, you can subscribe to a topic and start receiving messages on that topic. You can also publish messages on that topic. Unlike HTTP which requires requests to be continually made in order to continually receive a response, the data will continue to go through the MQTT channel until you unsubscribe and disconnect.
The MQTT protocol is used on top of TCP/IP which means you still need an Internet connection. This tutorial uses NodeMCU which relies on the ESP8266 WiFi library. However, you can also use other devices (Arduino UNO, Arduino Yun, Arduino Ethernet) and use the appropriate libraries to create an Internet connection.
Building the NodeMCU MQTT Sketch
You'll be needing the Arduino MQTT library which can be downloaded in 256dpi's repository.
Once this library is installed on the Arduino IDE, you can now add the <MQQTClient.h> header on your sketch.
The Arduino MQTT library is not complicated and uses only a few functions to establish MQTT connection. The bare minimum are:
void begin(const char hostname[], int port, Client &client);
boolean connect(const char clientId[], const char username[], const char password[]);
boolean subscribe(const String &topic);
boolean publish(const char topic[], const char payload[]);
We will start with a simple sketch that publishes sensor readings to shiftr.io's neat web interface. Shiftr.io has a "try" channel that you can use without needing to create an account:

Here we see the different subscriber nodes (light grey) connected to the broker (big circle). The name of these nodes are their client ID. The dark grey nodes are the topics. If a subscriber is connected to a topic then it will appear in the diagram as a light grey node. Here a subscriber with client ID javascript is connected to the nodemcu/photocell topic:
The try channel uses “try” as both the username and password. To connect to this channel we use the following function:
client.connect(“arduino”, "try", "try")
For example, if we want to publish a message to the topic photocell, which is under nodemcu, then the following function is used:
client.publish("nodemcu/photocell", (String)val);
You see that the message is shown on the upper left side of the interface.
Here’s a full code that displays sensor readings to the topic nodemcu/photocell on the same try channel:
#include <ESP8266WiFi.h>
#include <MQTTClient.h>


const char* ssid     = "<Your-WiFi-SSID>";
const char* password = "<Your-WiFi-Password>";

WiFiClient WiFiclient;
MQTTClient client;

unsigned long lastMillis = 0;

void setup() {
 Serial.begin(115200);
 delay(10);
 Serial.println();
 Serial.println();
 Serial.print("Connecting to ");
 Serial.println(ssid);

 WiFi.begin(ssid, password);
 while (WiFi.status() != WL_CONNECTED) {
   delay(500);
   Serial.print(".");
 }

 Serial.println("");
 Serial.println("WiFi connected");
 Serial.println("IP address: ");
 Serial.println(WiFi.localIP());
 delay(2000);

 Serial.print("connecting to MQTT broker...");
 client.begin("broker.shiftr.io", WiFiclient);
 connect();
}

void connect() {
 while (!client.connect("nodemcu", "try", "try")) {
   Serial.print(".");
 }

 Serial.println("\nconnected!");
 client.subscribe("nodemcu");
}

void loop() {
 int val = analogRead(A0);
 client.loop();
 if(!client.connected()) {
   connect();
 }

 if(millis() - lastMillis > 1000) {
   lastMillis = millis();
   client.publish("nodemcu/photocell", (String)val);
 }
}
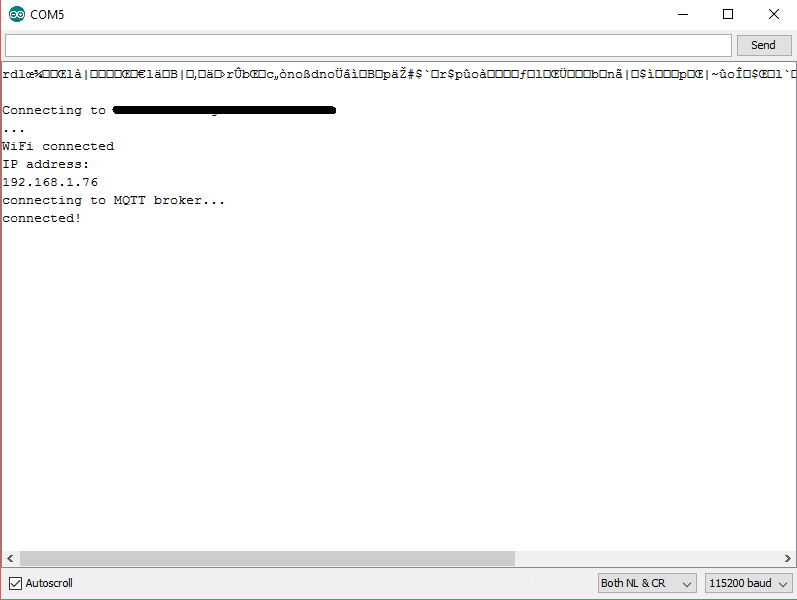
Upload this sketch to your NodeMCU and open serial monitor. If successful, you should see this message:
Now go to https://shiftr.io/try#terminal to see the dynamic sensor data being displayed.
Another NodeMCU as MQTT Client
How do you read the data you just sent? You can use an MQTT client which can be another NodeMCU, a smartphone or a web browser.
Using another NodeMCU, you can modify the same NodeMCU sketch we used so that it will start accepting messages from the MQTT broker:
#include <ESP8266WiFi.h>
#include <MQTTClient.h>
const char* ssid = "<Your-WiFi-SSID>";
const char* password = "<Your-WiFi-Password>";
WiFiClient WiFiclient;
MQTTClient client;
unsigned long lastMillis = 0;
void setup() {
Serial.begin(115200);
delay(10);
Serial.println();
Serial.println();
Serial.print("Connecting to ");
Serial.println(ssid);
WiFi.begin(ssid, password);
while (WiFi.status() != WL_CONNECTED) {
delay(500);
Serial.print(".");
}
Serial.println("");
Serial.println("WiFi connected");
Serial.println("IP address: ");
Serial.println(WiFi.localIP());
delay(2000);
client.onMessage(messageReceived);
Serial.print("connecting to MQTT broker...");
client.begin("broker.shiftr.io", WiFiclient);
connect();
}
void connect() {
while (!client.connect("nodemcu", "try", "try")) {
Serial.print(".");
}
Serial.println("\nconnected!");
client.subscribe("nodemcu");
}
void loop() {
int val = analogRead(A0);
client.loop();
if(!client.connected()) {
connect();
}
}
void messageReceived(String topic, String payload, char * bytes, unsigned int length) {
Serial.print("incoming: ");
Serial.print(topic);
Serial.print(" - ");
Serial.print(payload);
Serial.println();
}
We removed the client.publish() part and added a messageReceived() function. The data from the topic you subscribed to will be shown on the serial monitor.
Smartphone MQTT Client
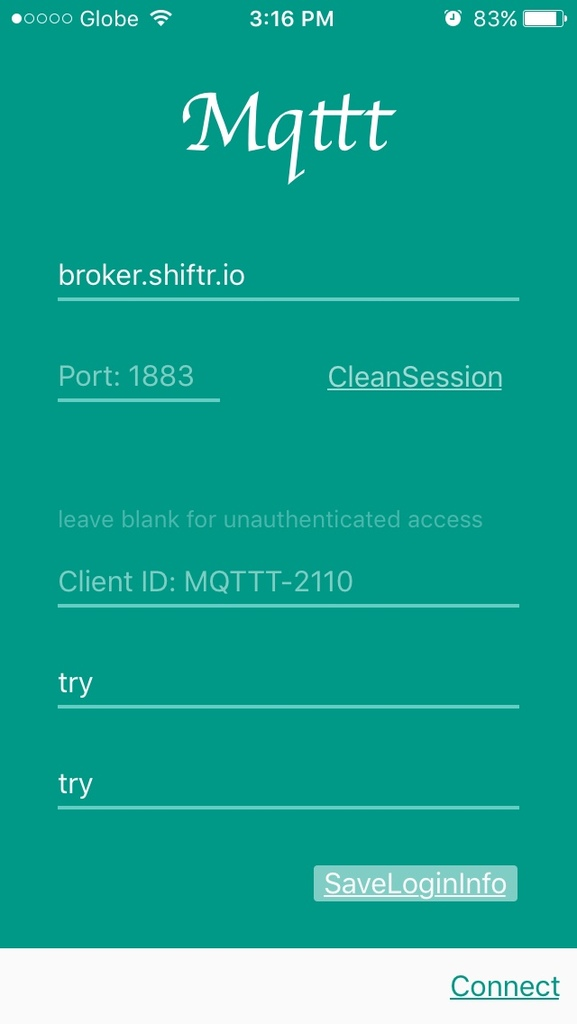
You can use free smartphone apps to get data from a MQTT topic. I used the iOS app, Mqtt which when run, asks you for the hostname, port, username and password:
After that, you have the main interface. You can subscribe to a topic on the upper half and publish a message on the lower half:
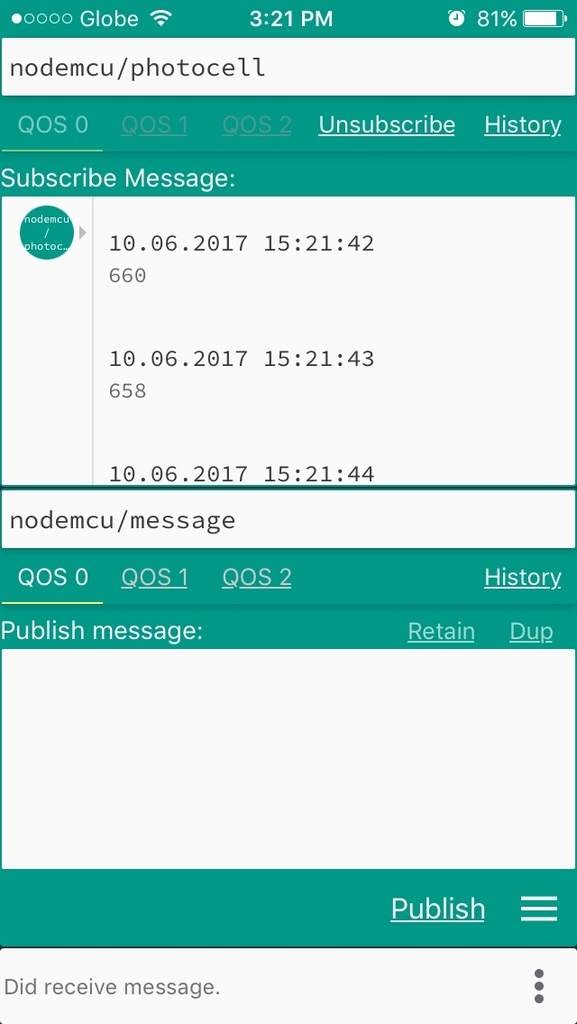
Here we see the sensor data being displayed.
Web Browser MQTT Client
To embed the sensor data to a web page, you need to invoke the mqtt.js library. Here’s an example script that you can use:
$(function(){
 var client = mqtt.connect('mqtt://try:try@broker.shiftr.io', {
   clientId: 'browser-client'
 });

 client.on('connect', function(){
   console.log('client has connected!');
 });

 client.on('message', function(topic, message) {
  $('#data').text(message.toString());
 });
   client.subscribe('nodemcu/photocell');
})
Save the script above as script.js.
Here’s a very simple HTML for displaying the data:
<html>
<title>NodeMCU Photocell Data</title>
<head>
   <script src="https://code.jquery.com/jquery-2.2.3.min.js"></script>
   <script src="https://assets.shiftr.io/js/mqtt-latest.js"></script>
   <script src="script.js" charset="utf-8"></script>
</head>
 <body>
   <p id="data"></p>
 </body>
</html>
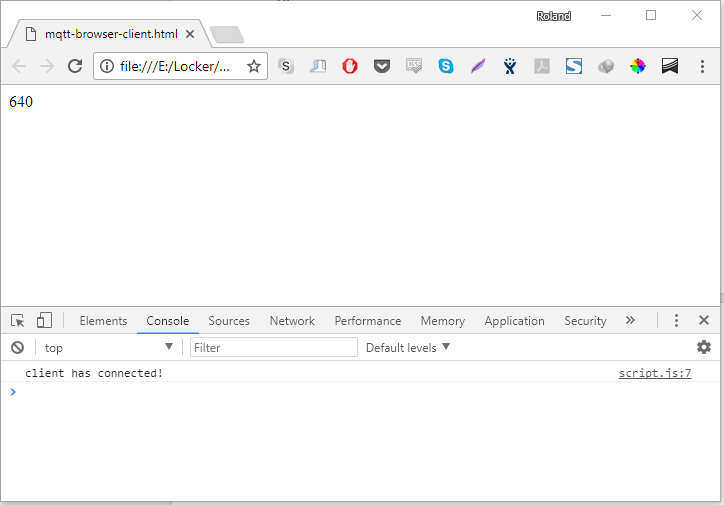
Save the HTML file and then open it using your web browser. You should now be able to see the data:
Hopefully, this opens the way for you to make greater IoT applications using NodeMCU or Arduino. On my next tutorial, I will show how to create your own MQTT broker with the Raspberry Pi.
Was this tutorial useful? Place a comment below!

